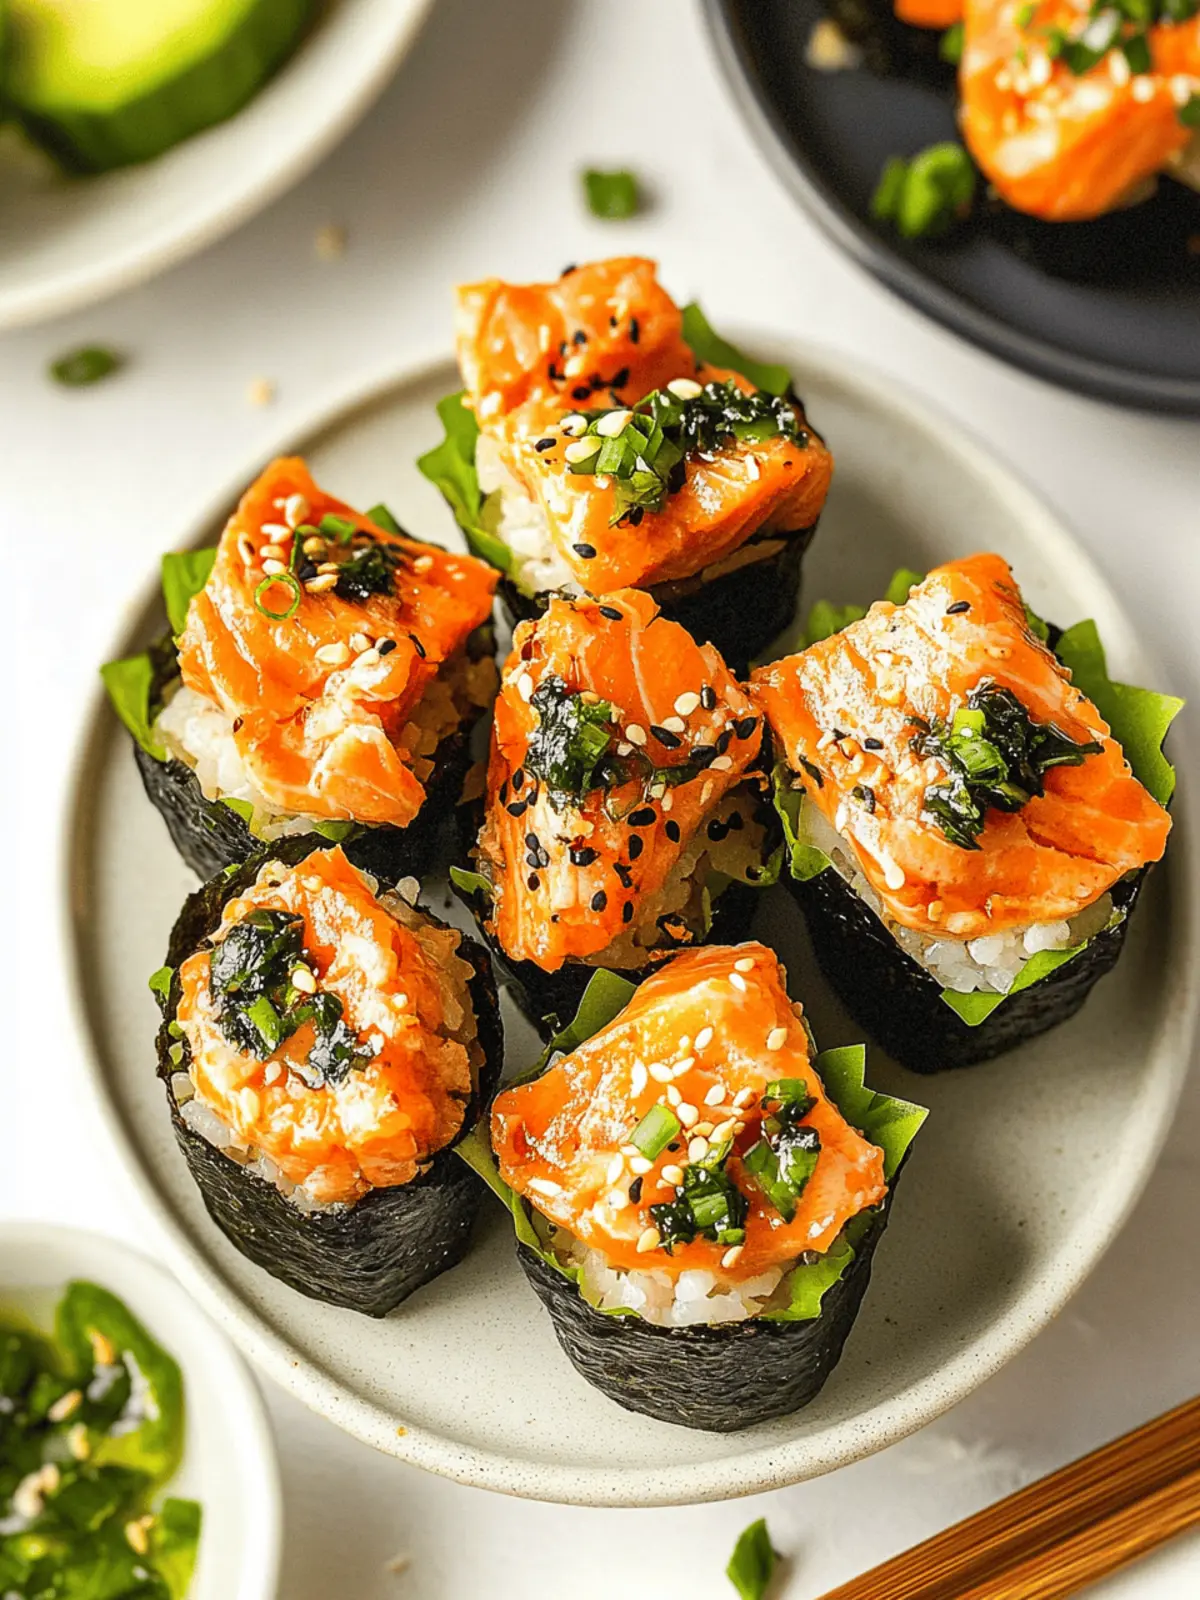
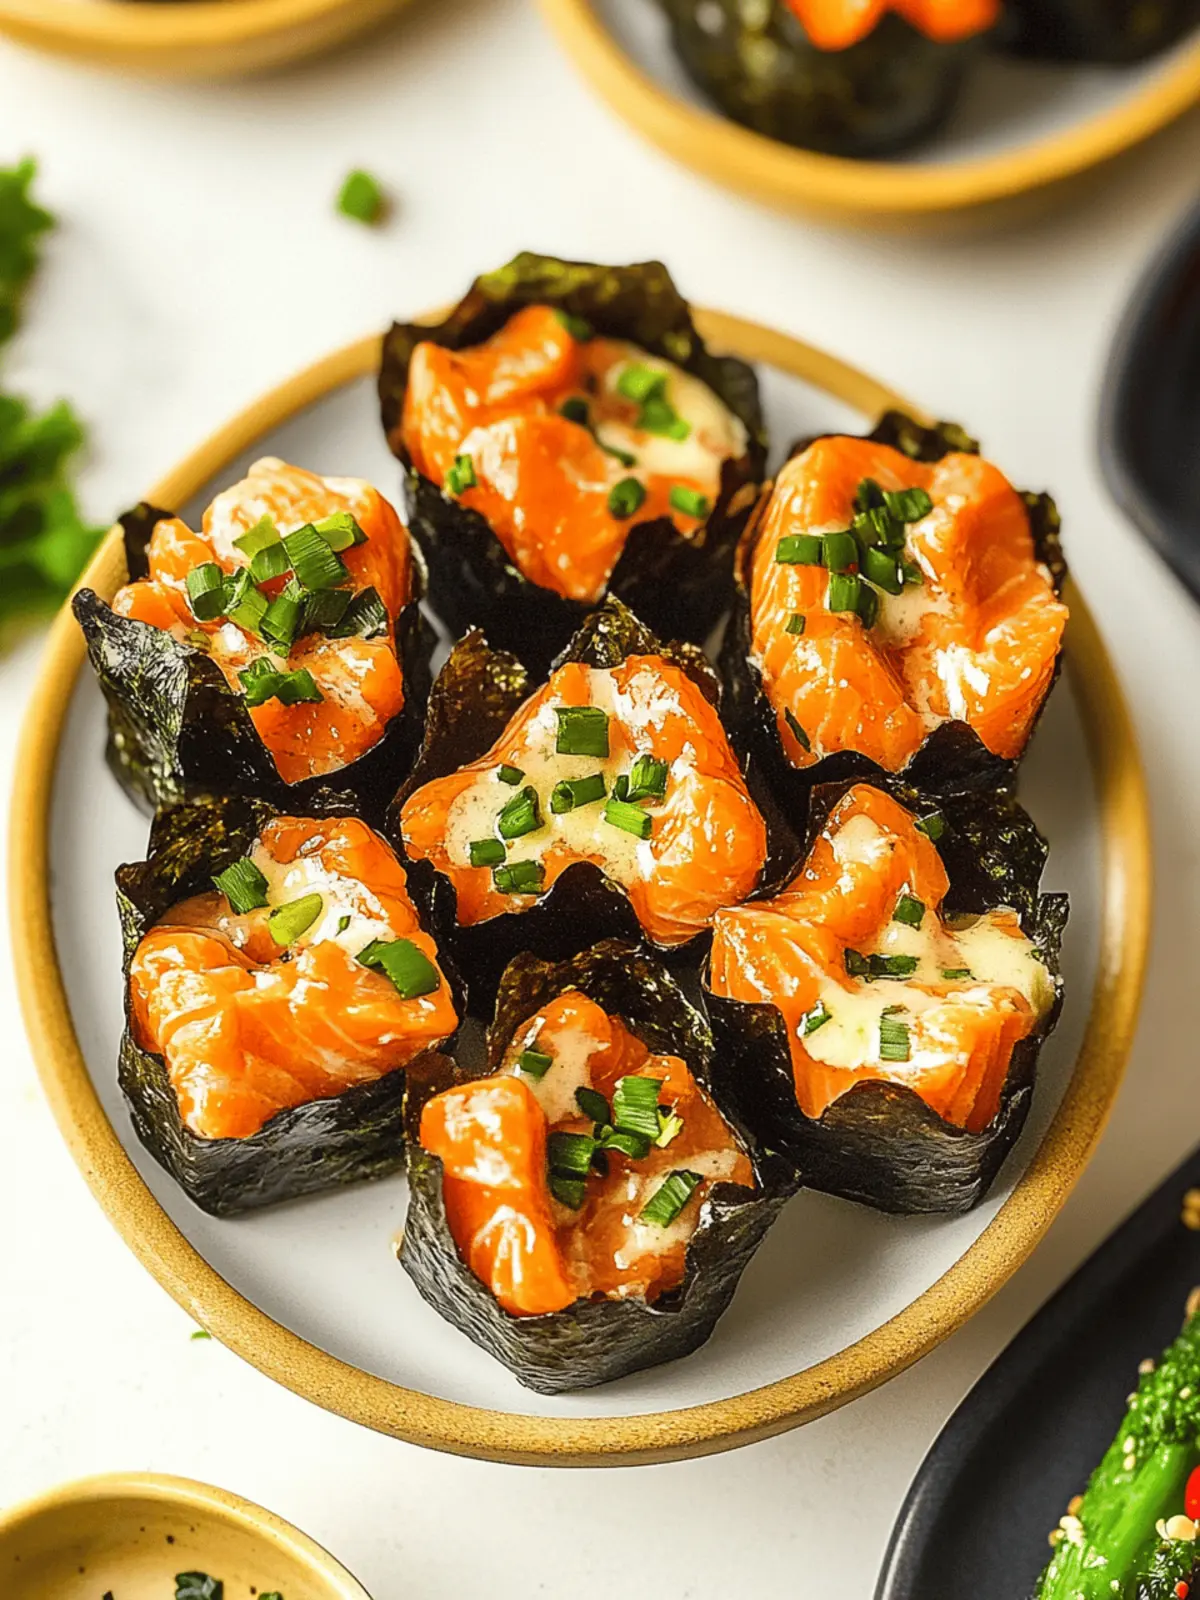
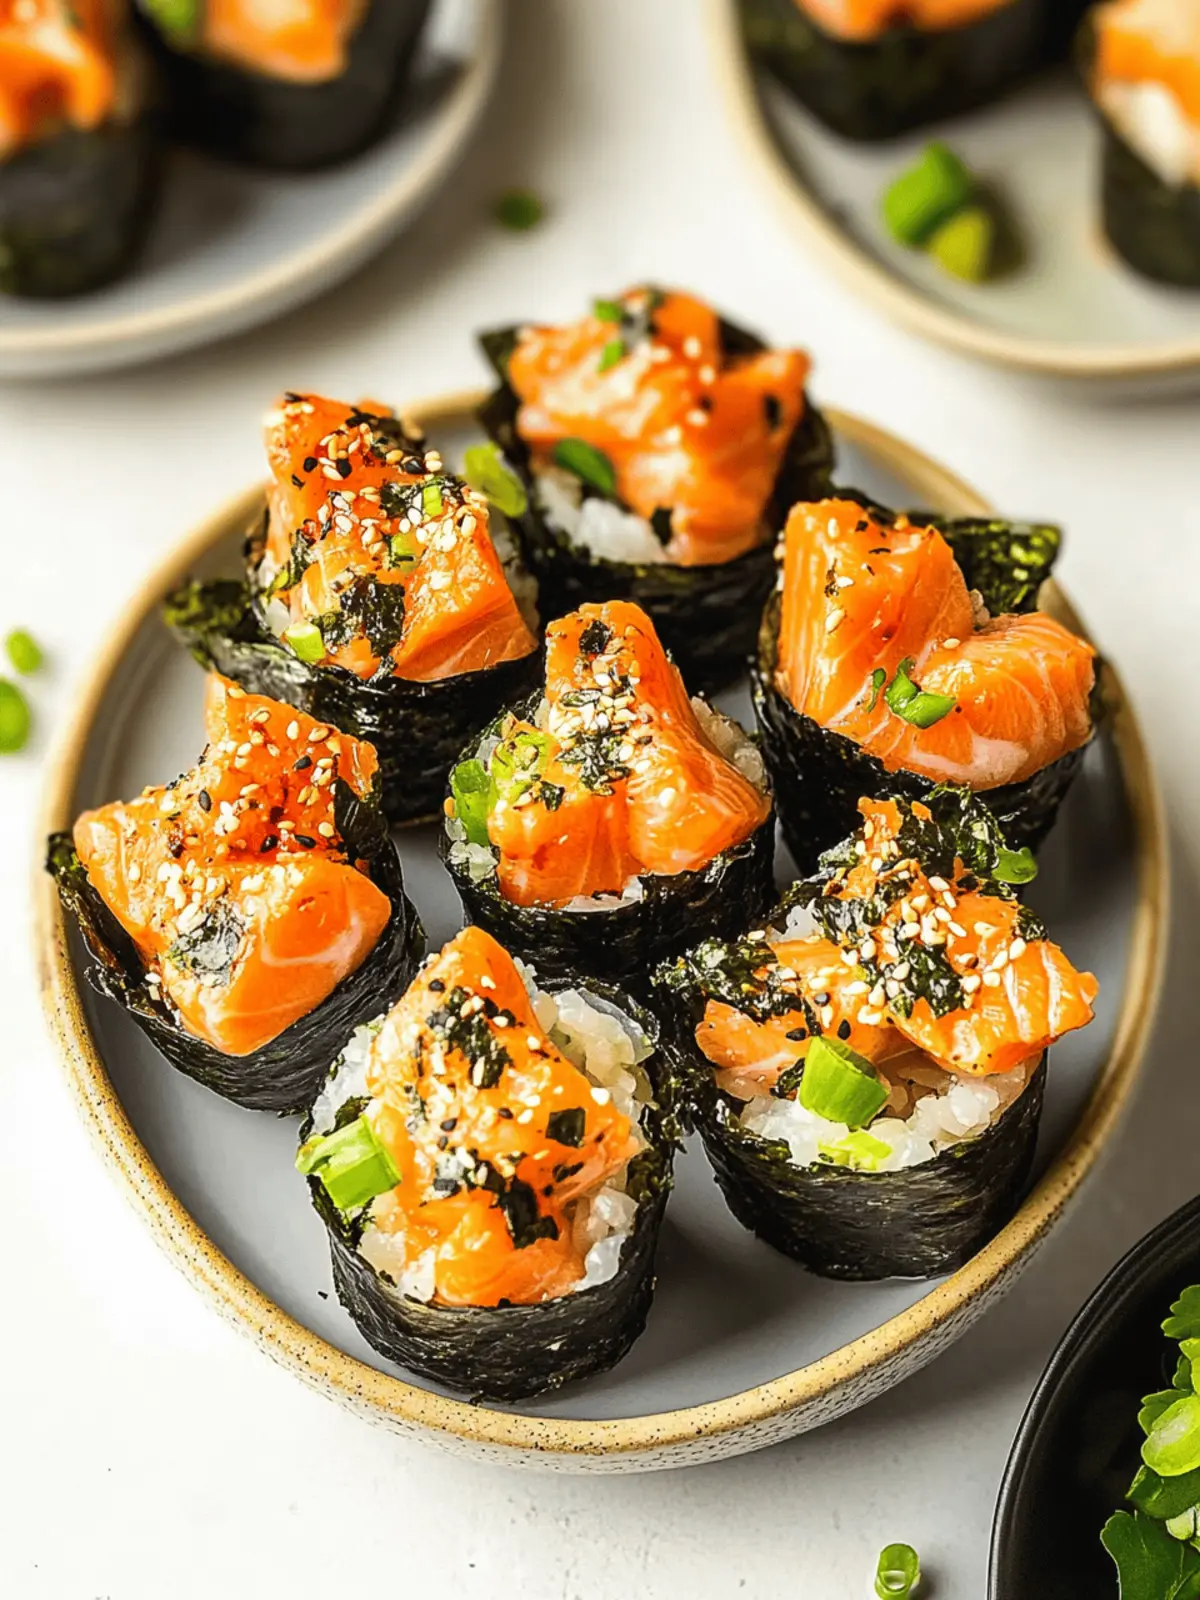
In the hustle and bustle of daily life, I often find solace in the kitchen, experimenting with flavors that spark joy and creativity. One weekend, as I was trying to impress some friends for a casual gathering, a lightbulb moment led me to these sensational Baked Salmon Sushi Cups. Picture this: crisp nori delicately cradling warm, fluffy sushi rice and luscious, tender salmon infused with a hint of sriracha for an extra kick.
These bite-sized delights not only check all the boxes for being a crowd-pleaser but also bring an innovative twist to the classic sushi we all know and love. Whether you’re hosting a party, looking for the perfect appetizer, or want to enjoy something delicious without the fuss of rolling sushi, these tasty cups are the answer. Join me as we dive into this quick and straightforward recipe that is bound to become a favorite among sushi enthusiasts and newcomers alike!
Why You’ll Love These Baked Salmon Sushi Cups
Crowd-Pleasing Delight: These Baked Salmon Sushi Cups are an instant hit at any gathering, providing a fun and interactive way to enjoy sushi without all the rolling.
Quick to Prepare: With simple ingredients and straightforward steps, you can serve up this easy appetizer in no time, perfect for spontaneous get-togethers.
Flavor Explosion: Each cup is bursting with savory salmon, creamy Kewpie mayo, and a zesty kick from sriracha, making every bite an explosion of deliciousness.
Versatile Variations: Feel free to swap salmon for crab or shrimp, or even try quinoa for a gluten-free twist—tailor these cups to fit every taste!
Ideal for Any Occasion: Whether it’s a party, a cozy family dinner, or game day snacking, these cute cups are sure to impress and satisfy appetites.
Baked Salmon Sushi Cups Ingredients
For the Base
• Salmon – Freshness is key for flavor; swap with cooked crab or tuna for a unique taste.
• Sushi Rice – Essential for texture; opt for brown rice for a healthier option, though the texture may differ.
• Nori Sheets – Used to hold the cups together; substitute with lettuce for a low-carb alternative.
For the Flavor
• Light Soy Sauce – Adds depth and umami; use reduced-sodium soy sauce for a lighter option.
• Kewpie Mayo – Brings creaminess and a hint of sweetness; regular mayo can be used instead.
• Sriracha – Packs heat and zest; adjust to your spice preference or try a mild hot sauce.
• Sesame Oil – Provides nuttiness; can be omitted or replaced with olive oil for a lighter profile.
For the Seasoning
• Rice Vinegar – Brightens the flavor of the sushi rice; apple cider vinegar is a great substitute.
• White Sugar – Balances flavors in the rice; replace with honey or agave but adjust the quantity.
• Furikake – An optional garnish for added flavor; can be swapped with sesame seeds or omitted.
For Garnishing
• Green Onion – Adds freshness and crunch; chives can be a suitable replacement.
• Cooking Spray – Prevents sticking; oil brushed on the tin works just as well.
Feel free to gather these essential ingredients for your flavorful Baked Salmon Sushi Cups and let the fun of cooking begin!
How to Make Baked Salmon Sushi Cups
-
Cook Rice: Begin by preparing your sushi rice according to package instructions. Once cooked, mix in rice vinegar and sugar until well combined and set aside to cool slightly.
-
Mix Salmon: In a bowl, combine cubed salmon, light soy sauce, Kewpie mayo, sriracha, and sesame oil. Stir gently until the ingredients are just mixed to preserve the salmon’s texture.
-
Prep Nori: Cut your nori sheets into squares that will fit snugly into your muffin tin. This will give you the perfect shape for your sushi cups.
-
Assemble Cups: Lightly grease the muffin tin with cooking spray. Layer the nori squares in each muffin cup, then fill with sushi rice and top generously with the salmon mixture.
-
Bake: Preheat your oven to 400°F and bake the sushi cups for 15 minutes or until the salmon is cooked through and the tops are slightly golden brown.
-
Garnish: Allow the cups to cool for a minute or two. Then, drizzle with additional sriracha or mayo, and sprinkle with furikake and chopped green onions. Serve immediately for the best flavors.
Optional: Enjoy with a side of pickled ginger for an extra pop of flavor.
Exact quantities are listed in the recipe card below.
Make Ahead Options
These Baked Salmon Sushi Cups are a fantastic choice for meal prepping, saving you time on busy weeknights or when entertaining guests. You can prepare the sushi rice and salmon mixture up to 24 hours in advance. Just cook the sushi rice and mix it with rice vinegar and sugar, then store it in the refrigerator. Similarly, combine the cubed salmon with the soy sauce, Kewpie mayo, sriracha, and sesame oil, and refrigerate that as well. Before baking, assemble the cups in the muffin tin, layer in the nori, sushi rice, and salmon mixture, and simply pop them in the oven! This way, you’ll enjoy warm, flavorful cups that are just as delicious as if they were made fresh!
Baked Salmon Sushi Cups Variations
Feel free to unleash your creativity and make these delightful cups your own!
-
Crab or Shrimp: Swap salmon for cooked crab or shrimp for a flavorful variation that seafood lovers will adore.
-
Quinoa Base: Substitute sushi rice with quinoa to make these cups gluten-free and add a nutty flavor. It’s a delicious twist!
-
Spicy Kick: Add finely chopped jalapeños to the salmon mixture for an extra layer of heat that’ll leave your taste buds dancing.
-
Veggie Delight: Incorporate finely diced vegetables like bell peppers or carrots into the salmon mix for an added crunch and color.
-
Herb Infusion: Enhance the flavor by adding fresh herbs like cilantro or basil to the salmon for a vibrant, fresh taste.
-
Savory Toppings: Try sprinkling grated cheese on top before baking for a melty, indulgent finish that pairs wonderfully with the salmon.
-
Sweet Touch: Add a touch of sweetness by mixing a small amount of mango or pineapple into the salmon mix for a tropical flair.
-
Nori Alternatives: Replace nori sheets with thinly sliced cucumber or zucchini for a refreshing, low-carb alternative that impresses!
How to Store and Freeze Baked Salmon Sushi Cups
-
Room Temperature: Best enjoyed fresh, but if needed, they can sit out for up to 2 hours. After that, discard leftovers to ensure food safety.
-
Fridge: Store leftover Baked Salmon Sushi Cups in an airtight container for up to 3 days. This will help maintain their flavor and prevent them from drying out.
-
Freezer: For longer storage, freeze the sushi cups for up to 2 months. Wrap them individually in plastic wrap and place them in a freezer bag to avoid freezer burn.
-
Reheating: When ready to eat, reheat in the oven at 350°F for about 10-15 minutes or until warmed through for the best texture.
What to Serve with Baked Salmon Sushi Cups?
Enhance your dining experience with these delightful accompaniments that elevate the flavors of your delicious sushi cups.
-
Pickled Ginger: A classic sushi partner, its tangy sweetness cleanses the palate between bites, ensuring you savor every mouthful.
-
Cucumber Salad: Crunchy and refreshing, this cool salad adds a contrasting texture and flavor that balances the warm, savory sushi cups.
-
Soy Sauce: A drizzle of this umami-rich condiment provides a savory depth to each bite, complementing the flavors of the salmon beautifully.
-
Miso Soup: This warm, comforting soup pairs well with sushi cups, offering a light broth that enhances the overall meal without overwhelming the palate.
-
Sriracha Aioli: For those who love a kick, this creamy dip combines the heat of sriracha with a touch of mayonnaise, perfect for dipping or drizzling.
-
Roasted Edamame: Nutty and savory, roasted edamame adds a delightful crunch and a protein-packed side that pairs perfectly with your sushi cups.
-
Sesame Noodles: Light and flavorful, these noodles provide a nice complement, adding a soothing texture that rounds out your plate beautifully.
-
Chardonnay: A glass of chilled Chardonnay enhances the dish with its crisp citrus notes, making it the perfect drink to accompany your sushi cups.
-
Mochi Ice Cream: For a sweet finish, this delightful dessert offers a chewy exterior and creamy ice cream filling, providing a lovely contrast to the savory sushi.
Whichever you choose, these pairings will create a memorable meal around your Baked Salmon Sushi Cups!
Expert Tips for Baked Salmon Sushi Cups
-
Preheat Properly: Ensure your oven reaches 400°F before baking for even cooking and perfect texture in your sushi cups.
-
Don’t Overmix: Gently combine the salmon ingredients to maintain the fish’s tender texture; overmixing can lead to a mushy filling.
-
Layering Matters: Create distinct layers by carefully pressing sushi rice into the nori and evenly distributing the salmon mixture on top.
-
Fresh Ingredients: Use quality, fresh salmon for the best flavor in your Baked Salmon Sushi Cups. Fresh ingredients elevate the dish significantly.
-
Add Spice Gradually: Adjust the amount of sriracha based on your heat preference; start with less and add more to suit your taste.
-
Serve Immediately: Enjoy these cups right after baking for the best flavor and texture; they are best eaten warm!
Baked Salmon Sushi Cups Recipe FAQs
What type of salmon should I use for Baked Salmon Sushi Cups?
Absolutely! Fresh, high-quality salmon is ideal for this recipe, as it greatly affects the flavor. Look for vibrant, firm fillets without dark spots or a fishy smell. If you’re short on time, cooked crab or tuna also makes a delicious substitute!
How should I store leftover Baked Salmon Sushi Cups?
For optimal taste, store your leftover Baked Salmon Sushi Cups in an airtight container in the refrigerator for up to 3 days. Make sure to let them cool completely before sealing. If you need to keep them longer, place them in the freezer wrapped individually in plastic wrap to prevent freezer burn.
Can I freeze Baked Salmon Sushi Cups?
Yes, you can! To freeze your Baked Salmon Sushi Cups, individually wrap each cup in plastic wrap, then place them in a freezer bag or container. They can be frozen for up to 2 months. When you’re ready to enjoy, reheat them in the oven at 350°F for about 10-15 minutes until warmed through, which helps maintain their texture.
What can I do if the rice is too sticky?
If your sushi rice feels too sticky, try adding a little more rice vinegar during the mixing process to balance its texture. Ensure you don’t overcook the rice or it can become gummy. Adding a small bit of sesame oil can also help add some moisture without making it sticky!
Are Baked Salmon Sushi Cups suitable for people with allergies?
Great question! These sushi cups contain common allergens like fish, soy, and egg (from Kewpie mayo). If you or your guests have allergies, consider using alternatives—such as canned tuna for the salmon and a homemade mayo without eggs. Always double-check labels and ingredients to keep everyone safe!
How can I make Baked Salmon Sushi Cups gluten-free?
To make your Baked Salmon Sushi Cups gluten-free, use gluten-free soy sauce instead of regular soy sauce. You can still enjoy the same delicious flavors without compromising on dietary needs. Additionally, ensure your nori is gluten-free, as most are, but it’s always good to double-check!
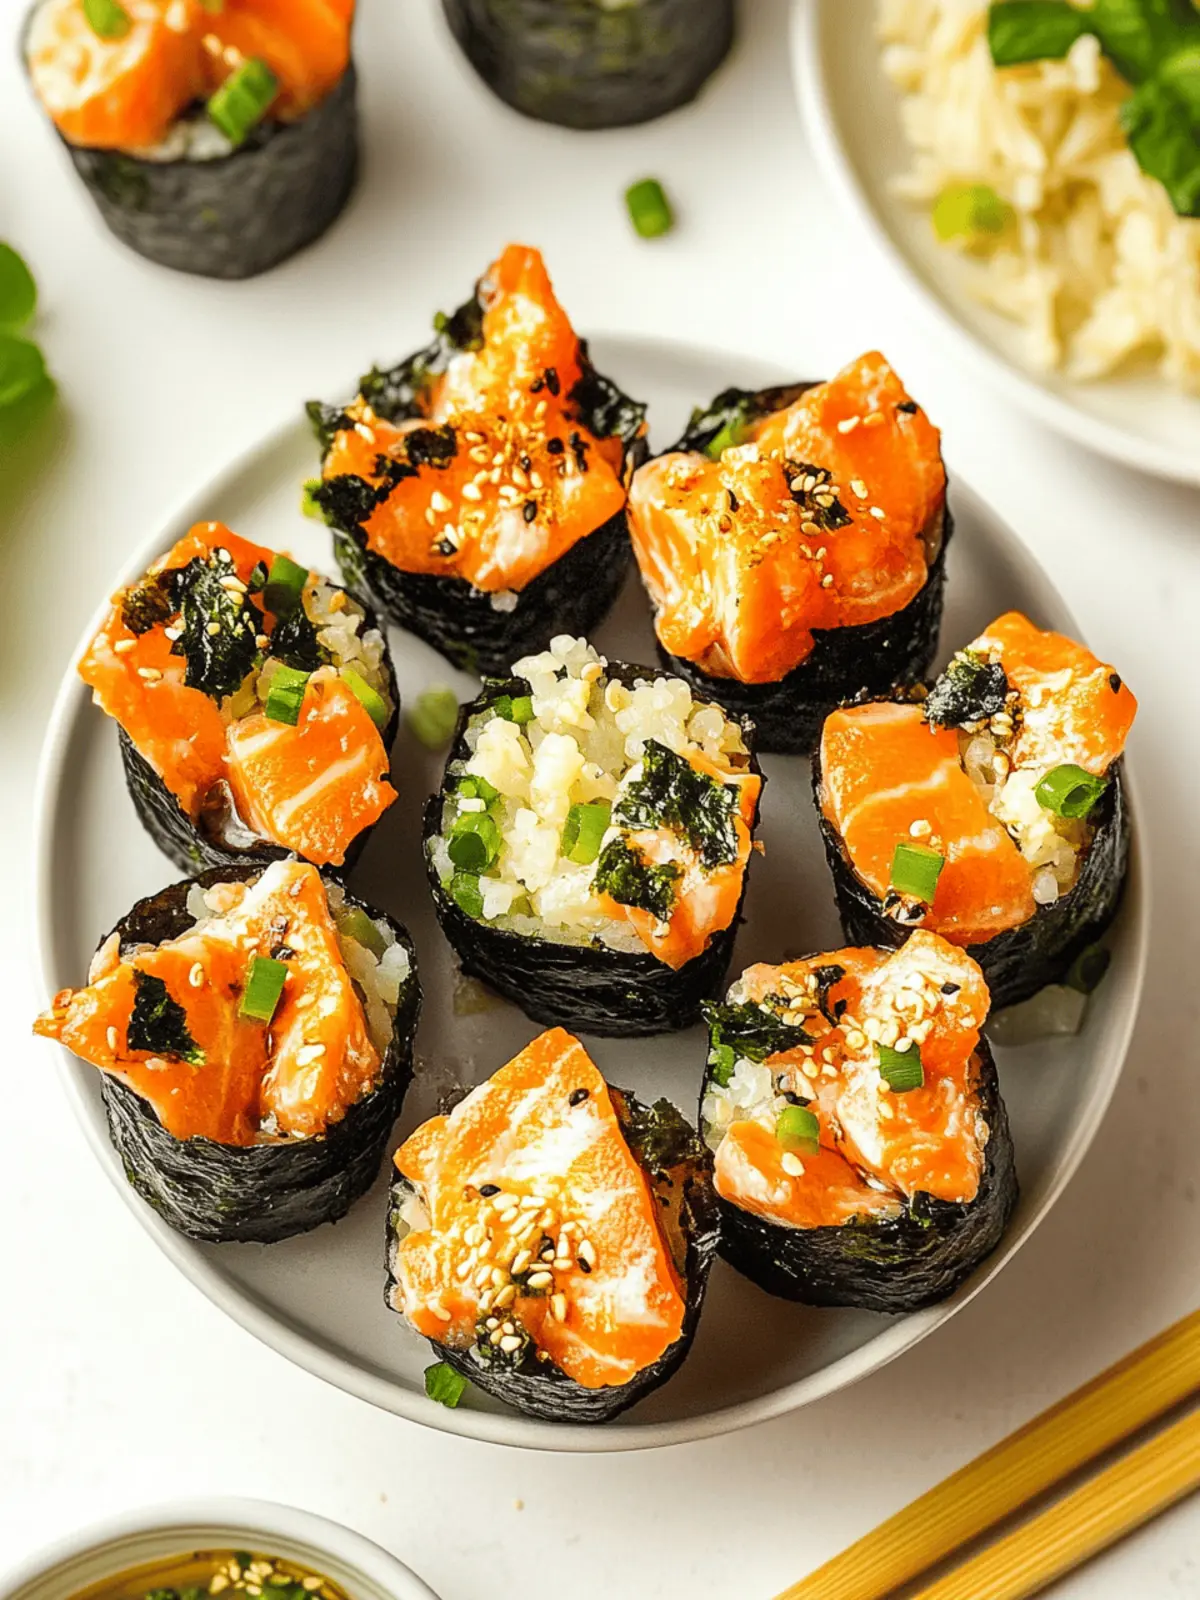
Baked Salmon Sushi Cups You’ll Love for Easy Party Snacking
Ingredients
Equipment
Method
- Begin by preparing your sushi rice according to package instructions. Once cooked, mix in rice vinegar and sugar until well combined and set aside to cool slightly.
- In a bowl, combine cubed salmon, light soy sauce, Kewpie mayo, sriracha, and sesame oil. Stir gently until just mixed.
- Cut your nori sheets into squares that will fit snugly into your muffin tin.
- Lightly grease the muffin tin with cooking spray. Layer the nori squares in each muffin cup, then fill with sushi rice and top with the salmon mixture.
- Preheat your oven to 400°F and bake the sushi cups for 15 minutes or until the salmon is cooked through and the tops are slightly golden brown.
- Allow the cups to cool for a minute or two. Drizzle with additional sriracha or mayo, and sprinkle with furikake and chopped green onions. Serve immediately.
