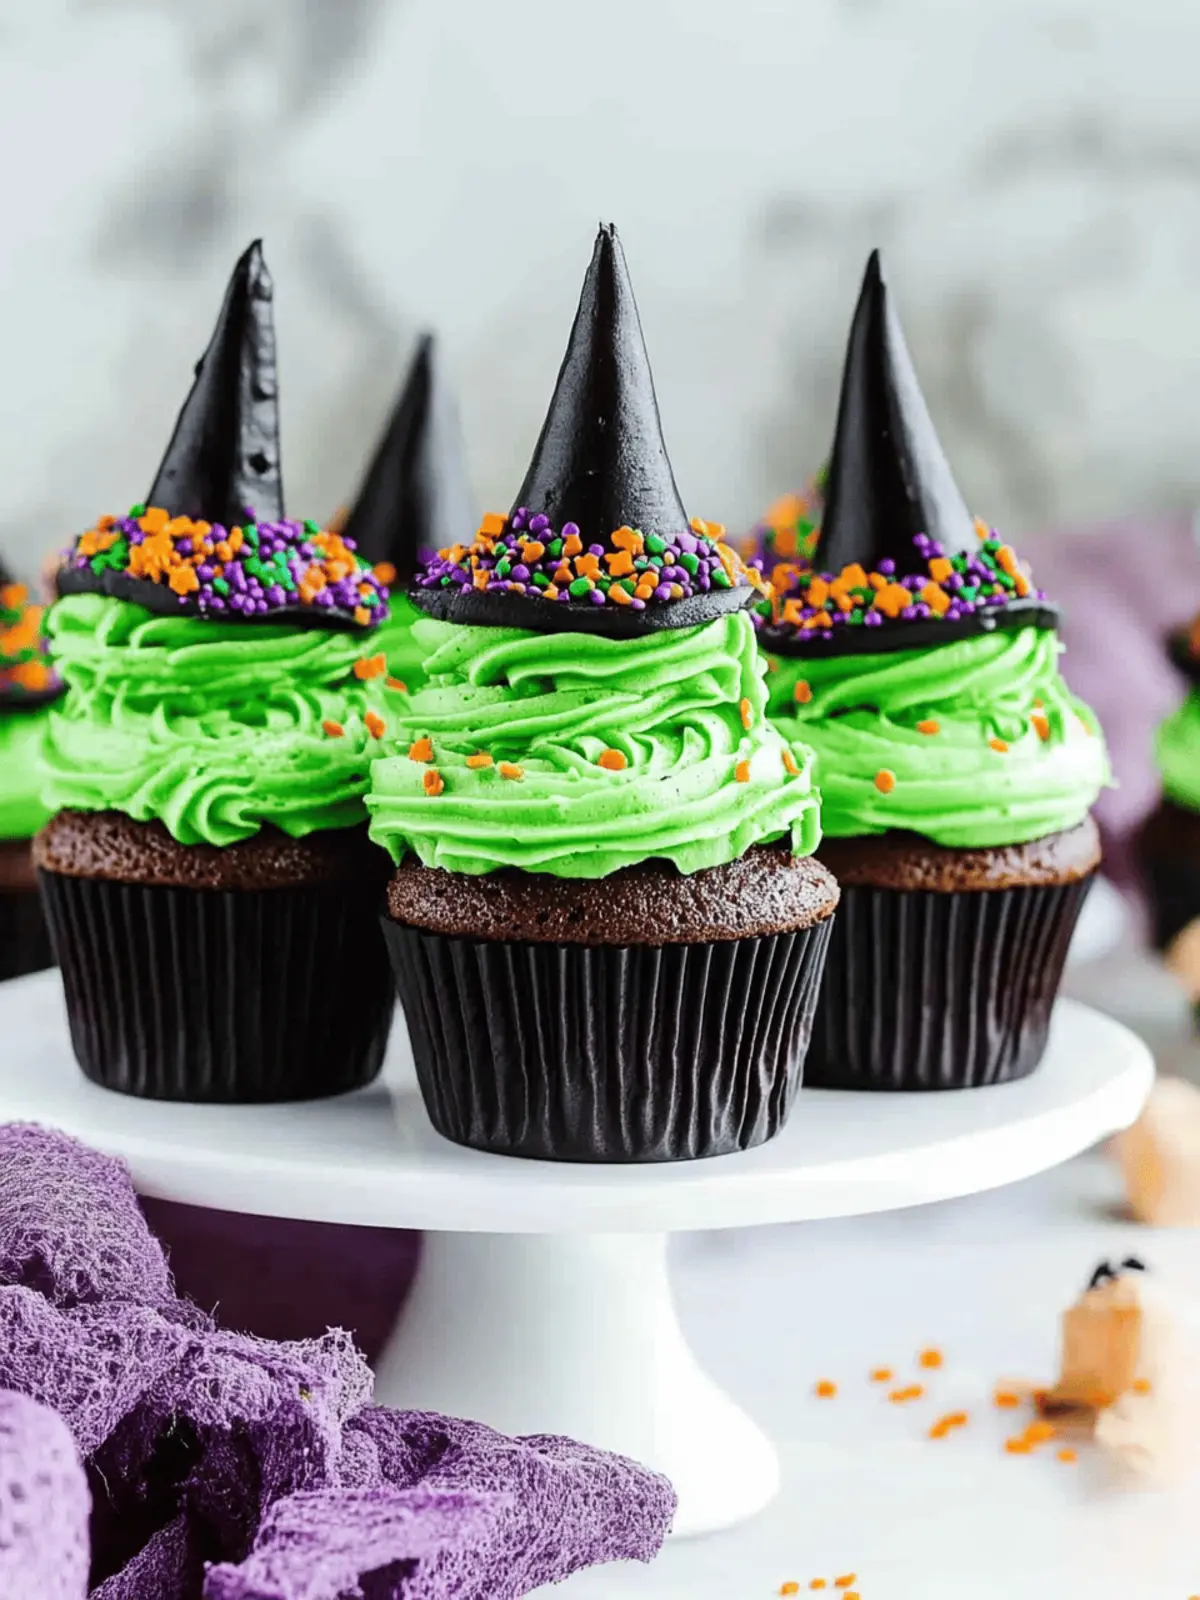
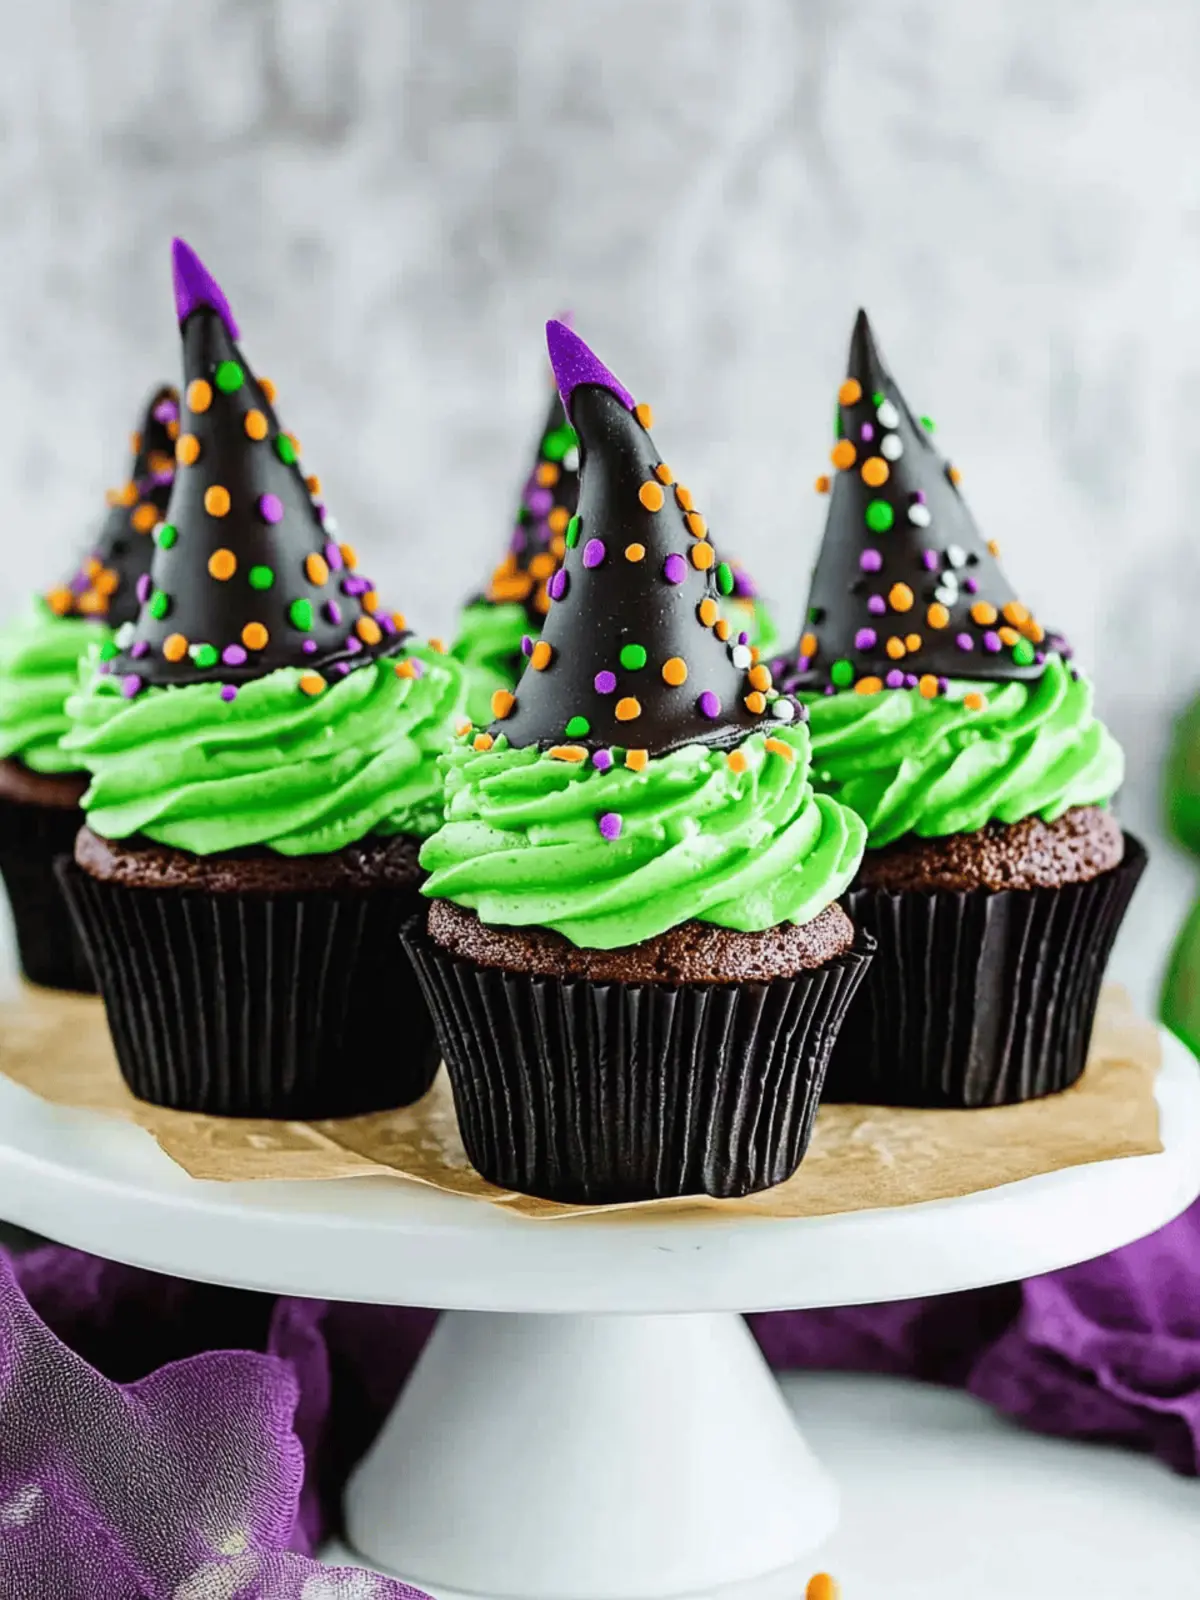
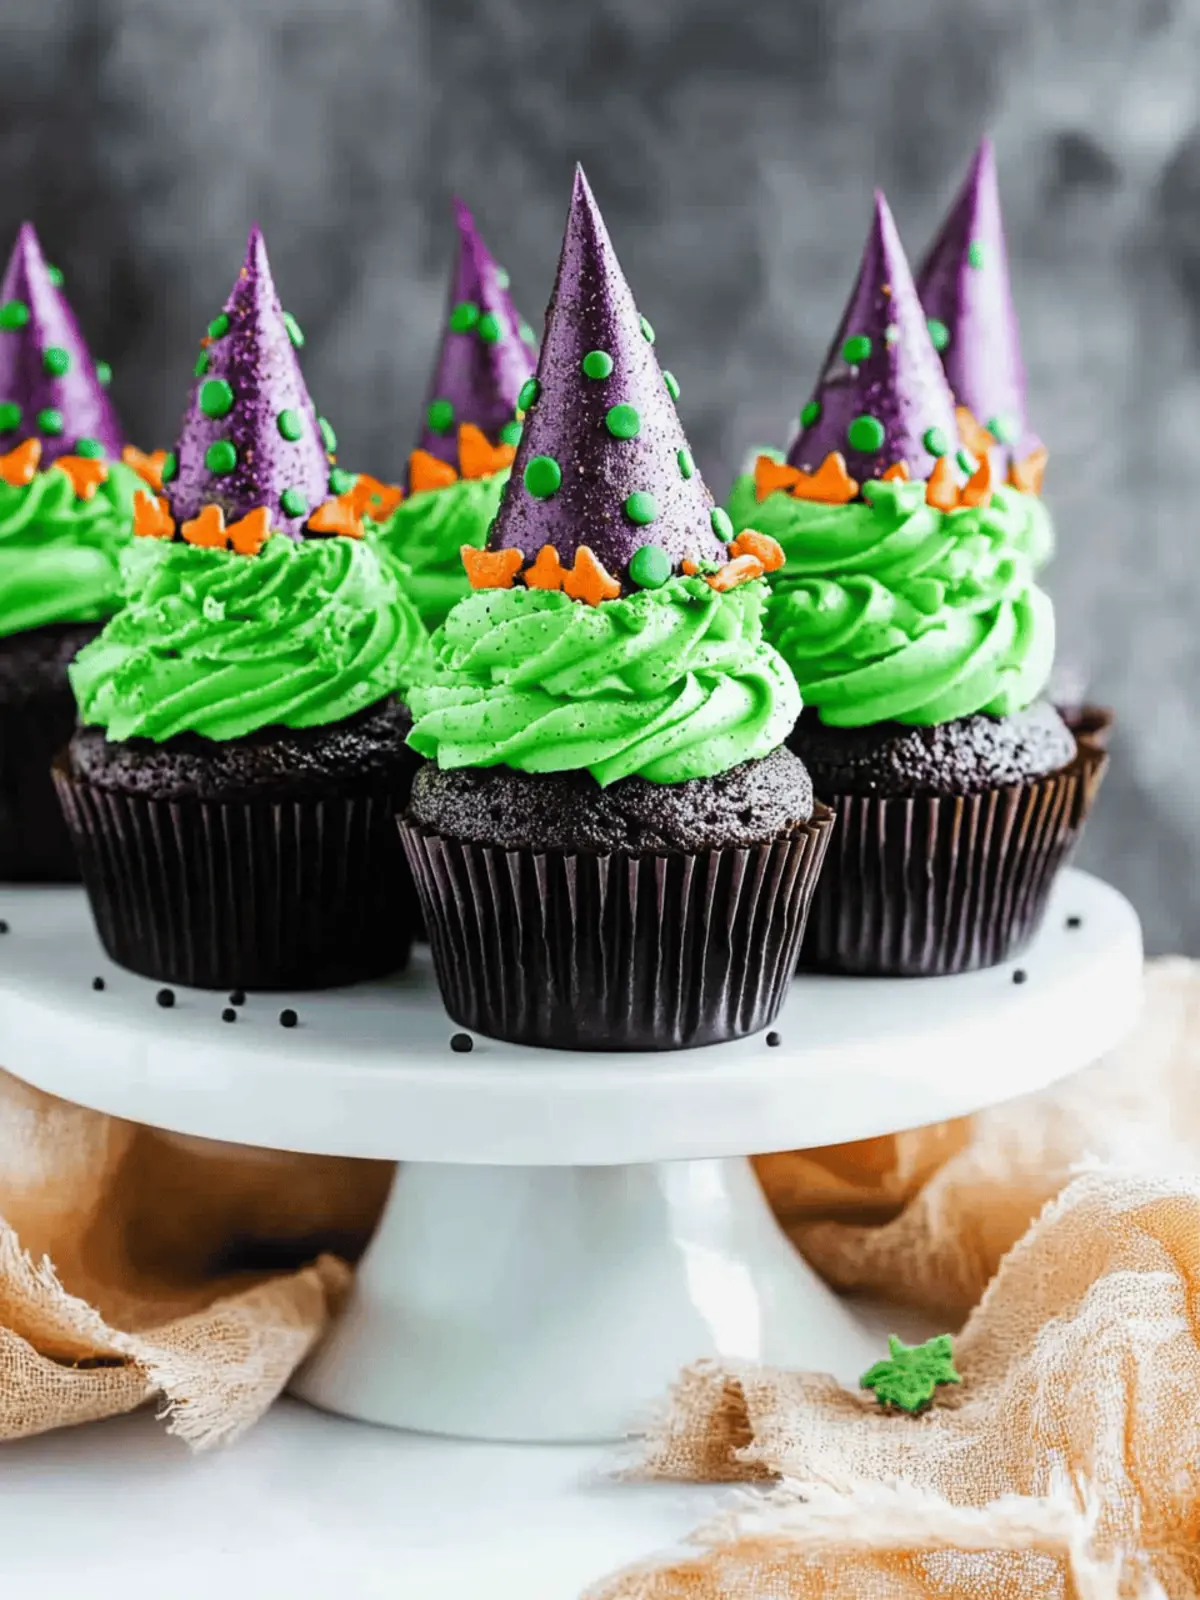
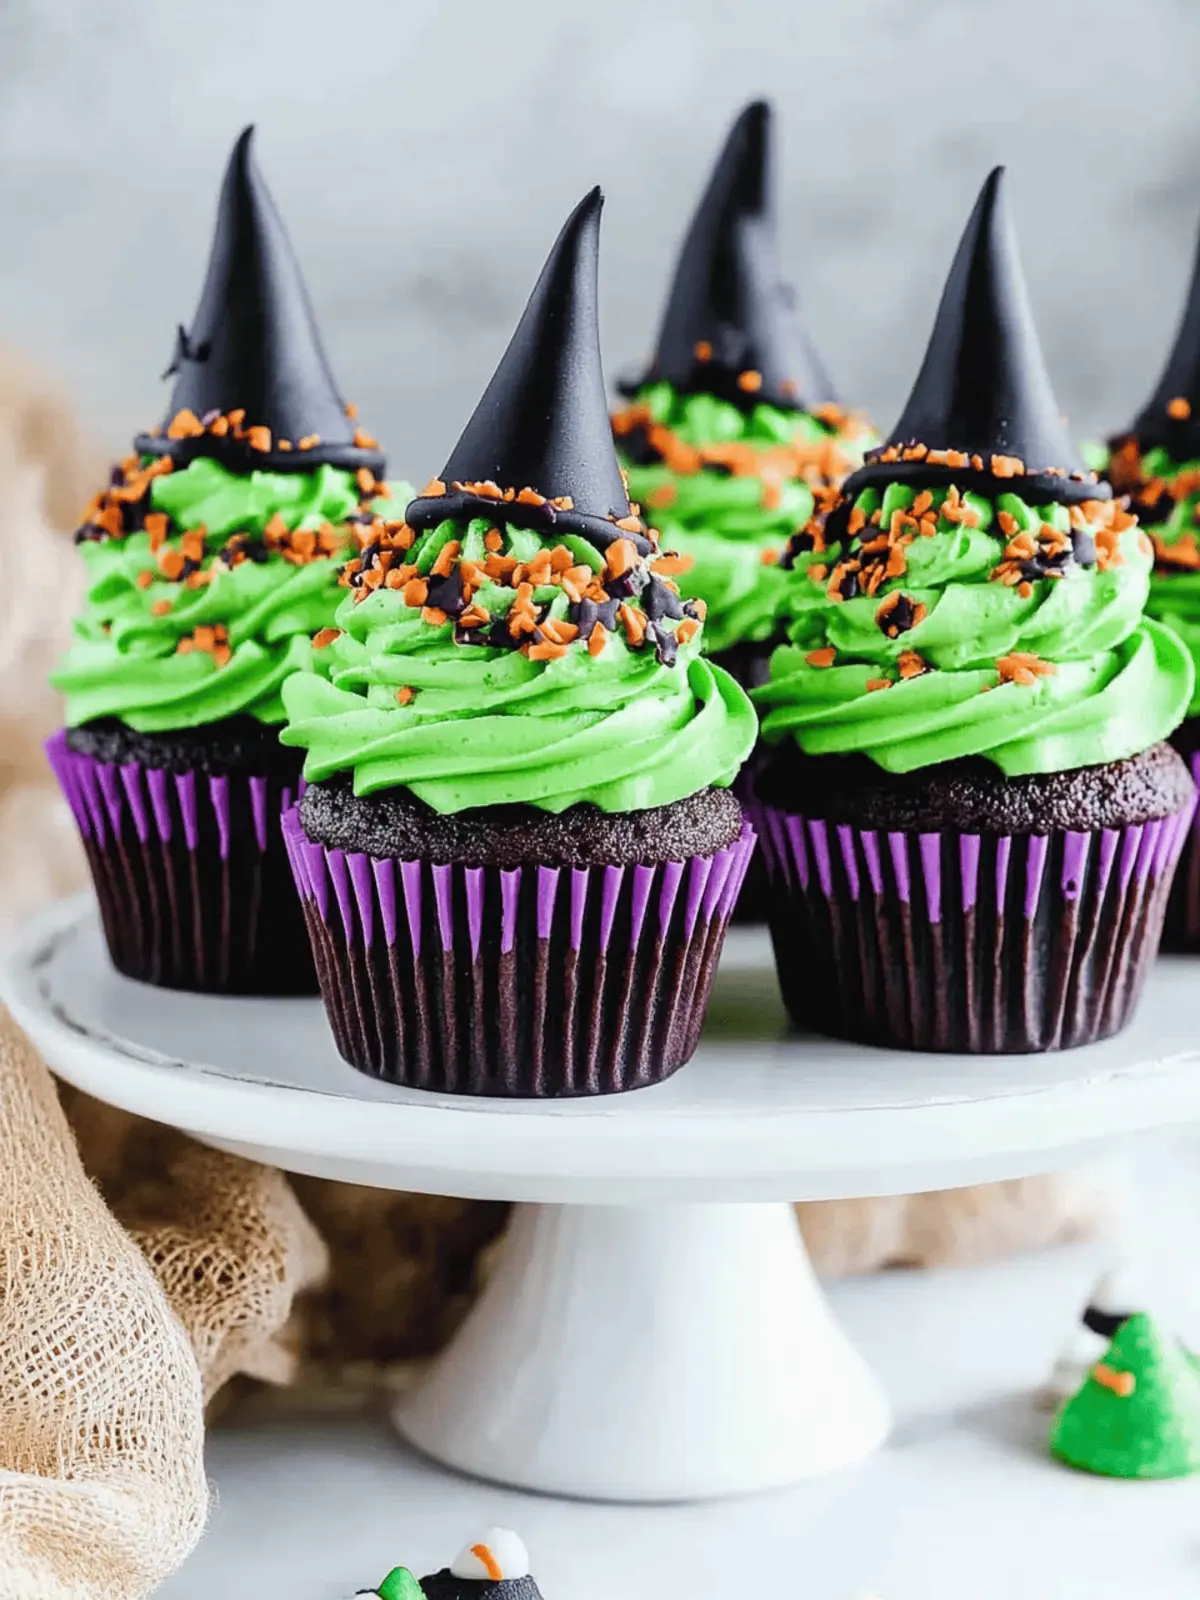
As the crisp autumn air settles in and the sugar rush of Halloween beckons, my thoughts drift to a treat that’s as much fun to decorate as it is to eat. That’s when the idea of crafting Witch Hat Cupcakes sparked a delightful culinary adventure in my kitchen. These enchanting little creations are not just a feast for the eyes; they consist of moist chocolate cupcakes topped with a playful swirl of green vanilla buttercream and crowned with whimsical witch hats made from Oreo cookies.
Imagine the delighted squeals of children and the whimsical smiles of adults alike as they revel in these spooky yet delicious desserts. Perfect for any Halloween gathering, these cupcakes are quick to whip up and a go-to solution for those last-minute party preparations. Join me in bringing a touch of magic to your Halloween festivities with these irresistibly sweet Witch Hat Cupcakes that are sure to bewitch your guests!
Why Love Witch Hat Cupcakes?
Delightful and Fun: These cupcakes aren’t just tasty; they are a joy to decorate and share, capturing the Halloween spirit perfectly.
Quick and Easy: With simple ingredients and a straightforward process, you can whip these up in no time, making them ideal for unexpected gatherings.
Crowd Pleaser: From kids to adults, everyone loves the whimsical design and rich flavors, ensuring they won’t last long on the table!
Versatile Base: Feel free to use any cupcake recipe as a foundation, making them adaptable for various tastes and preferences.
Magic on a Plate: The combination of chocolate and vibrant green buttercream creates a visually stunning treat that’s hard to resist!
Explore even more amazing dessert ideas with my easy dessert recipes that are sure to impress!
Witch Hat Cupcake Ingredients
• For those enchanting treats!
- Oreos – The base for the whimsical witch hats; any chocolate sandwich cookie works well.
- Green Vanilla Buttercream – This sweet and vibrant frosting adds color; feel free to substitute with any colored buttercream for variety.
- Hershey’s Kisses – Creates the perfect witch hat on top of the cupcakes; can easily swap with chocolate or candy melts.
- Unsalted Butter – The essential fat for rich buttercream; margarine is a suitable dairy-free alternative.
- Powdered Sugar – Sweetens and thickens the buttercream; a sugar substitute can be used for lower-calorie options.
- Vanilla Extract – Adds a depth of flavor; opt for pure vanilla for a better taste.
- Whole Milk/Heavy Cream – Helps achieve the right consistency in frosting; almond milk works as a dairy-free alternative.
- Leaf Green Gel Food Coloring – Provides that iconic Halloween color; any food coloring can be swapped in as desired.
- All-Purpose Flour – Forms the structure of the cupcakes; gluten-free flour is a great alternative for a gluten-free version.
- Granulated Sugar – Adds the perfect sweetness and moisture; brown sugar can be used for a richer flavor.
- Unsweetened Cocoa Powder – Gives a rich chocolate flavor; Dutch-processed cocoa offers a different profile.
- Black Cocoa Powder – For additional dark color and flavor; this is optional but adds depth.
- Baking Powder and Baking Soda – Essential leavening agents; freshness is key to make those cupcakes rise perfectly.
- Salt – Balances sweetness; feel free to adjust based on your taste preferences.
- Large Eggs – Provide moisture and structure; aquafaba is a good egg-free substitute.
- Vegetable Oil – Adds moisture; consider switching to coconut oil for a unique flavor.
- Buttermilk – Contributes to cupcake moisture; mix milk with vinegar for a quick substitute.
- Hot Coffee/Boiling Water – Enhances the chocolate flavor; omit for a milder cupcake if preferred.
With these ingredients at hand, you’re ready to create your own batch of Witch Hat Cupcakes that are sure to enchant your family and friends this Halloween!
How to Make Witch Hat Cupcakes
-
Preheat the oven to 350°F (177°C) and line your cupcake pans with colorful liners to give your cupcakes a festive flair. This temperature sets the stage for fluffy, perfectly baked treats!
-
Combine the dry ingredients in a bowl: flour, cocoa powders, baking powder, baking soda, and salt. Whisk them together thoroughly to ensure an even mix, which keeps your cupcakes light and fluffy!
-
Whisk together the wet ingredients in a separate measuring cup: eggs, sugars, oil, buttermilk, and vanilla. Add this mixture to the dry ingredients, then blend in the hot coffee or boiling water until you achieve a smooth, batter consistency.
-
Fill each cupcake liner 2/3 full with the batter and pop them in the oven. Bake for 14-16 minutes until a toothpick inserted comes out clean. Allow them to cool in the pans for a few minutes, then transfer them to a wire rack to cool completely.
-
Beat the softened butter for the buttercream until fluffy, then gradually add in the powdered sugar. Stir in the cream, vanilla, salt, and a few drops of green food coloring for a spooky twist! Keep mixing until you achieve a light and creamy frosting.
-
Prepare the Oreos for your witch hats: Split each Oreo in half, pipe a dollop of buttercream onto one half, and gently press a Hershey’s kiss into it. Place these in the fridge to set for a while.
-
Frost the cooled cupcakes generously with your green buttercream, then dip the tops in colorful sprinkles for an extra touch of magic. Finally, place the witch hats on top, securing them with a little more frosting if necessary.
Optional: Sprinkle some chocolate sprinkles on top for an added crunch!
Exact quantities are listed in the recipe card below.
What to Serve with Witch Hat Cupcakes?
As you prepare to dazzle your guests with these whimsical treats, consider pairing them with delightful sides that complement their festive spirit.
-
Creamy Hot Cocoa: A warm cup of hot cocoa topped with marshmallows enhances the playfulness of the cupcakes, making for a comforting treat on chilly Halloween nights.
-
Spooky Fruit Salad: Bright, fresh fruits like oranges and grapes make a colorful addition, balancing the sweetness while keeping it festive with Halloween-themed cookie cutouts.
-
Pumpkin Spice Cheesecake: Rich and creamy cheesecake infused with pumpkin spice will evoke the flavors of autumn, offering a luxurious contrast to the playful cupcakes.
-
Caramel Corn: Crunchy and sweet, caramel corn is a fun snack that mirrors the whimsical vibe of the cupcakes, great for enjoying while mingling during a Halloween party.
-
Decorated Sugar Cookies: Make themed sugar cookies shaped like bats and ghosts to create a cohesive Halloween dessert table that invites creativity and delight.
-
Halloween-themed Punch: Refresh your guests with a punch made from fruit juices and soda, served in a fun, spooky bowl. This provides a festive drink option that feels special and celebratory.
-
Spiced Apple Cider: Warm spiced cider adds a cozy touch to your dessert table, wrapping your gathering in the comforting aromas of fall while perfectly complementing your Halloween treats.
Let your imagination run wild as you create an enchanting spread that pairs beautifully with these Witch Hat Cupcakes, ensuring a spooktacular celebration!
Storage Tips for Witch Hat Cupcakes
- Room Temperature: Store Witch Hat Cupcakes in an airtight container at room temperature for up to 3 days, ensuring they remain fresh and delicious.
- Fridge: If made in advance, you can refrigerate them to extend freshness, but allow them to come to room temperature before serving for the best taste.
- Freezer: For longer storage, freeze the cupcakes (without frosting) in an airtight container for up to 2 months; thaw in the fridge overnight before frosting and serving.
- Reheating: If desired, place unfrosted cupcakes in a warm oven (around 200°F or 93°C) for a few minutes to revive their moisture before adding your spooky frosting!
Make Ahead Options
These Witch Hat Cupcakes are excellent for meal prep, making your Halloween festivities a breeze! You can prepare the chocolate cupcakes up to 3 days in advance; simply bake and cool them completely before storing them in an airtight container at room temperature. The green vanilla buttercream can be made up to 24 hours ahead; just refrigerate it in an airtight container and stir well before using. Even the witch hats can be assembled a day ahead—store them in the fridge to maintain freshness. When it’s time to serve, frost the cupcakes and place the hats on top. This approach ensures your cupcakes are just as delicious and ready to delight your guests with minimal effort!
Expert Tips for Witch Hat Cupcakes
- Cooling Time: Ensure cupcakes are completely cool before frosting to prevent the buttercream from melting and losing its shape.
- Quality Cocoa: For a richer chocolate flavor, consider using high-quality cocoa powders that will elevate your Witch Hat Cupcakes.
- Piping Perfection: Use a star tip to pipe the buttercream for a beautiful swirl that enhances the visual appeal of your cupcakes.
- Storage Solution: Keep your cupcakes in an airtight container at room temperature for optimal freshness; refrigerate if made in advance.
- Creative Swaps: Feel free to substitute different candies for the witch hats, allowing you to customize the look and taste according to your theme!
Witch Hat Cupcake Variations
Embrace your creativity and personalize these delightful cupcakes with these fun twists!
- Mint Chocolate: Add a few drops of mint extract to the buttercream for a refreshing twist that pairs perfectly with chocolate.
- Spooky Color Swaps: Use different food coloring to match your Halloween theme—think bright purple, orange, or even eerie black!
- Chocolate Surprise: Fold mini chocolate chips into the cupcake batter before baking for a delightful surprise in every bite.
- Fruit Infusion: Incorporate pureed pumpkin or applesauce for a touch of fruitiness and added moisture, making your cupcakes unique!
- Nutty Crunch: Sprinkle crushed nuts, like walnuts or pecans, into the batter or on top of the frosting for an unexpected crunch.
- Candy Bar Hats: Swap out the Oreos for fun-sized chocolate bars like Snickers or Twix for a delicious twist on the witch hats.
- Spiced Delight: Add a pinch of cinnamon or pumpkin spice to the batter for a warm, cozy flavor that complements the autumn season.
- Heat Things Up: If you’re feeling adventurous, mix in some cayenne pepper into the buttercream for a sweet and spicy combination that will surprise your guests!
Witch Hat Cupcakes Recipe FAQs
How do I choose ripe ingredients for my Witch Hat Cupcakes?
Absolutely! When selecting ingredients like eggs and butter, ensure that they are fresh. Eggs should be clean and the shell intact. If you’re using a store-bought butter, check that it’s unsalted and within the expiration date. Fresh powdered sugar without clumps will also help your buttercream achieve that smooth texture.
What is the best way to store leftover Witch Hat Cupcakes?
Very! You can store your Witch Hat Cupcakes in an airtight container at room temperature for up to 3 days. If you need them to last longer, refrigerate them, but be sure to let them come back to room temperature for optimal taste before serving.
Can I freeze Witch Hat Cupcakes?
Of course! To freeze, first place the unfrosted cupcakes in an airtight container or freezer bag, ensuring they are well-sealed to prevent freezer burn. They can be frozen for up to 2 months. When you’re ready to enjoy, just let them thaw in the fridge overnight, then frost and decorate as desired!
What should I do if my cupcakes don’t rise properly?
That’s a common question! If your witch hats didn’t rise, the first step is to check the freshness of your baking powder and baking soda; they should be within their expiration dates. Make sure to measure your ingredients accurately—too much flour or not enough liquid can also affect rise. Lastly, ensure your oven temperature is calibrated correctly; an oven that’s too cool can result in flat cupcakes.
Are there any allergies I should consider with Witch Hat Cupcakes?
Yes! If serving to guests, be aware that these cupcakes contain common allergens like eggs, dairy (from butter and milk), and gluten (from flour). You can make them suitable for a dairy-free diet by substituting with dairy-free butter and almond milk. For a gluten-free version, simply use a gluten-free flour mix. Always check with your guests about their dietary restrictions.
Is it okay to use different cupcake bases for this recipe?
Absolutely! The beauty of Witch Hat Cupcakes lies in their versatile base. You can use any chocolate or vanilla cupcake recipe you love as a foundation, allowing you to cater to different taste preferences. Just maintain the same steps for frosting and decoration, and you’ll have a delightful result no matter the base!
Witch Hat Cupcakes: Hauntingly Delicious Halloween Delights
Ingredients
Equipment
Method
- Preheat the oven to 350°F (177°C) and line your cupcake pans with colorful liners.
- Combine the dry ingredients: flour, cocoa powders, baking powder, baking soda, and salt in a bowl. Whisk them together thoroughly.
- Whisk together the wet ingredients: eggs, sugars, oil, buttermilk, and vanilla. Blend this with the dry ingredients and add hot coffee or boiling water until smooth.
- Fill each cupcake liner 2/3 full with batter and bake for 14-16 minutes until a toothpick comes out clean.
- Let cupcakes cool in pans for a few minutes, then transfer to a wire rack.
- Beat the softened butter for the buttercream until fluffy, then gradually add powdered sugar, milk, vanilla, salt, and green food coloring until creamy.
- Prepare Oreos for witch hats: split each in half, pipe buttercream onto one half, and press a Hershey’s kiss into it. Refrigerate to set.
- Frost cooled cupcakes with green buttercream and dip the tops in sprinkles, then place the witch hats on top with extra frosting if necessary.
