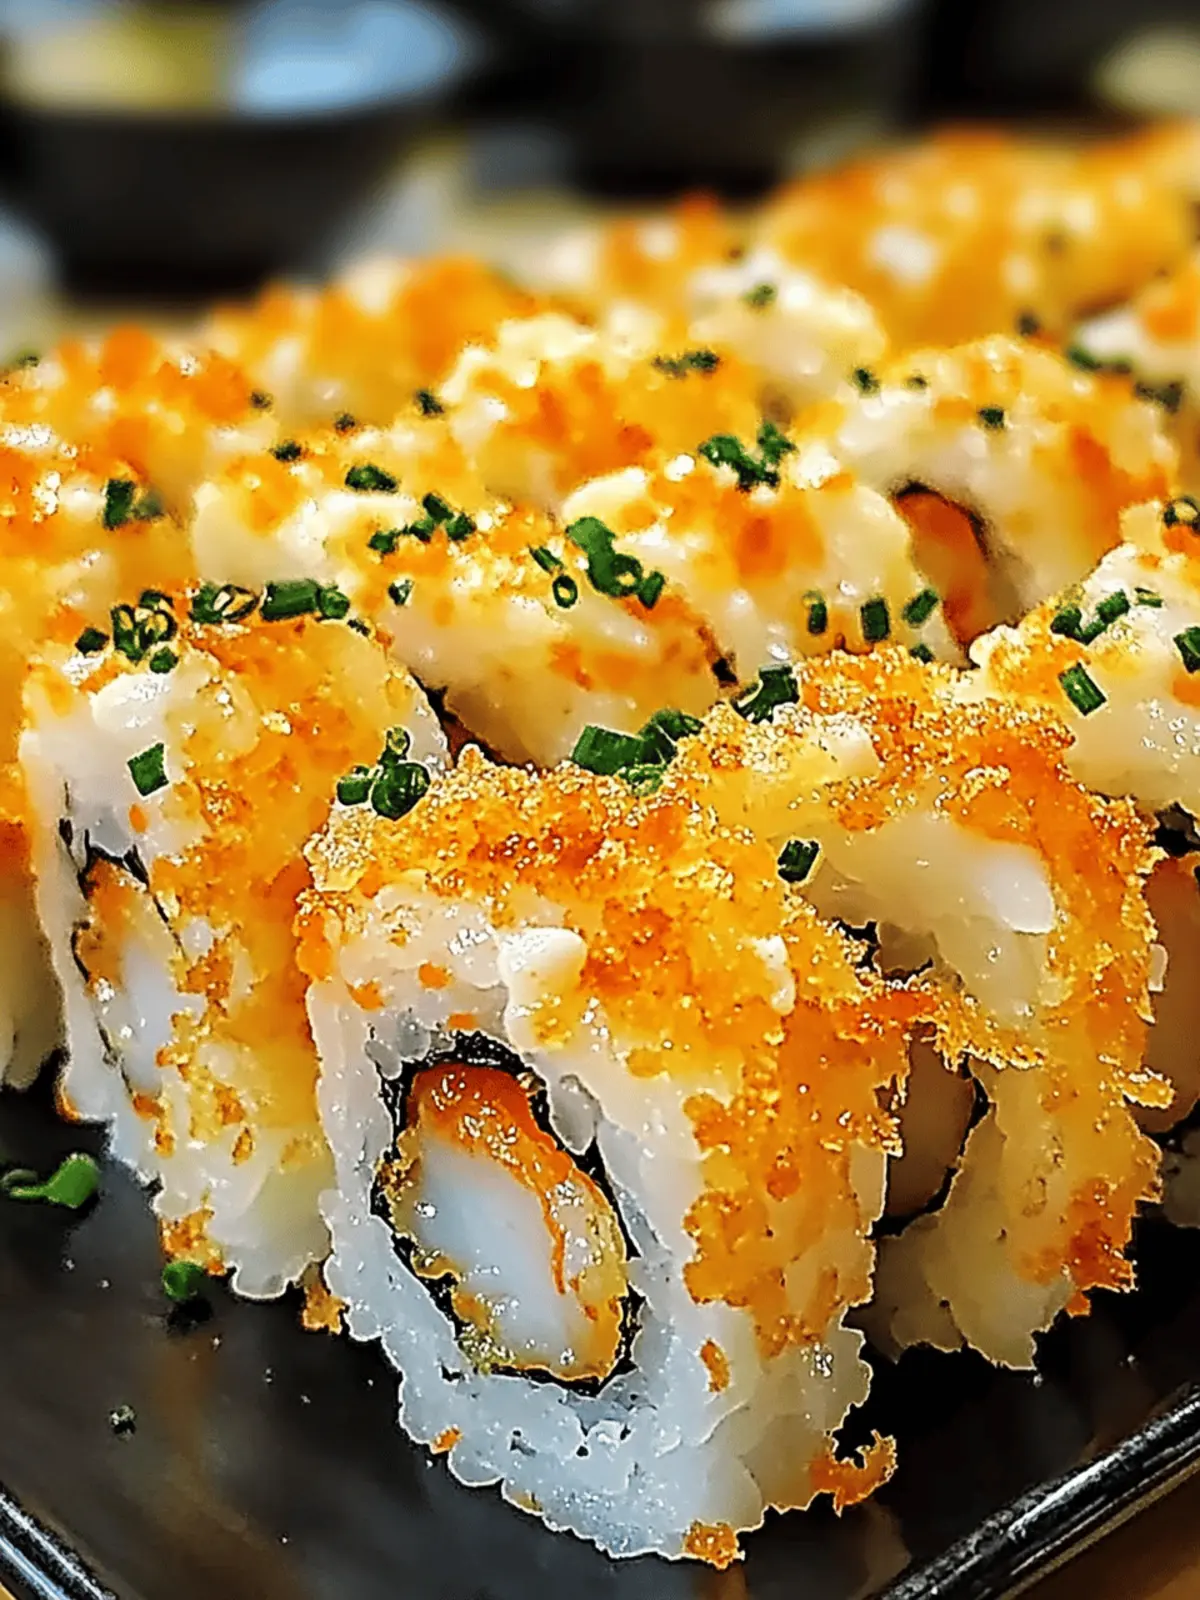
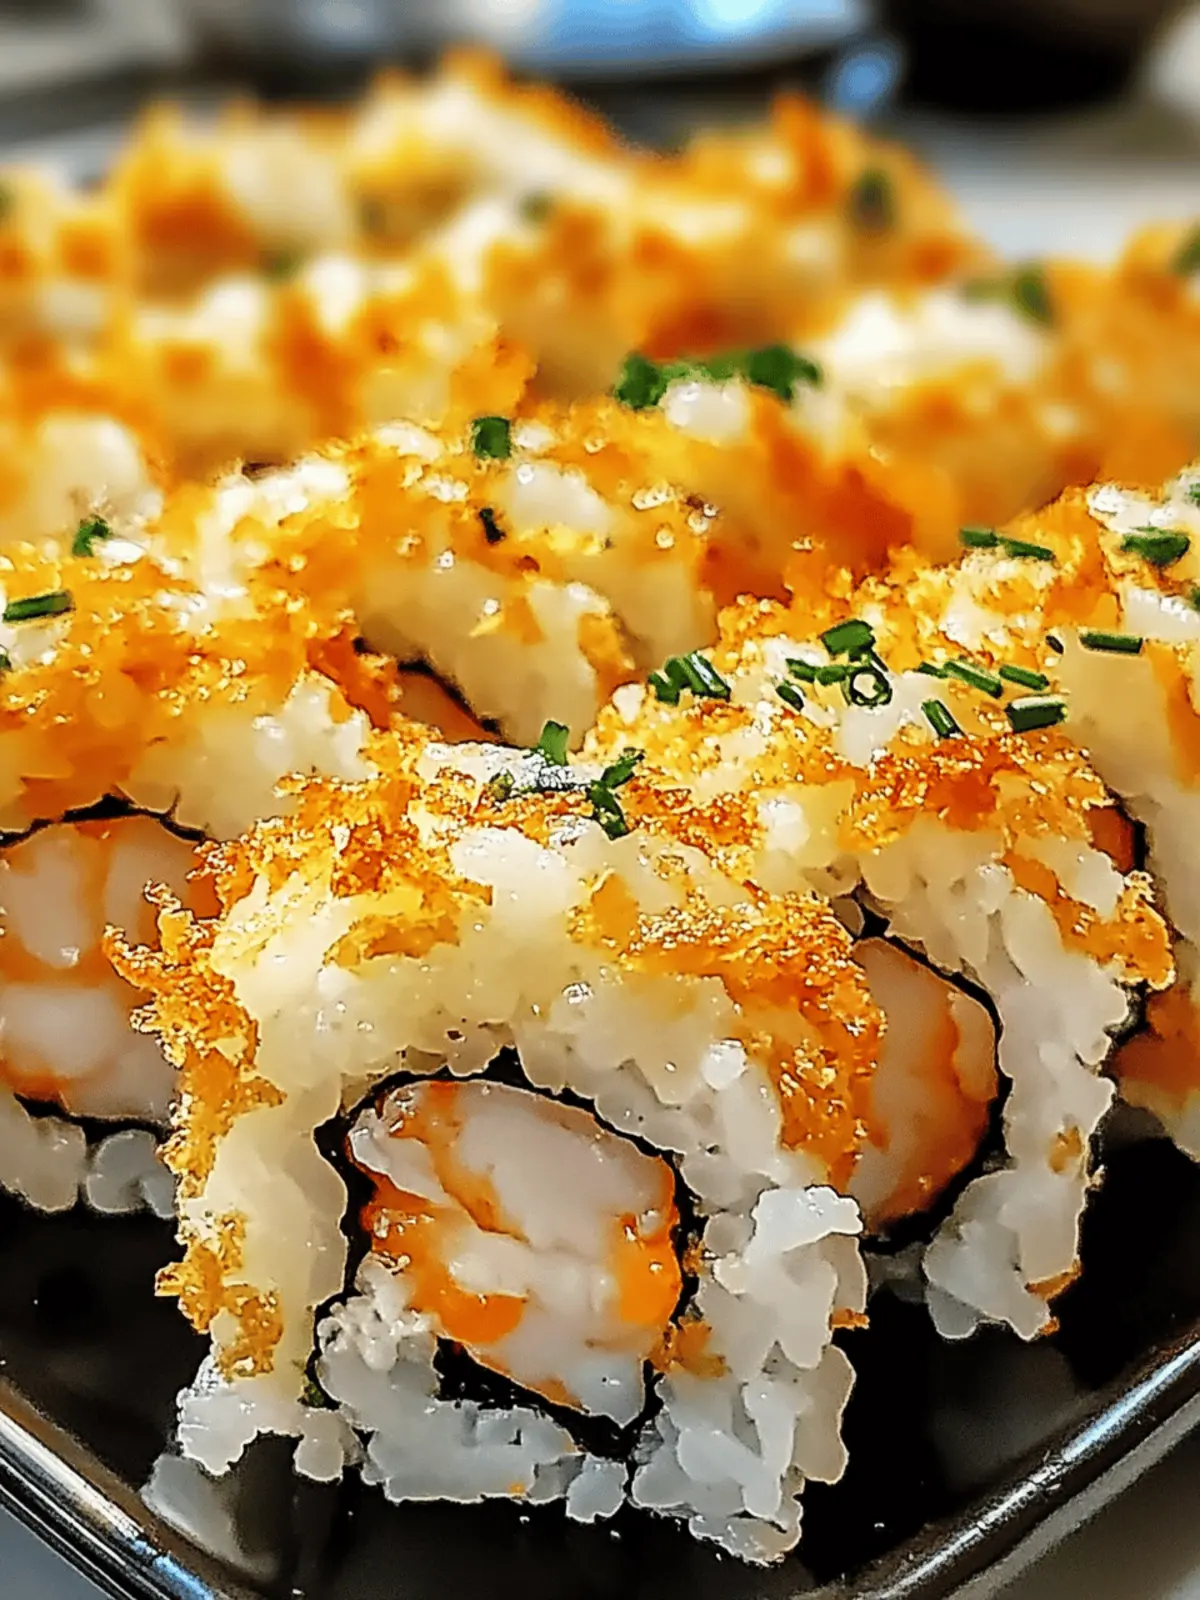
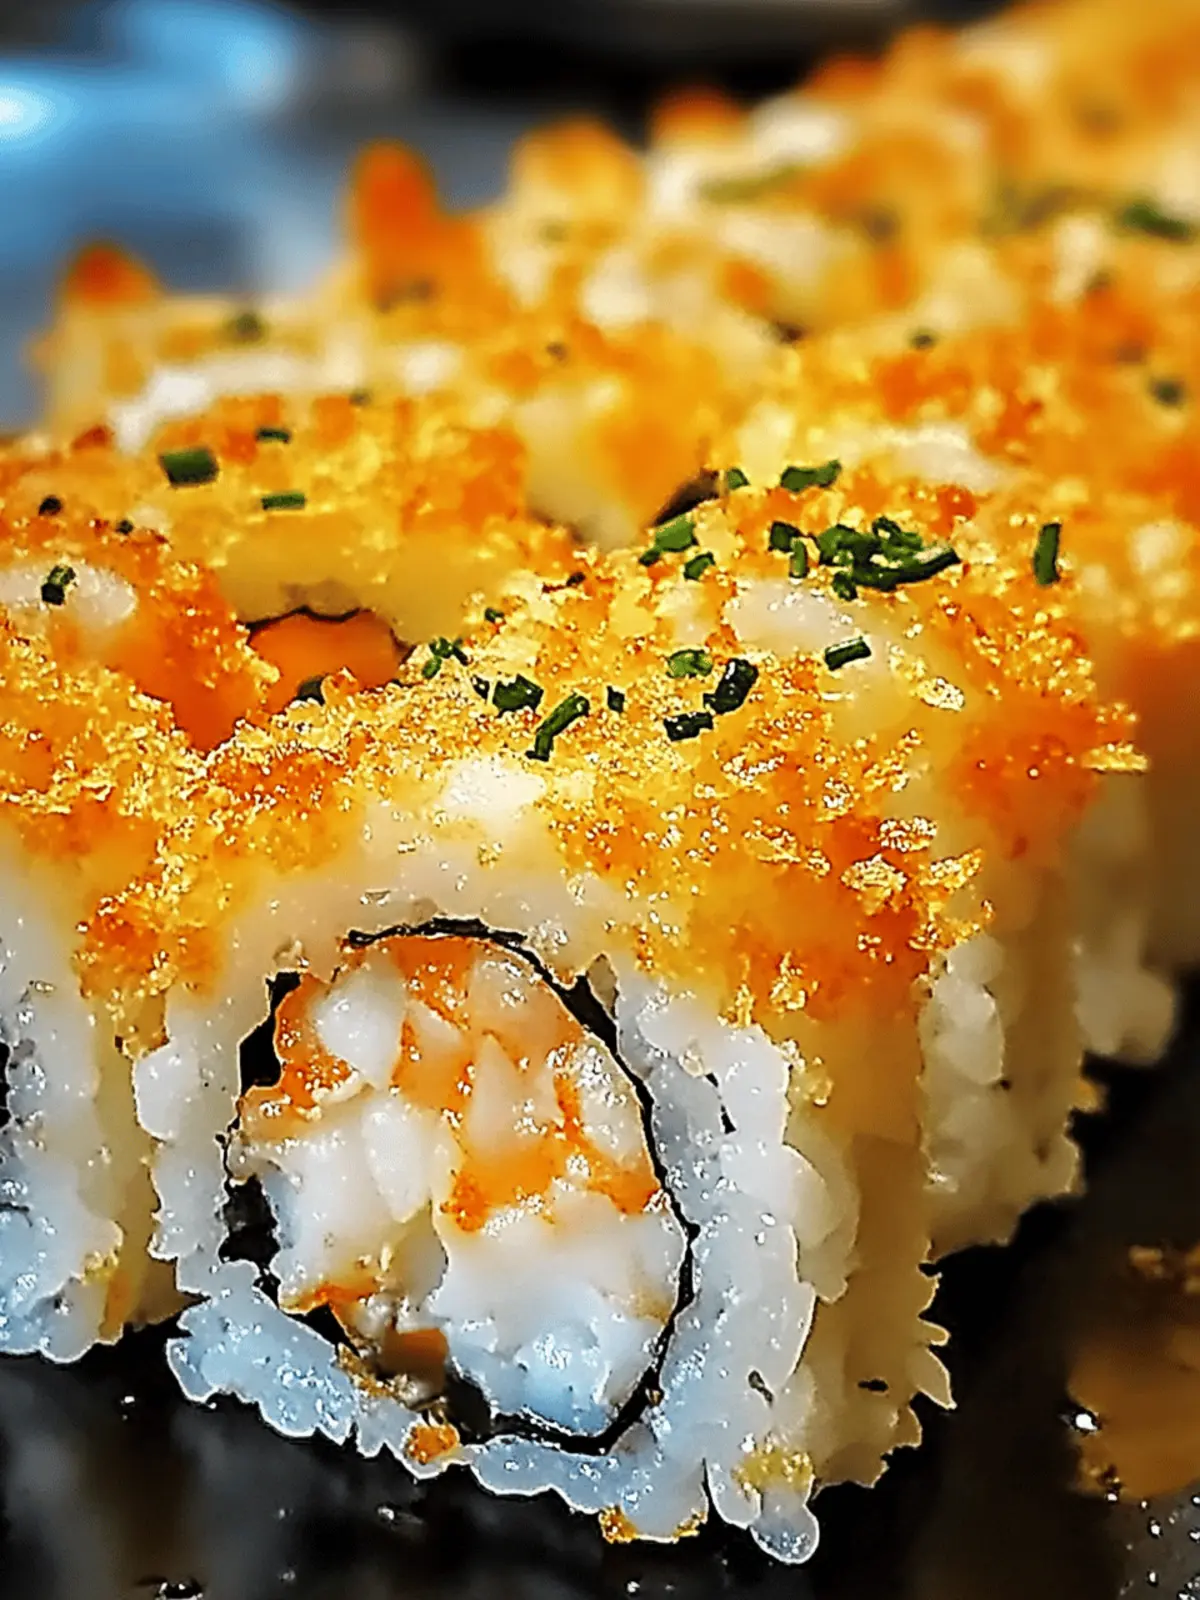
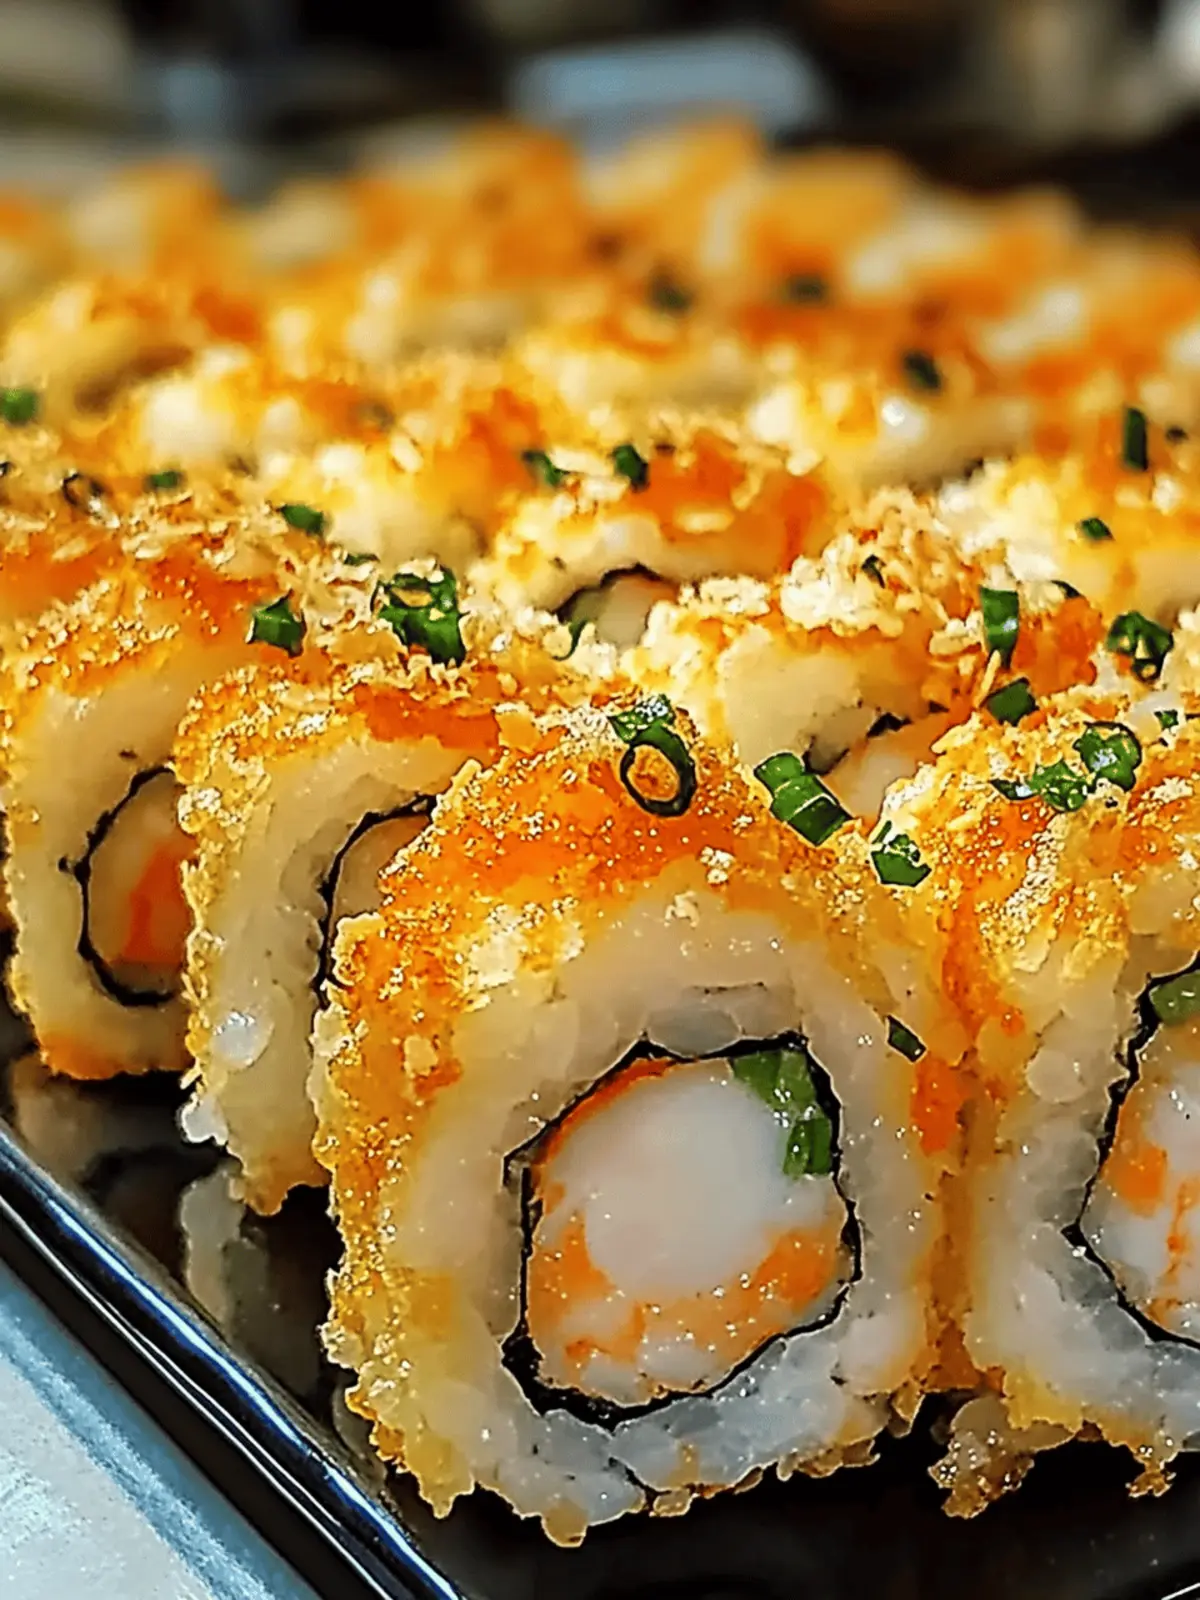
The moment I first took a bite of Shrimp Tempura Sushi Bake, I knew I had stumbled upon a comforting fusion of flavors that would forever change my dinner routine. Imagine creamy sushi rice layered with crispy tempura shrimp, all baked to golden perfection—it’s an experience that tantalizes every sense. With hints of savory richness and delightful crunch, this dish is perfect for everything from a cozy weeknight meal with family to impressing friends at a potluck.
What I love most is how customizable this recipe is. You can easily swap in crab meat for a luxurious twist or add some colorful tempura vegetables for a vegetarian version. The versatility makes it an adventure in the kitchen, where creativity meets comfort food. So, if you’re looking to break free from the mundane and infuse some excitement into your home cooking, you’re in the right place. Let’s dive into this delicious journey and discover how easy it is to create an unforgettable Shrimp Tempura Sushi Bake!
Why is Shrimp Tempura Sushi Bake a must-try?
Deliciously Unique: This recipe combines traditional sushi aesthetics with comforting flavors, ensuring every bite is memorable.
Easy to Make: It requires only a few simple steps, making it accessible even for novice cooks.
Customizable: Add in crab meat or seasonal veggies to create your ideal version; the possibilities are endless!
Crowd-Pleaser: Perfect for potlucks or family dinners, this dish will leave everyone wanting seconds.
Great Leftovers: Make extra, and you’ve got a satisfying meal ready to reheat for busy days.
Don’t miss out on other delectable options; explore more recipes like this comforting dish to elevate your cookery game!
Shrimp Tempura Sushi Bake Ingredients
For the Sushi Base
• Sushi Rice – The foundation of your dish; ensures a sticky texture—opt for short-grain rice if sushi rice is unavailable.
• Creamy Sauces (e.g., mayonnaise, Sriracha) – These add a depth of flavor and richness; tailor the spice level to your preference.
For the Tempura
• Shrimp – The star of the show; fresh or high-quality frozen shrimp yield the best crunch.
• Tempura Batter – Creates that perfect crispy coating; make sure the oil is adequately heated for optimum results.
Optional Add-Ins
• Crab Meat – Elevates your Shrimp Tempura Sushi Bake—experiment for a luxurious twist!
• Vegetables (e.g., zucchini, sweet potatoes) – Use these as vegetarian options, adjusting cooking time accordingly.
• Wasabi – A wonderful kick if you like things spicy; it’s perfect for adding an extra layer of flavor.
Feel free to explore variations and get creative with your Shrimp Tempura Sushi Bake!
How to Make Shrimp Tempura Sushi Bake
-
Prepare Sushi Rice: Start by cooking sushi rice in a rice cooker until it’s perfectly fluffy. Once done, spread it out to cool to room temperature for the right texture.
-
Make Tempura Shrimp: Heat your oil in a deep pan until it reaches 350°F. Dip each shrimp in the tempura batter, then fry them in batches until golden brown, ensuring not to overcrowd the pan.
-
Assemble Layers: In a large baking dish, evenly spread your cooled sushi rice as the base. Layer on the crispy tempura shrimp, followed by any optional add-ins like crab meat or vegetables for extra flavor and texture.
-
Bake: Place the baking dish in a preheated oven at 375°F. Bake for about 20 minutes, or until everything is heated through and the top is a lovely golden color. For that extra crunch, broil for 2-3 minutes at the end, but watch it closely!
Optional: Top with sliced green onions or a drizzle of spicy mayo for an added flavor boost.
Exact quantities are listed in the recipe card below.
Make Ahead Options
These Shrimp Tempura Sushi Bake are perfect for busy home cooks looking to save time during the week! You can prepare the sushi rice and tempura shrimp up to 24 hours in advance; simply cook the rice and let it cool before refrigerating it in an airtight container. For the shrimp, fry them until golden brown and then store them separately to maintain their crispiness. When ready to assemble, layer the sushi rice and tempura shrimp in your baking dish, adding any desired optional ingredients like crab meat or vegetables. Bake at 375°F for about 20 minutes until everything is heated through, and finishing with a quick broil makes it just as delicious as when freshly made!
How to Store and Freeze Shrimp Tempura Sushi Bake
- Fridge: Store leftover Shrimp Tempura Sushi Bake in an airtight container for up to 2-3 days. This keeps the flavors locked in while preserving freshness.
- Freezer: If you need to freeze your dish, wrap tightly in plastic wrap and then foil to prevent freezer burn. It can last up to 2 months in the freezer.
- Reheating: To reheat, thaw overnight in the fridge, then bake at 350°F for about 15-20 minutes. This will help maintain the crispy texture of the tempura.
- Make-Ahead Tips: Prepare the sushi rice and tempura shrimp a day in advance, then assemble just before baking. This way, you can easily manage your cooking time!
Shrimp Tempura Sushi Bake Variations
Feel free to get creative with your Shrimp Tempura Sushi Bake and make it your own with these delightful adjustments!
- Vegetarian Delight: Substitute shrimp with tempura-fried vegetables like zucchini or sweet potatoes for a delicious meat-free version. The crispy texture will still satisfy your cravings!
- Crab-Meat Upgrade: For a touch of luxury, layer in some crab meat alongside the shrimp. It adds a sweet, rich flavor that beautifully complements the dish.
- Spicy Kick: Drizzle Sriracha or mix it into the creamy sauces for that extra heat. This will enhance the overall flavor profile and give it a mouthwatering zing!
- Rice Replacement: Don’t have sushi rice? Use any short-grain rice instead. It will maintain the sticky texture necessary for this dish, so you won’t miss a beat!
- Add Fresh Herbs: Garnish with fresh cilantro or green onions before serving to add a burst of freshness that brightens each mouthful. It’s a game-changer!
- Sauce Variations: Experiment with different sauces, such as teriyaki or spicy mayo, layered between the ingredients. Each sauce offers a unique take on the classic flavor.
- Layering Options: Mix in some seaweed sheets or add a layer of avocado for a creamy contrast. This will elevate the dish to a new level of deliciousness!
- Cheesy Twist: Sprinkle some shredded cheese on top during the last few minutes of baking. It melts beautifully, creating a rich and indulgent final layer that’s hard to resist!
What to Serve with Shrimp Tempura Sushi Bake?
Prepare a feast that delights both the palate and the senses, pairing this scrumptious dish with complementary sides and drinks.
-
Fresh Seaweed Salad: A light and refreshing side that adds a textural contrast, enhancing the sushi experience.
-
Pickled Ginger: Bright and zesty, this classic sushi condiment cleanses the palate between bites, balancing the richness of the tempura.
-
Edamame: Steamed and lightly salted, these young soybeans offer a protein-packed addition that’s both fun to eat and nutritious.
-
Miso Soup: Warm and savory, this comforting soup pairs perfectly, adding a traditional Japanese flavor to your meal.
-
Teriyaki Chicken Skewers: Sweet and savory, these skewers add a delightful protein option while mirroring the umami flavors of the bake.
-
Crispy Tempura Vegetables: Keep the tempura theme alive; the crunchy veggies are a great way to add more colors and flavors to the table.
-
Chilled Sake or Green Tea: Enhance the dining experience with the smooth taste of sake or the refreshing quality of green tea to cleanse your palate.
The flavors and textures from these pairings will elevate your Shrimp Tempura Sushi Bake into a truly memorable meal, perfect for any gathering!
Expert Tips for Shrimp Tempura Sushi Bake
- Perfect Temperature: Use a thermometer to check oil heat; the ideal is 350°F for crispy tempura without absorbing excess oil.
- Batch Frying: Fry the shrimp in small batches to prevent overcrowding, ensuring each piece gets that perfect crunchy texture.
- Layer Wisely: Cool layers before assembling; this helps maintain distinct flavors and prevents sogginess in your Shrimp Tempura Sushi Bake.
- Broil with Care: If broiling for extra crunch, keep a close eye on your dish. It can go from golden perfection to burnt in seconds!
- Be Creative: Don’t hesitate to experiment with add-ins; try different veggies or sauces to customize your Shrimp Tempura Sushi Bake to your taste!
Shrimp Tempura Sushi Bake Recipe FAQs
How do I choose the best shrimp for my Shrimp Tempura Sushi Bake?
Absolutely! For the best results, I recommend using fresh shrimp, but high-quality frozen shrimp works well too. Look for shrimp that are firm and translucent, with a mild ocean smell. Avoid any that have dark spots or an off-putting odor. A size of 16/20 shrimp is ideal, as they are large enough to hold their shape during frying.
What’s the best way to store leftover Shrimp Tempura Sushi Bake?
After your meal, allow the Shrimp Tempura Sushi Bake to cool down before transferring it to an airtight container. It can be stored in the fridge for up to 2-3 days. Just reheat in the oven at 350°F for about 15-20 minutes to get that crispy top again!
Can I freeze Shrimp Tempura Sushi Bake for later?
Certainly! To freeze, tightly wrap the assembled dish in plastic wrap, followed by a layer of foil to prevent freezer burn. It will stay good for up to 2 months. When you’re ready to enjoy it, thaw it overnight in the fridge, then bake at 350°F for about 20-25 minutes for the best results.
What should I do if my tempura batter isn’t crispy?
Very! If the tempura batter isn’t coming out crispy, check the oil temperature—it should be around 350°F. If the oil isn’t hot enough, the batter will absorb too much oil and become soggy. You can also try reducing the amount of batter on the shrimp for a lighter coating. Always fry in small batches to maintain oil temperature for that perfect crunch.
Are there any dietary considerations for this recipe?
Of course! If you’re looking for gluten-free options, you can use rice flour for the tempura batter instead of wheat flour. For those with allergies, make sure to check sauce ingredients—some may contain allergens. If you’re making this dish for pets, be cautious; while shrimp can be safe in moderation, ingredients like soy sauce and spicy condiments are not suitable for them.

Shrimp Tempura Sushi Bake: A Comforting Culinary Adventure
Ingredients
Equipment
Method
- Prepare Sushi Rice: Cook sushi rice until fluffy, then cool to room temperature.
- Make Tempura Shrimp: Heat oil to 350°F, dip shrimp in tempura batter, fry until golden in batches.
- Assemble Layers: Spread cooled sushi rice in a baking dish, layer with tempura shrimp and optional add-ins.
- Bake: Preheat oven to 375°F, bake for about 20 minutes; broil for an extra 2-3 minutes if desired.


