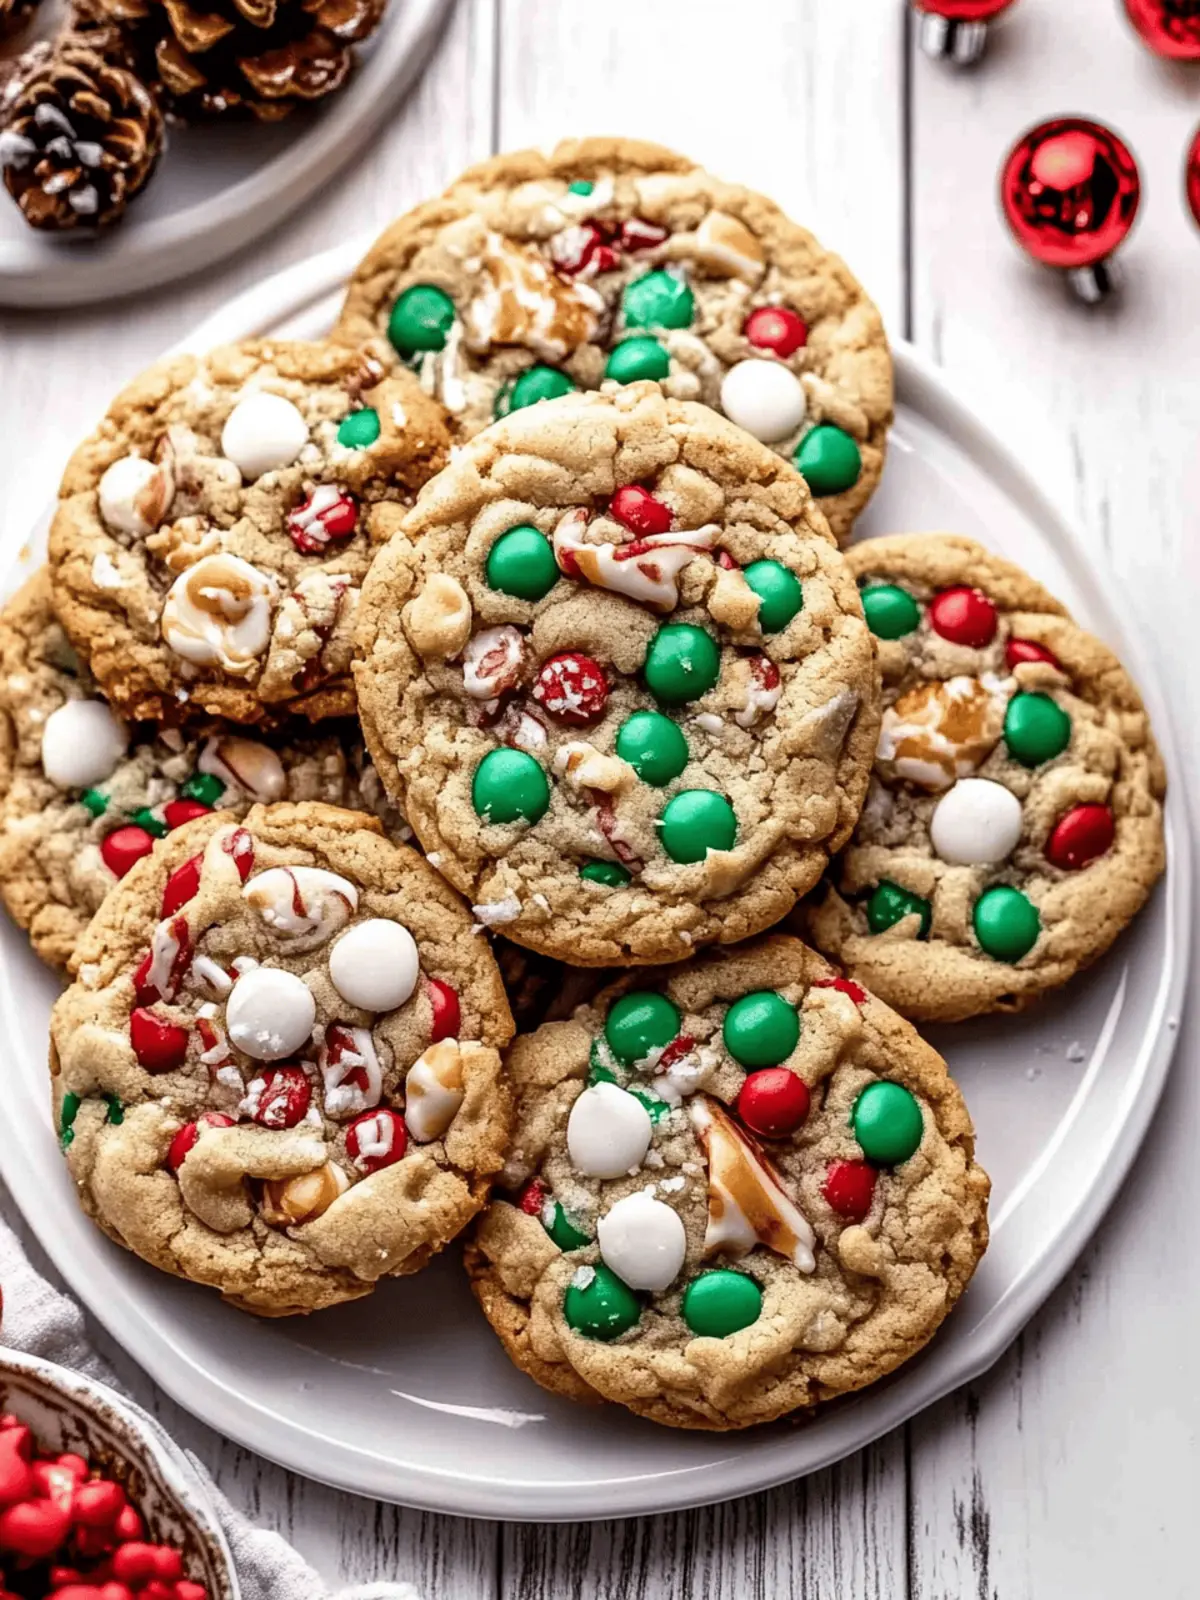
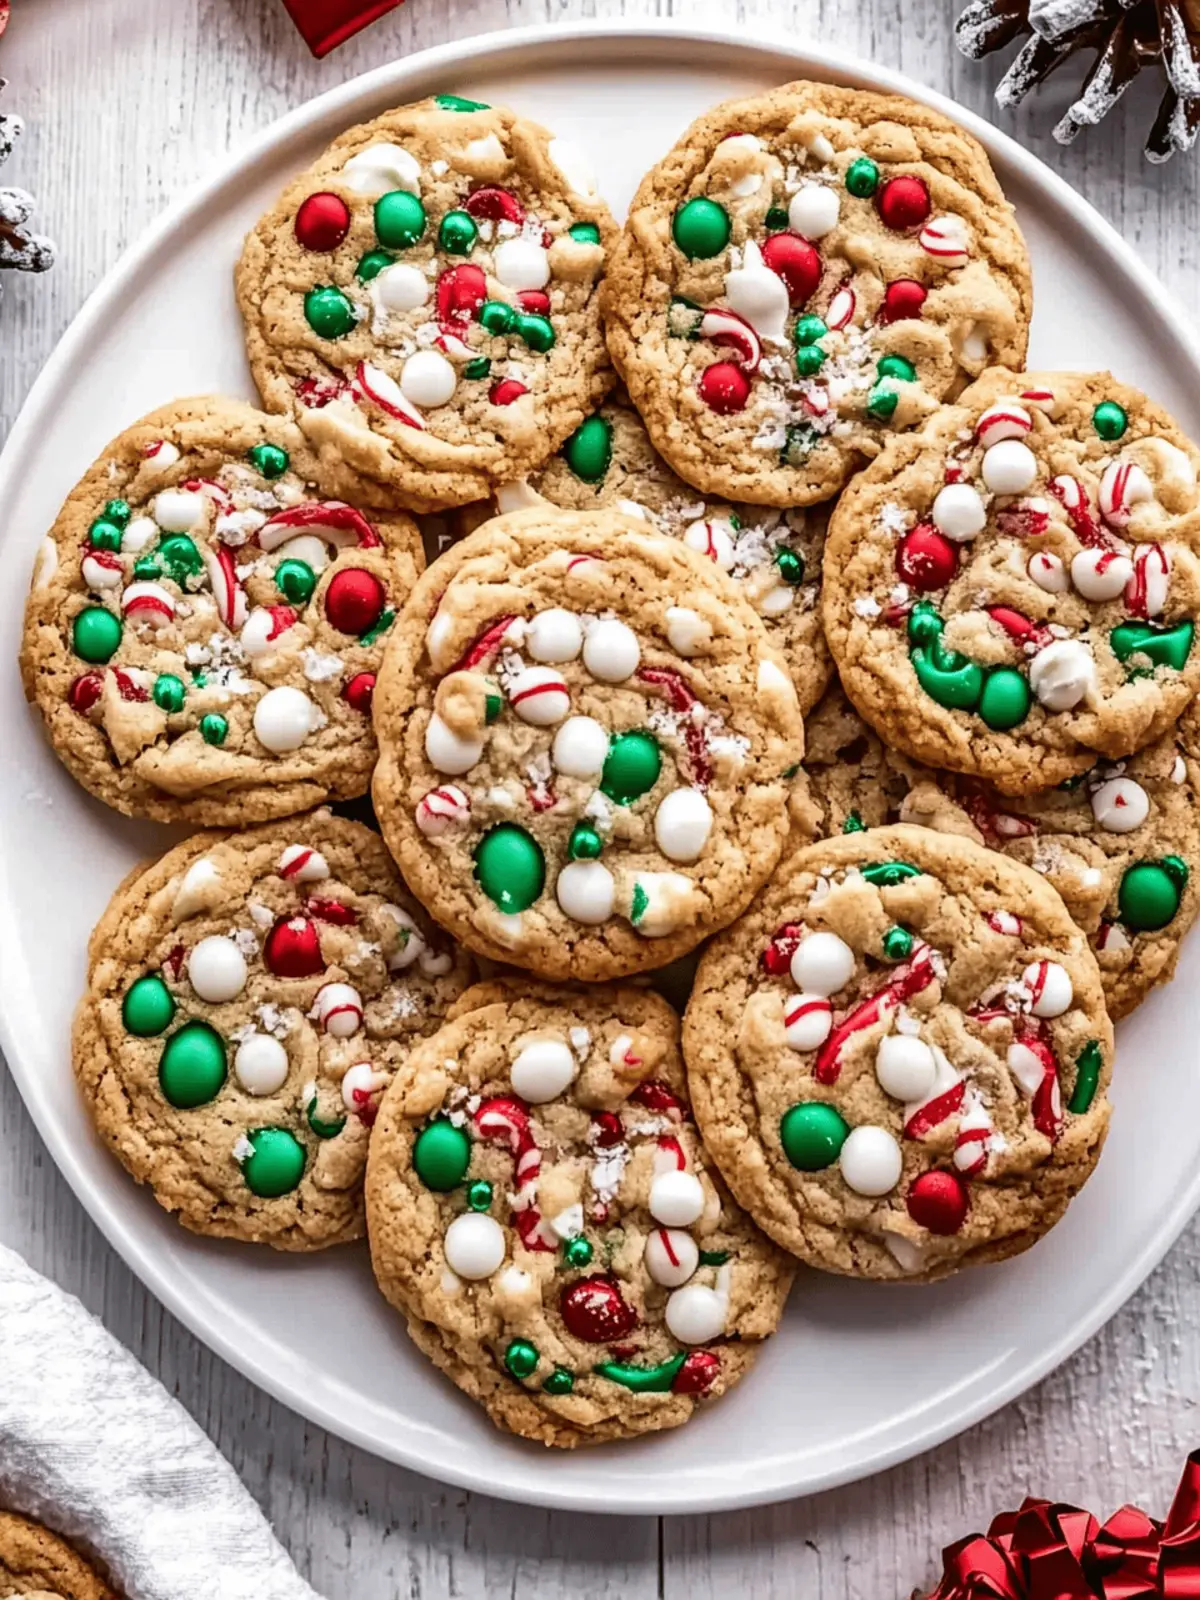
When the holiday season rolls around, my kitchen transforms into a delightful holiday workshop, filled with laughter, creativity, and mouthwatering treats. This year, I’m excited to share my latest concoction: Sweet and Salty Christmas Kitchen Sink Cookies. Imagine the comforting aroma of warm dough mingling with the crunch of salty pretzels and potato chips, paired with the colorful pop of red and green M&Ms. These cookies are not just a treat; they’re a joyful celebration of festive flavors that kids and adults alike can enjoy.
In just 30 minutes, you can whip up these scrumptious cookies that bring a fun twist to your traditional holiday baking. Whether you’re looking for an engaging activity to do with your little ones or simply want to surprise your guests with a unique dessert, these cookies check all the boxes. Get ready to indulge in a delightful flavor explosion that captures the essence of the season and keeps everyone coming back for more!
Why love Christmas Kitchen Sink Cookies?
Unique Flavor Fusion: The blend of sweet M&Ms, creamy white chocolate, and salty pretzel pieces creates a deliciously unexpected taste experience.
Quick and Easy: You can have these festive treats ready in just 30 minutes, making them perfect for last-minute baking or quality family time.
Visual Appeal: With vibrant red and green accents, these cookies are not only tasty but also beautiful, perfect for holiday gatherings.
Fun for All Ages: A wonderful baking project to enjoy with kids; watch their faces light up as they mix in colorful ingredients.
Perfect for Sharing: These crowd-pleasers make an excellent gift or addition to any holiday platter, spreading joy with every bite!
Christmas Kitchen Sink Cookies Ingredients
Get ready to create the ultimate festive treat with these colorful and fun cookies!
For the Cookie Dough
- Salted Butter – Adds richness and flavor; ensure it’s softened for easy creaming.
- Light Brown Sugar – Provides moisture and a hint of caramel flavor; dark brown sugar can be used for a deeper taste.
- Granulated White Sugar – Sweetens the cookies and aids in browning.
- Egg Yolks – Contributes to richness; using at room temperature helps with incorporation.
- Vanilla Bean Paste/Extract – Enhances flavor depth; substitute with regular vanilla extract if needed.
- All-Purpose Flour – Provides structure; measure accurately to avoid excess.
- Baking Powder – Acts as a leavening agent for soft and rise.
- Baking Soda – Helps cookies spread and enhances browning.
- Salt – Balances sweetness and intensifies overall flavor.
For the Mix-Ins
- Red and Green M&Ms – Introduce festive colors and sweetness; these are a must in your Christmas Kitchen Sink Cookies.
- White Chocolate Chips – Offer creaminess that contrasts wonderfully with other flavors.
- Pretzel Pieces – Adds a salty crunch that complements the sweetness.
- Potato Chip Pieces – Brings an unexpected savory texture to the mix.
- Red and Green Jimmies – Decorative sprinkles that provide a whimsical touch.
How to Make Christmas Kitchen Sink Cookies
-
Preheat Oven: Begin by preheating your oven to 350°F (175°C). While it’s warming up, line two baking sheets with parchment paper for easy cleanup.
-
Cream Butter and Sugars: In a large mixing bowl, use an electric mixer to beat the softened salted butter, light brown sugar, and granulated sugar together. Mix until light and fluffy, about 2 minutes—this step adds air to your cookie dough!
-
Add Eggs and Vanilla: Next, mix in the egg yolks and vanilla bean paste or extract. Beat until the mixture is pale and fluffy, which should take another 2 minutes.
-
Combine Dry Ingredients: Gradually add the all-purpose flour, baking powder, baking soda, and salt to your creamed mixture. Mix until there are no visible flour streaks, ensuring everything is well combined.
-
Fold in Mix-Ins: Gently fold in the festive mix-ins: red and green M&Ms, white chocolate chips, pretzel pieces, potato chip pieces, and red and green jimmies. Make sure everything is evenly distributed.
-
Shape Cookies: Scoop dough into approximately 20 balls, placing them about 2 inches apart on the prepared baking sheets. For an extra festive touch, feel free to top each dough ball with a few extra mix-ins.
-
Bake: Place the cookies in the preheated oven and bake for 10-12 minutes. Aim for 10 minutes for chewy centers and 12 for a crisper edge.
-
Cool: Once baked, let the cookies cool on the baking sheets for about 5 minutes before transferring them to a cooling rack. Allow them to cool for another 10 minutes, letting all those delicious flavors settle.
Optional: Drizzle melted chocolate over the cooled cookies for an added touch of sweetness.
Exact quantities are listed in the recipe card below.
Storage Tips for Christmas Kitchen Sink Cookies
Room Temperature: Store cookies in an airtight container for up to 3 days to maintain their chewy texture and freshness.
Freezer: Freeze cookies in a single layer on a baking sheet, then transfer to an airtight container or freezer bag for up to 2 weeks. This allows you to enjoy Christmas Kitchen Sink Cookies later!
Reheating: When ready to enjoy frozen cookies, let them thaw at room temperature, then warm them in the microwave for 10-15 seconds or in the oven at 350°F (175°C) for a few minutes.
Tip: If you’re storing cookie dough, you can refrigerate it for up to 3 days before baking or freeze it for up to 2 weeks to have fresh-baked cookies anytime!
Christmas Kitchen Sink Cookies Variations
Feel free to make your festive cookies uniquely yours with these delightful twists and substitutions!
- Candy Swap: Replace M&Ms with butterscotch or peanut butter chips for a new flavor experience that still pleases every sweet tooth.
- Nutty Addition: Toss in chopped walnuts or pecans for a crunchy texture that balances the sweetness perfectly.
- Dried Fruit Mix-In: Consider adding dried cranberries or cherries to introduce a tangy burst amidst the sweetness. These fruity additions offer a delightful surprise!
- Gluten-Free: Use a gluten-free all-purpose flour blend to cater to dietary needs while maintaining that signature chewy texture.
- Chewy Brown Sugar: Swap out white sugar for all brown sugar to create a deeper, more caramel-like flavor in your cookies.
- Spicy Kick: Add a sprinkle of cinnamon or cayenne pepper to the dough for a warm spice that elevates the flavor profile of your cookies.
- Salted Caramel Drizzle: Drizzle homemade or store-bought salted caramel over the cooled cookies for an extra indulgent treat; everyone’s sweet tooth will rejoice!
- Orange Zest: Add a teaspoon of fresh orange zest into the mix for a zesty citrus burst, making your cookies even more refreshing and festive.
What to Serve with Christmas Kitchen Sink Cookies?
Creating a festive atmosphere is easy when you pair these delightful cookies with the perfect accompaniments.
-
Glass of Milk: A classic pairing, milk beautifully complements the sweet and salty flavors while helping to soften the cookies’ edges.
-
Hot Cocoa: Rich and chocolatey, hot cocoa adds a velvety texture that enhances the cookies’ overall sweetness, perfect for chilly winter evenings.
-
Christmas Fruit Salad: A refreshing mix of seasonal fruits contrasts nicely with the cookies, providing a burst of brightness and balancing the indulgence.
-
Spiced Eggnog: This creamy, spiced beverage brings warmth and holiday cheer, seamlessly blending with the flavors of salty pretzels and sweet chocolate.
-
Gingerbread Cake: The spiciness of gingerbread pairs beautifully with the sweet and salty elements of the cookies, creating a delightful dessert table combo.
-
Candied Pecans: Their crunchy, sweet-tart profile adds an elegant touch, making them the perfect bite-sized treat alongside your festive cookies.
Whether enjoyed with friends, family, or solo, these pairings will elevate your cookie experience, transforming your holiday into a delightful celebration of flavors!
Expert Tips for Christmas Kitchen Sink Cookies
-
Accurate Measurement: Measure flour accurately by spooning it into measuring cups to avoid making the cookies too dense; this ensures perfect Christmas Kitchen Sink Cookies every time.
-
Chill for Perfection: If time permits, chill the cookie dough for at least 30 minutes before baking. This helps control spreading and results in a chewier texture.
-
Mix-Ins Strategy: Be creative with your mix-ins! Swap M&Ms for other candies like butterscotch chips or dried fruit for a twist on classic flavors.
-
Reshape if Needed: If cookies spread too much while baking, use a large circular cutter to reshape them gently right after removing from the oven for perfect edges.
-
Storage Know-How: Keep your cookies fresh by storing them in an airtight container at room temperature for up to three days; they also freeze well for longer storage.
Make Ahead Options
These Christmas Kitchen Sink Cookies are ideal for busy home cooks who want to save time while still enjoying delicious, festive treats! You can prepare the cookie dough up to 3 days in advance; simply cover it tightly with plastic wrap and refrigerate. If you’re looking to extend that time, you can freeze the dough for up to 2 weeks. When ready to bake, scoop the chilled dough onto a baking sheet, and allow it to sit at room temperature for about 15 minutes before baking. This helps maintain the quality, ensuring they come out just as delicious as freshly made! Enjoy the convenience of having cookie dough ready to go for spontaneous holiday baking sessions.
Christmas Kitchen Sink Cookies Recipe FAQs
What’s the best way to select ripe ingredients?
Absolutely! When selecting ingredients like the butter, make sure it’s softened to room temperature for easier creaming. As for sugar, light brown sugar works best for moisture and flavor. If you want to switch things up, use dark brown sugar for a richer taste.
How should I store my Christmas Kitchen Sink Cookies?
To keep your cookies fresh and chewy, store them in an airtight container at room temperature for up to 3 days. If you need to keep them longer, you can freeze them for up to 2 weeks. Just make sure they’re in a sealed bag or container to avoid freezer burn.
Can I freeze cookie dough for later use?
Yes, you can! I often prepare the dough in advance. Simply scoop individual cookie balls onto a baking sheet and freeze them for about an hour. Transfer the frozen dough balls to an airtight container or freezer bag. They can be stored in the freezer for up to 2 weeks. When you’re ready to bake, just pop them directly into the oven; you may need to add a couple of extra minutes to the baking time.
What should I do if my cookies spread too much while baking?
If your cookies spread a lot, don’t worry! You can reshape them while they’re still warm. Just use a large circular cutter to gently push them back into shape. This technique helps achieve those lovely, perfect edges that everyone loves!
Are there any dietary considerations for pets or allergies?
Absolutely! Keep in mind that some ingredients can be harmful to pets. Chocolate is toxic to dogs, so keep these cookies well out of their reach. If you’re making these for someone with allergies, especially to nuts or gluten, feel free to modify the mix-ins accordingly and use gluten-free flour if needed.
How can I ensure my cookies turn out perfect every time?
For perfect Christmas Kitchen Sink Cookies, measure your flour accurately by spooning it into measuring cups instead of scooping directly, which can pack it in too tight. Also, chilling the dough for at least 30 minutes before baking can help control spreading, resulting in chewier cookies! Enjoy the baking fun!

Festive Christmas Kitchen Sink Cookies for Joyful Baking Fun
Ingredients
Equipment
Method
- Preheat your oven to 350°F (175°C) and line two baking sheets with parchment paper.
- In a large mixing bowl, beat the softened salted butter, light brown sugar, and granulated sugar together until light and fluffy, about 2 minutes.
- Mix in the egg yolks and vanilla bean paste or extract and beat until the mixture is pale and fluffy, about 2 minutes.
- Gradually add the all-purpose flour, baking powder, baking soda, and salt to the creamed mixture, mixing until there are no visible flour streaks.
- Gently fold in the red and green M&Ms, white chocolate chips, pretzel pieces, potato chip pieces, and red and green jimmies.
- Scoop dough into approximately 20 balls, placing them about 2 inches apart on the prepared baking sheets.
- Bake for 10-12 minutes; aim for 10 minutes for chewy centers and 12 for crisper edges.
- Let the cookies cool on the baking sheets for 5 minutes before transferring them to a cooling rack.

