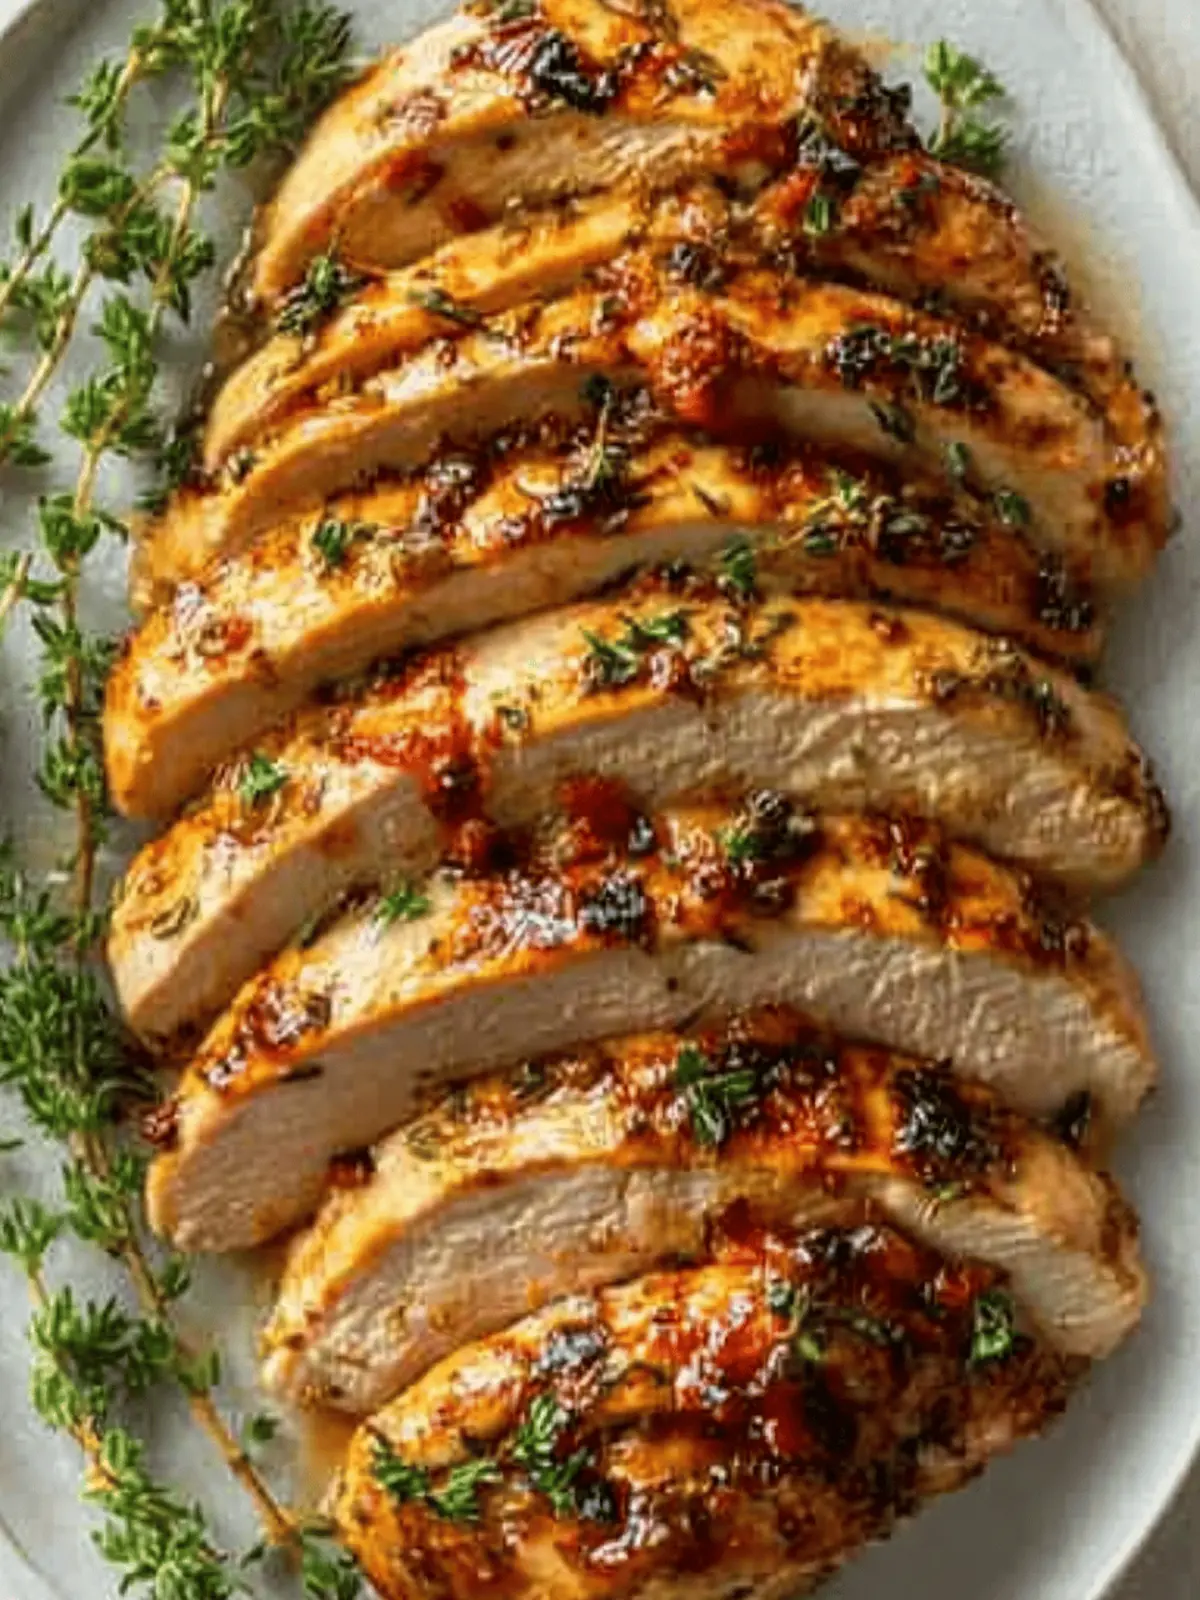
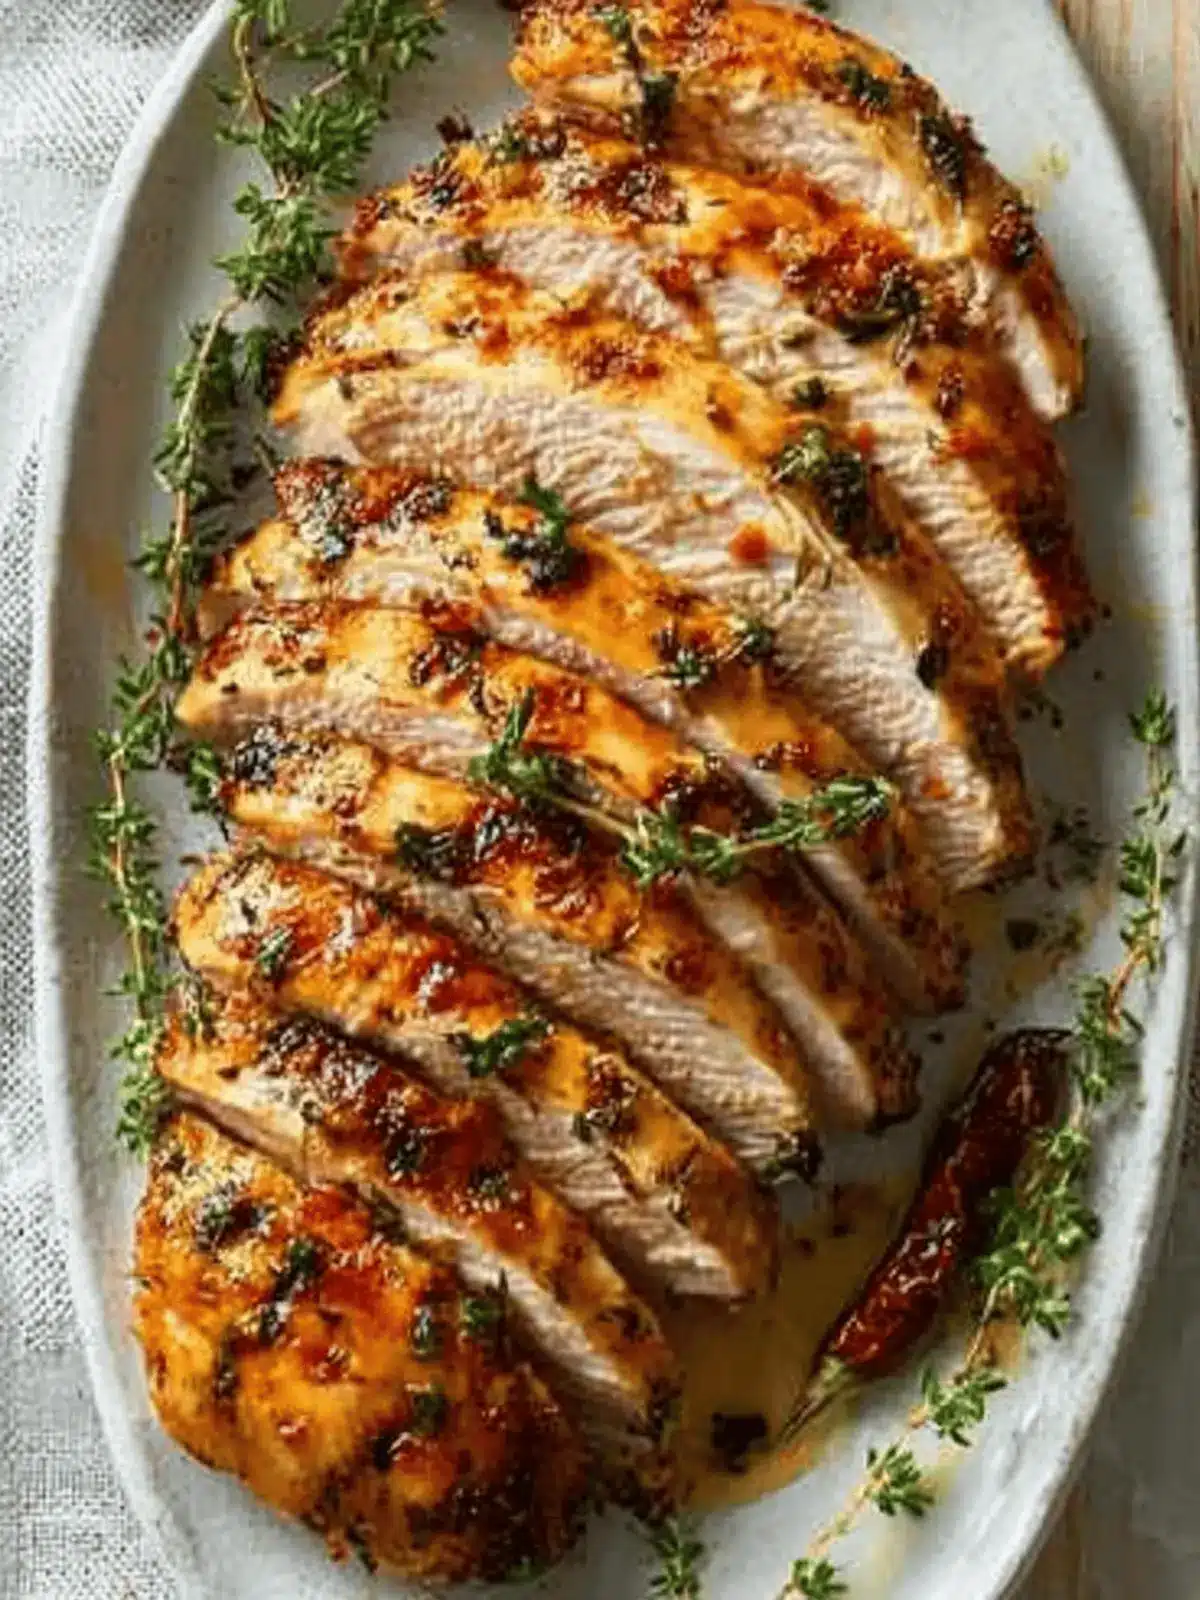
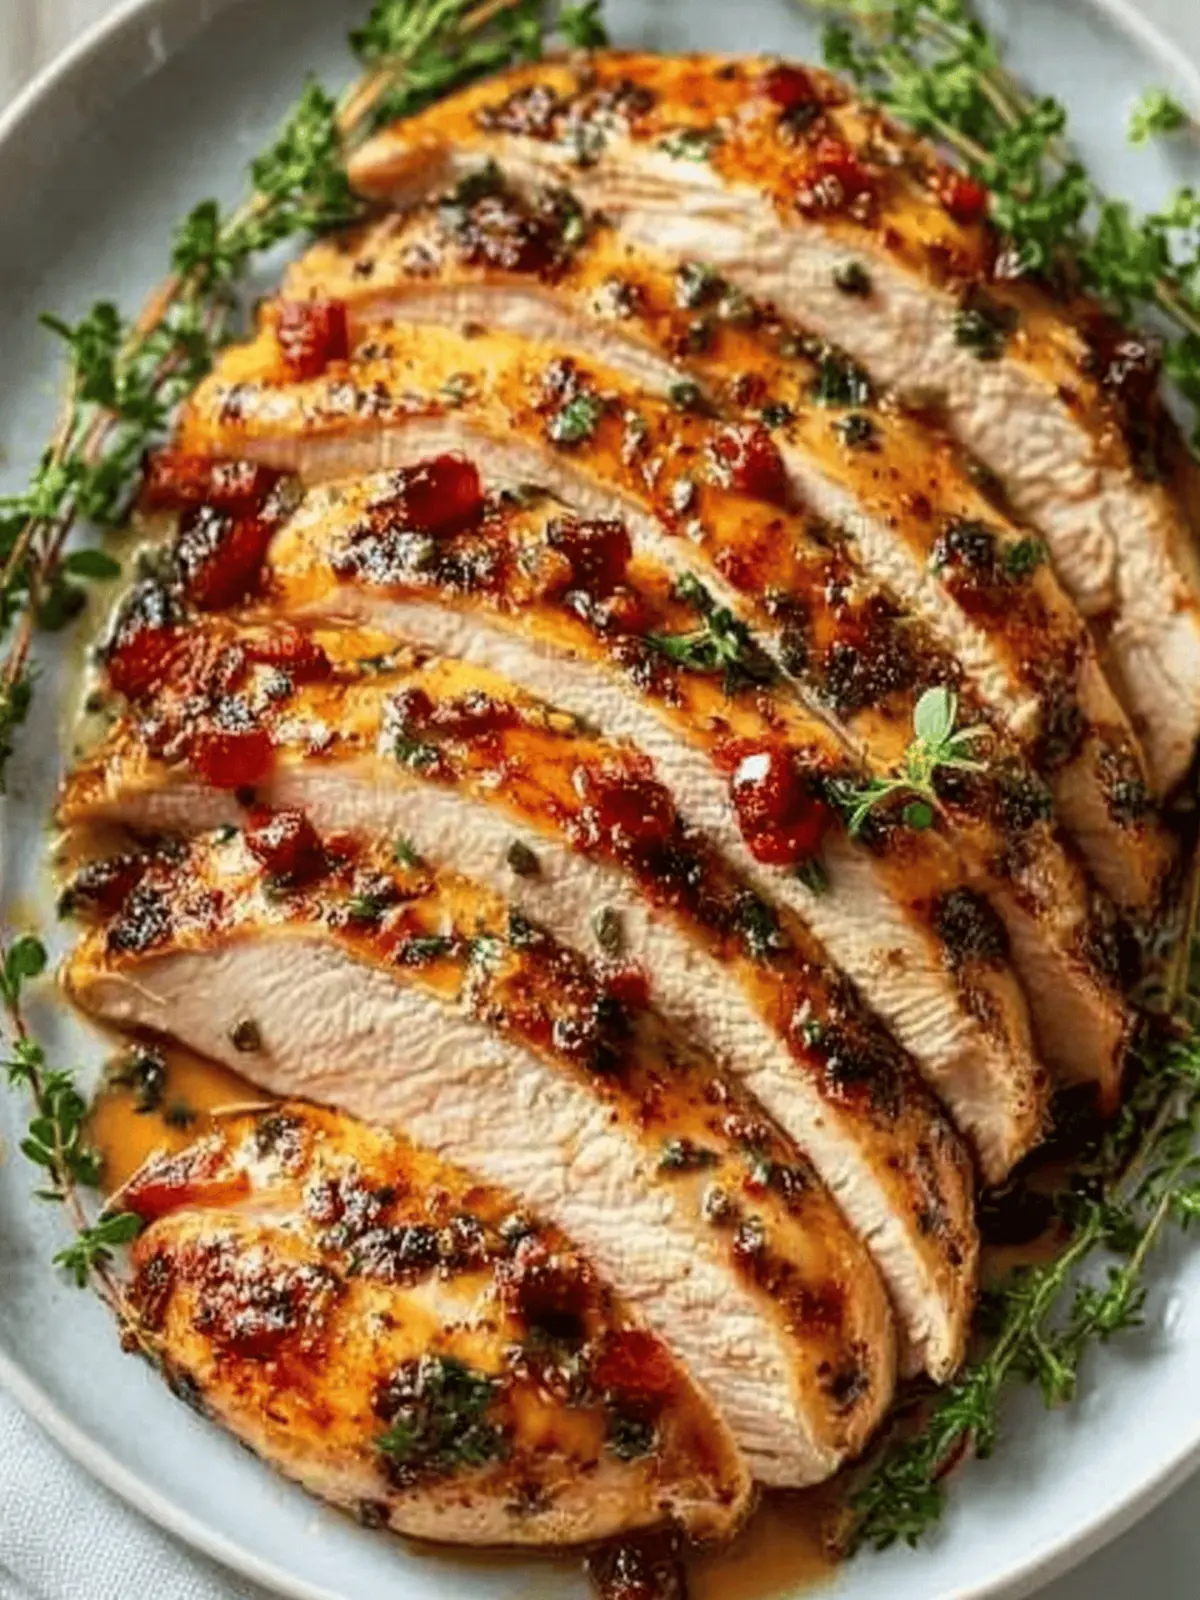
As the sun sets and the kitchen fills with the golden hues of late afternoon, I often find myself reaching for a dependable favorite: baked chicken breast. There’s something uniquely satisfying about this dish—perhaps it’s the way it transforms simple ingredients into a succulent powerhouse of flavor, or the gentle sizzle as it cooks to perfection in the oven.
After a long week of stress and takeout, I craved a meal that was both wholesome and effortless. Enter this Two-Stage Baked Chicken Breast, a recipe that proves elegant dinners don’t have to be time-consuming. With just a handful of spices, some olive oil, and minimal effort, you’ll have juicy, golden chicken that’s perfect for meal prep or a cozy family dinner. Plus, it’s incredibly versatile—whether paired with roasted vegetables, tossed over a fresh salad, or nested between warm bread, this dish is bound to become a household favorite. Ready to make something that’s not only easy but downright delicious? Let’s dive in!
Why is Baked Chicken Breast a Must-Try?
Succulent Flavor: Expect a juicy piece of chicken that retains moisture through our two-stage baking process.
Quick and Easy: In just 35 minutes, this meal will turn your kitchen into a delicious haven.
Versatile Dish: Serve it alongside your favorite veggies, toss it in a salad, or pile it on a sandwich—endless possibilities!
Family-Friendly: Perfect for picky eaters, it’s an easy way to offer a comforting, homemade meal.
Minimal Ingredients: You likely already have everything you need in your pantry, making it a stress-free option for dinner.
Meal Prep Ready: Cook extra to enjoy hearty leftovers, ideal for busy weeknights. Get started with this simple, fulfilling recipe and elevate your dinner game!
Baked Chicken Breast Ingredients
• Get ready for a flavor-packed journey with these essential elements!
For the Chicken
• 4 boneless, skinless chicken breasts – Choose chicken that’s 6-8 oz each for even cooking and mouthwatering texture.
For Seasoning
• 4 tablespoons olive oil – Essential for moisture and flavor; it also helps the seasoning adhere beautifully.
• 4 teaspoons salt – Amplifies the chicken’s natural flavor, ensuring each bite is savory.
• 2 teaspoons black pepper – Adds a gentle kick and depth to your dish.
• 4 teaspoons garlic powder – Infuses your chicken breasts with a warm, aromatic essence.
• 1 teaspoon dried thyme or rosemary (optional) – A delightful addition that brings a herby note to this baked chicken breast recipe.
Embrace the charm of homemade meals, and let’s cook something delicious together!
How to Make Baked Chicken Breast
-
Prepare: Start by removing the chicken from the fridge 30 minutes before cooking. This allows it to reach room temperature, ensuring even cooking throughout.
-
Preheat: Set your oven to 425°F to get it nice and hot, which is essential for that initial sear we want for the chicken.
-
Pound: Using a meat mallet or a heavy skillet, pound the chicken breasts to an even 3/4-inch thickness. This helps them cook uniformly and stay juicy.
-
Dry: Pat the chicken completely dry with paper towels. This step is crucial for that golden, crispy exterior we’re aiming for!
-
Rub: Generously rub each breast with 1 tablespoon of olive oil, followed by seasoning with salt, pepper, and garlic powder. This will add tons of flavor!
-
Bake: Arrange the seasoned chicken on a rimmed baking sheet and pop it into the oven at 425°F for exactly 5 minutes, allowing for that perfect initial roast.
-
Reduce: Without opening the oven door, lower the temperature to 375°F and continue baking for an additional 15-20 minutes, depending on the size of your chicken breasts.
-
Check: At about 18 minutes, check the internal temperature at the thickest part; it should reach 165°F to ensure safety and doneness.
-
Rest: Once cooked, let the chicken rest for 5 minutes before slicing. This step locks in those delicious juices, making every bite magical!
Optional: Serve with a sprinkle of fresh herbs for an extra pop of flavor!
Exact quantities are listed in the recipe card below.
Make Ahead Options
These Baked Chicken Breasts are not only delicious but also perfect for meal prep! You can season the chicken and refrigerate it for up to 24 hours before baking, allowing the flavors to meld beautifully. Simply follow the steps to rub each breast with olive oil and spices, then store them in an airtight container or a resealable plastic bag. This helps to maintain moisture and flavor. When you’re ready to cook, remove them from the fridge and bake as instructed, adjusting the time if they are very cold. With this make-ahead option, you can enjoy a home-cooked meal effortlessly even on your busiest weeknights!
Baked Chicken Breast Variations
Feel free to add your personal touch and make this recipe your own with these delightful twists!
-
Herb-Infused: Add freshly chopped herbs like basil, parsley, or dill into your olive oil rub for a fragrant lift.
-
Spicy Kick: Incorporate red pepper flakes or a dash of cayenne pepper into the seasoning for a tantalizing heat.
-
Honey Glazed: Brush a mixture of honey and Dijon mustard on the chicken before baking for a sweet and tangy glaze.
-
Citrus Zest: Zest a lemon or lime and mix it into the rub. The citrus will brighten and elevate your chicken’s flavor profile.
-
Cheesy Delight: Top the chicken with grated parmesan or shredded mozzarella in the last 5 minutes of baking for a cheesy finish.
-
Balsamic Reduction: Drizzle with balsamic vinegar before serving to introduce a rich, tangy element that pairs beautifully with the chicken.
-
Stuffed Chicken: Butterfly the breasts and fill them with spinach, feta, or sun-dried tomatoes for a hearty and flavorful filling.
-
Smoky Flavor: Use smoked paprika instead of regular paprika to impart a deliciously smoky note to your chicken.
Each of these variations allows you to explore and enjoy a different flavor journey, ensuring that every meal feels fresh and exciting!
Expert Tips for Baked Chicken Breast
-
Even Thickness: Ensure chicken is 3/4-inch thick for uniform cooking. Uneven pieces can lead to dry spots.
-
Room Temperature: Always bring chicken to room temperature before cooking. This prevents shock from cold meat hitting the hot oven, ensuring juiciness.
-
Pat Dry: Make sure to pat chicken breasts dry with paper towels. This step is key for achieving a crisp exterior while baking.
-
Timing is Key: Don’t skip the resting period after cooking. Letting the chicken rest for 5 minutes seals in the flavors and moisture.
-
Check Temperature: Use a meat thermometer to confirm the internal temperature reaches 165°F; it’s the best way to ensure your baked chicken breast is perfectly cooked.
What to Serve with Baked Chicken Breast?
Imagine sitting down to a delightful meal that beautifully complements your beautifully baked chicken, creating a feast that fills your home with warmth and joy.
-
Creamy Mashed Potatoes: The smooth texture and buttery flavor create a comforting contrast to the chicken’s savory notes.
-
Steamed Broccoli: This vibrant, crisp vegetable adds a fresh crunch, balancing the dish with a splash of color and essential nutrients.
-
Garlic Bread: Perfectly toasted with a hint of garlic, it’s a delightful way to savor every bite of the chicken while providing a satisfying crunch.
-
Garden Salad: A mixture of greens, cherry tomatoes, and a tangy vinaigrette elevates the meal by adding freshness and brightness.
-
Roasted Carrots: Their natural sweetness and caramelized edges bring a lovely depth, complementing the savory chicken perfectly.
-
Quinoa Pilaf: Nutty and fluffy, this grain is a wholesome side that offers a protein boost and pairs excellently with the chicken’s flavor.
-
Citrus Sparkling Water: Refreshing and bubbly, it enhances the meal with a light effervescence, making every bite even more enjoyable.
-
Apple Crisp: End your meal with a warm dessert; the sweet, spiced apples contrast beautifully with the savory chicken, rounding off the dining experience.
How to Store and Freeze Baked Chicken Breast
Fridge: Store leftover baked chicken breast in an airtight container for up to 3 days. To maintain its flavor, ensure it’s well-sealed to avoid moisture loss.
Freezer: For longer storage, freeze the chicken breasts in a single layer on a baking sheet. Once frozen solid, transfer them to a freezer bag for up to 3 months.
Reheating: When ready to enjoy, thaw in the fridge overnight and reheat in the oven at 350°F until warmed through, about 10-15 minutes. This keeps your baked chicken breast juicy and delicious!
Vacuum Seal: For optimal freshness, consider vacuum-sealing your chicken before freezing. This method helps prevent freezer burn and maintains quality.
Two-Stage Baked Chicken Breast Recipe FAQs
What is the best way to select ripe chicken breasts?
Absolutely! When selecting chicken breasts, look for ones that are pale pink and feel firm to the touch. Avoid any packages with dark spots or an unusual odor, as these could indicate spoilage. Additionally, try to choose breasts that have a consistent thickness for more even cooking.
How should I store leftover baked chicken breast?
Very! Store your leftover baked chicken breast in an airtight container in the refrigerator. It will stay fresh for up to 3 days. Make sure to seal it well to prevent moisture loss that could lead to dry chicken. Before you dig in, a quick reheat in the oven helps preserve the juicy texture!
Can I freeze baked chicken breast, and if so, how?
Definitely! For freezing, first, let the chicken cool completely. Then, place the chicken breasts in a single layer on a baking sheet and freeze until solid—about 2 hours. After they are frozen, transfer them to a freezer-safe bag or vacuum seal them for up to 3 months. When you’re ready to enjoy, simply thaw overnight in the fridge and reheat at 350°F for about 10-15 minutes.
What should I do if my baked chicken breasts are dry?
It happens to the best of us! If your baked chicken turns out dry, consider a few tips for next time. Make sure to check the internal temperature using a meat thermometer—it should be around 165°F. Also, try not to overcook; start checking around 18 minutes if you’re cooking at the two-stage setup. Lastly, ensure to let the chicken rest after baking; this will help keep the juices intact!
Are there any dietary considerations for pets or allergies with this recipe?
For sure! This baked chicken breast recipe contains no common allergens, but as always, it’s best to ensure that anyone with food allergies checks their specific ingredients. For pets, plain cooked chicken can be a good treat, but avoid giving them any seasoned or spiced portions, as added ingredients like garlic and salt can be harmful to dogs and cats. Always consult with your veterinarian for safety!
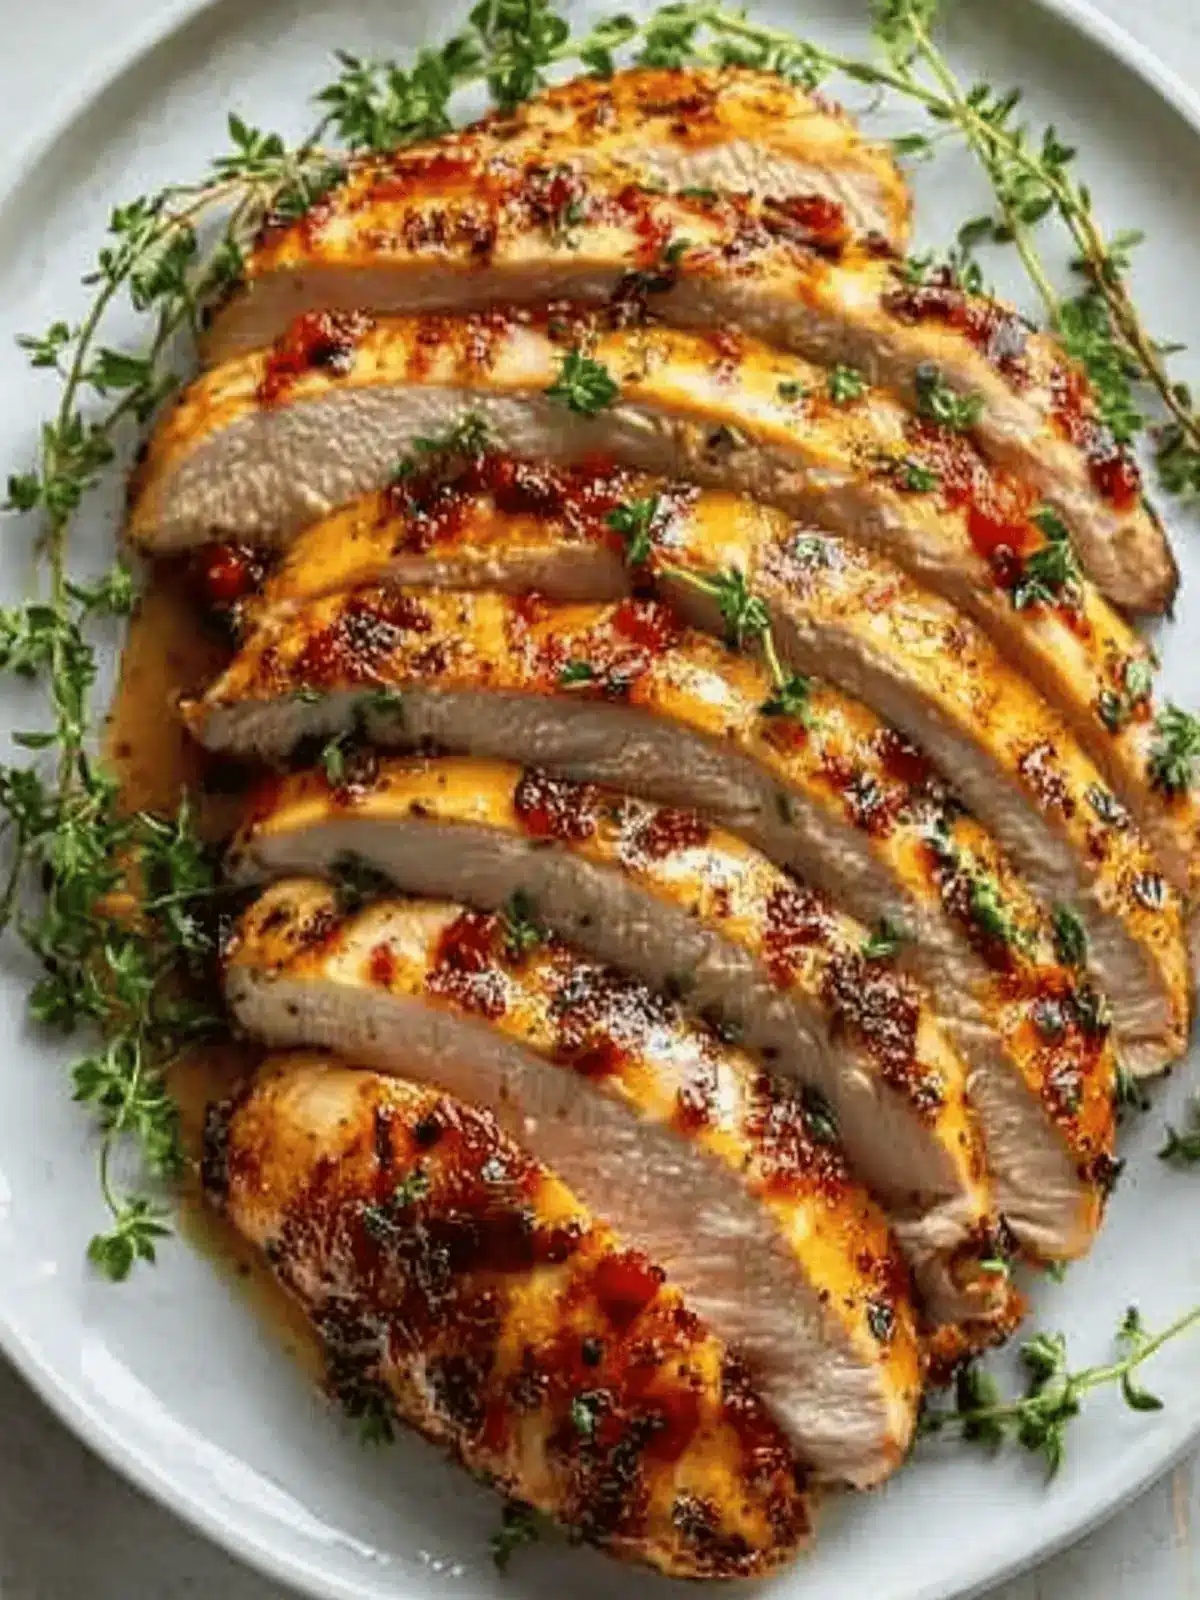
Perfectly Juicy Baked Chicken Breast in Just 35 Minutes
Ingredients
Equipment
Method
- Remove the chicken from the fridge 30 minutes before cooking.
- Preheat your oven to 425°F.
- Pound the chicken breasts to an even 3/4-inch thickness.
- Pat the chicken dry with paper towels.
- Rub each breast with 1 tablespoon of olive oil and season with salt, pepper, and garlic powder.
- Arrange the chicken on a baking sheet and bake for 5 minutes at 425°F.
- Lower the temperature to 375°F and bake for another 15-20 minutes.
- Check the internal temperature at 165°F.
- Let the chicken rest for 5 minutes before slicing.
