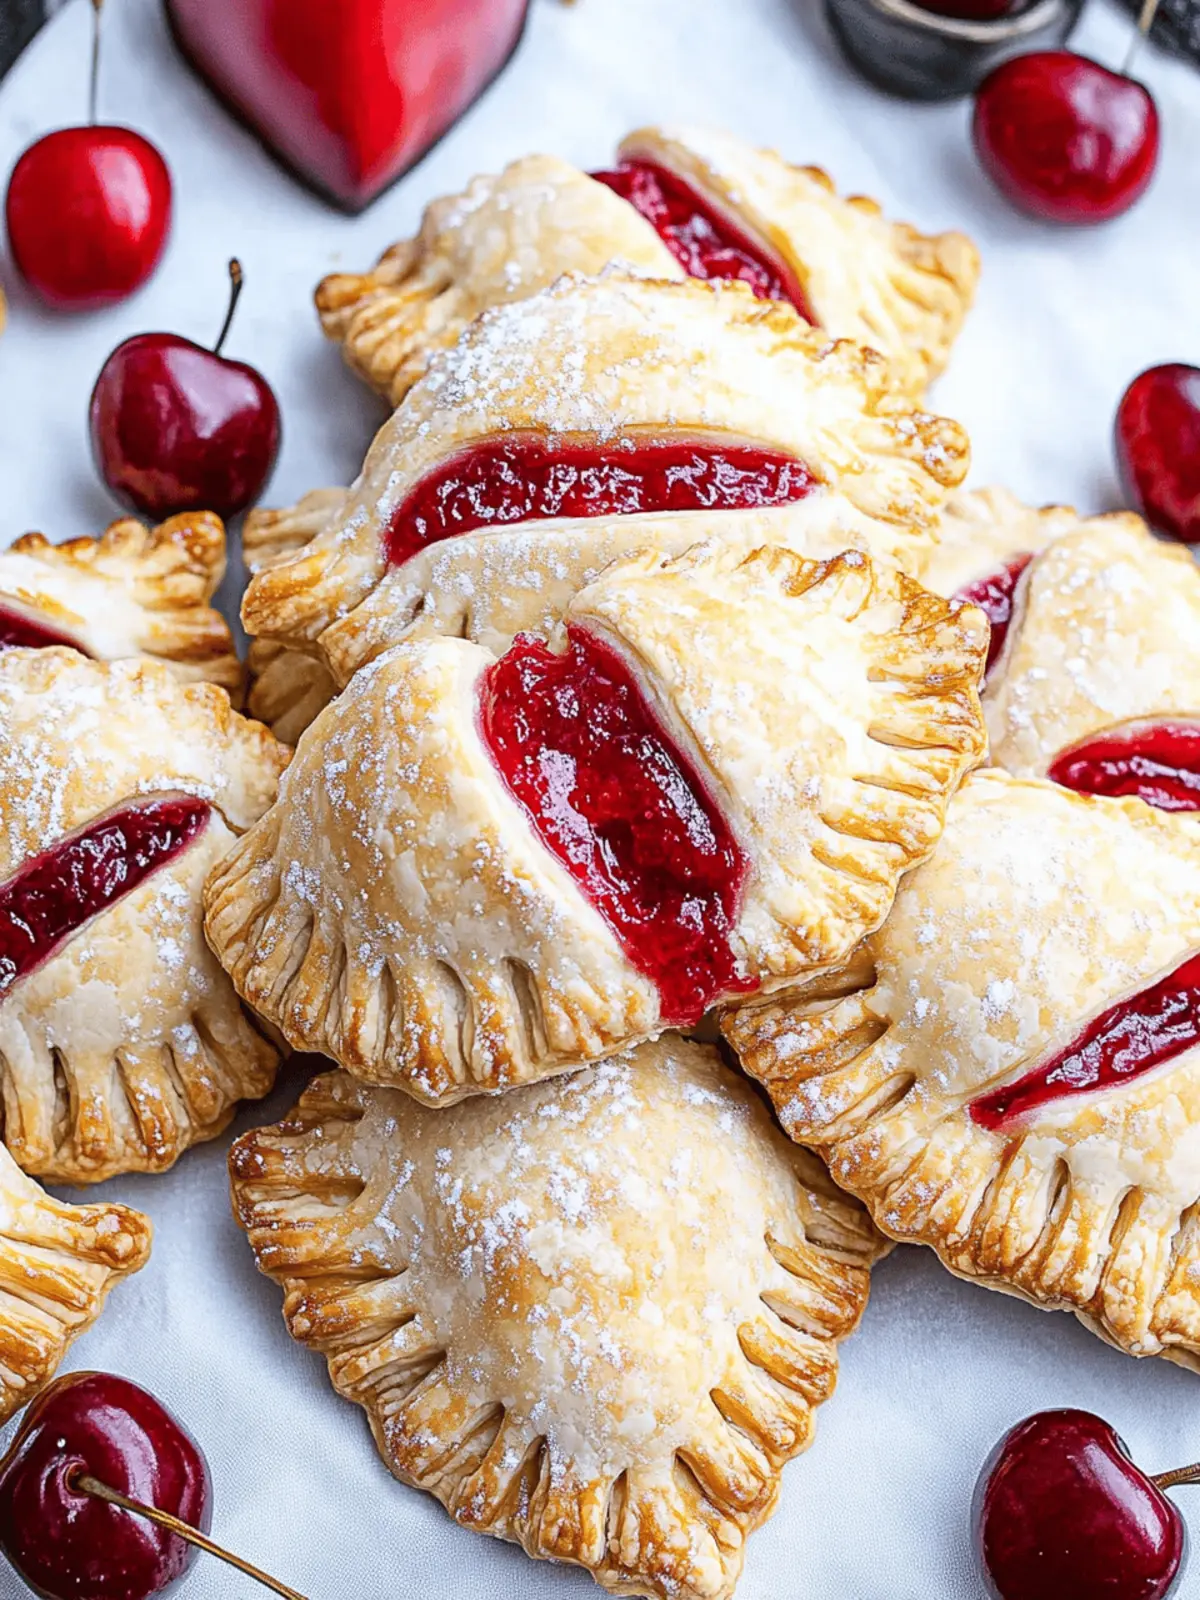
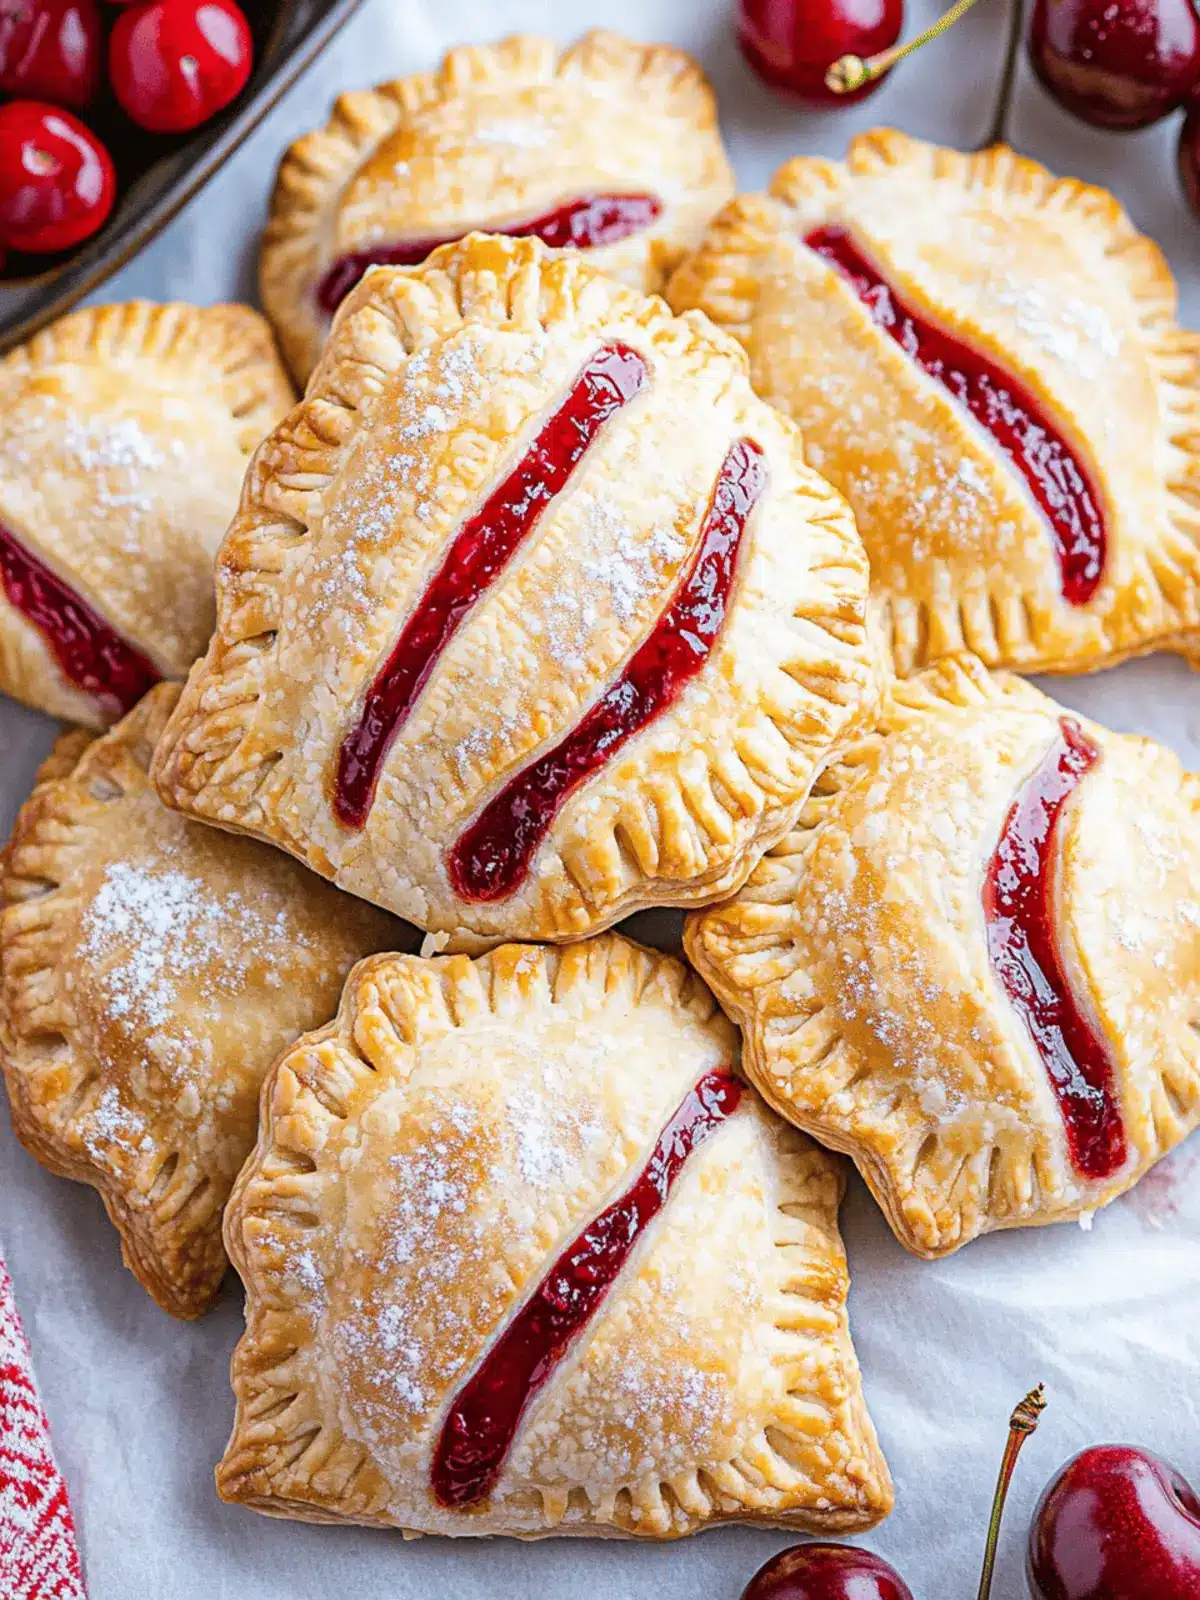
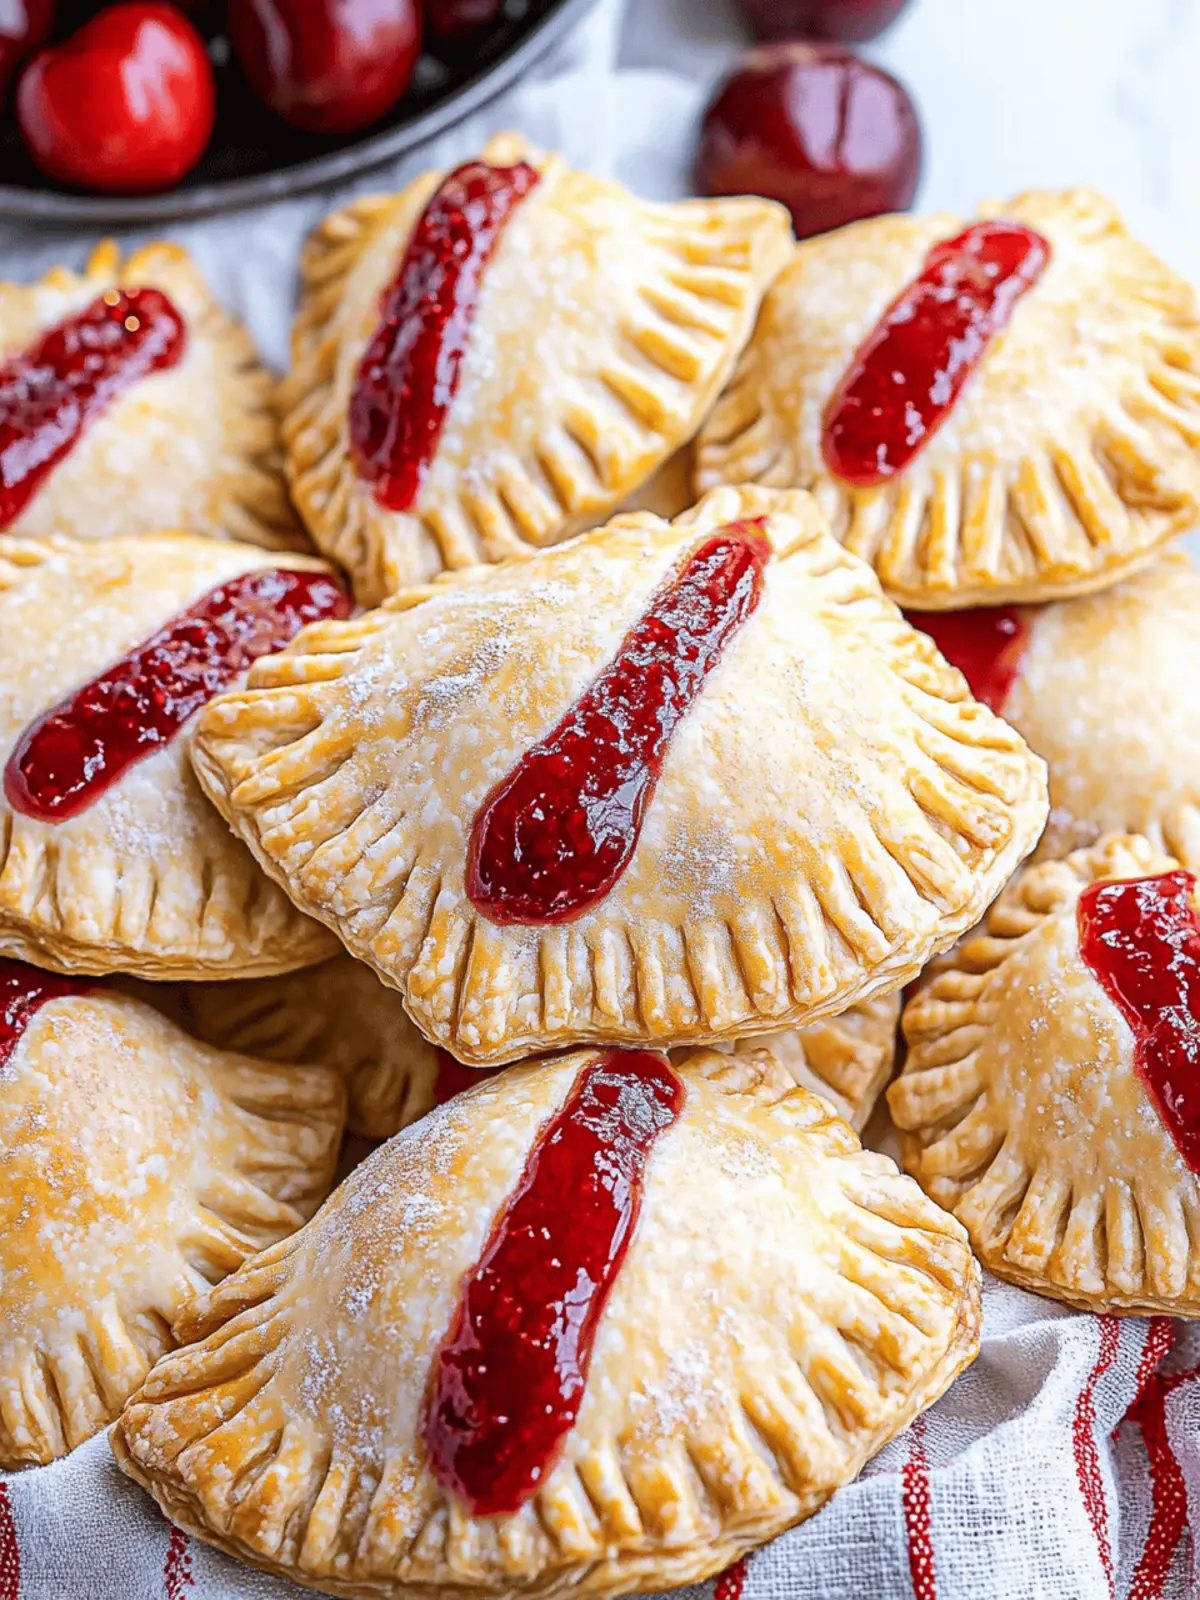
The first time I made these Cherry Hand Pies, the kitchen was filled with laughter and the intoxicating aroma of sweet cherries and buttery crust. It’s a memory that never fails to bring a smile to my face, and now, I want to share that joy with you! Perfect for any occasion, these delightful little pastries combine convenience and creativity, making them an absolute crowd-pleaser.
Imagine gathering your friends and family around, each person eager to take a bite of these charming, tree-shaped treats. With only a handful of ingredients and minimal fuss, you can whip up a batch of 26 hand pies that pack a perfect punch of flavor. These pies not only capture the essence of homemade goodness, but they also bring that comforting whimsy to the table, transforming ordinary moments into delightful memories.
So, whether you’re looking to impress at your next gathering or simply craving a sweet treat that’s easy to bake, these Cherry Hand Pies are exactly what you need. Let’s roll up our sleeves and get started on this kitchen adventure!
Why are these Cherry Hand Pies irresistible?
Delightfully Simple: With just a few ingredients and refrigerated pie crust, you can create these delicious treats without any baking expertise.
Crowd Favorite: These charming tree-shaped hand pies are sure to be a hit at your next gathering, inviting smiles and compliments from your guests.
Versatile Design: Perfect for any season or celebration, simply change the cookie cutter shape to match the occasion!
Comforting Flavor: The combination of sweet cherry filling and flaky crust delivers a nostalgic taste that will transport you back to childhood.
Time-Efficient: Ready in just under an hour, these hand pies are a fantastic solution for those who want homemade desserts without the long preparation.
Get ready to embrace the sweet aroma and joy these Cherry Hand Pies bring to your kitchen!
Cherry Hand Pie Ingredients
What you’ll need to create these delightful treats!
For the Pie Crust
- Refrigerated pie crust – Use 3 boxes (2 crusts each) for an easy and flaky base that saves time.
For the Filling
- Cherry pie filling – One 21-ounce can ensures you have enough sweet filling to share with friends and family.
For the Egg Wash
- Large eggs – Two eggs give that beautiful golden finish on the crust, enhancing both flavor and appearance.
- Water – Two tablespoons help achieve the perfect consistency for your egg wash.
For the Finishing Touch
- Coarse sanding sugar (optional) – Sprinkle on top for a festive sparkle and added texture that makes these Cherry Hand Pies even more appealing!
How to Make Cherry Hand Pies
-
Preheat: Begin by preheating your oven to 350°F (175°C). This ensures a perfectly baked crust that’s crisp and golden when your pies are done.
-
Prepare: Line a large cookie sheet with parchment paper and set it aside. In a small bowl, whisk the eggs with 2 tablespoons of water to make an egg wash, giving your pies that luscious golden touch.
-
Roll: Using a rolling pin, roll out one thawed pie crust until it’s between ¼” and ⅛” thick. Make sure there are no cracks or holes—this keeps the filling nice and cozy inside!
-
Cut: Grab a 3-4 inch holiday tree cookie cutter and cut out about 7 tree shapes from the rolled crust. Save any excess pie crust for later—don’t waste that deliciousness!
-
Fill: Place the tree shapes on the parchment-lined baking sheet, and spoon about 1 – 1½ tablespoons of cherry pie filling into the center of each one. Brush the crust edges with your egg wash to make sure they seal beautifully.
-
Assemble: Gently place another tree-shaped crust over the filling, starting at the trunk, and lightly press the edges together. Avoid pressing down too hard on the filling for a delightful surprise inside!
-
Seal: Using the tines of a fork, press the seams together around the tree’s outline. Don’t forget to cut a few slits in the top crust for venting, allowing the steam to escape as they bake.
-
Finish: Brush the top crusts with the remaining egg wash, and sprinkle with coarse sanding sugar if you’d like an extra touch of sparkle.
-
Bake: Pop those beauties in the oven and bake for 20-25 minutes or until they’re golden brown. Once they’re done, transfer them to a cooling rack, and get ready to enjoy either warm or at room temperature!
Optional: Serve with a scoop of vanilla ice cream for an extra indulgent treat!
Exact quantities are listed in the recipe card below.
Make Ahead Options
Making these Cherry Hand Pies ahead of time is a fantastic way to save time during a busy week! You can prepare the shaped pies and refrigerate them for up to 24 hours. Simply follow the recipe up until the baking step, then place the assembled pies on the parchment paper and cover them tightly with plastic wrap to keep them fresh. When you’re ready to bake, remove the wrap, brush with egg wash, sprinkle with sanding sugar, and pop them in the oven. They’ll taste just as delicious as if they were made fresh, providing you with delightful sweet treats with minimal effort. This makes meal planning a breeze!
How to Store and Freeze Cherry Hand Pies
Room Temperature: Enjoy your Cherry Hand Pies at room temperature for up to 2 days. Store them in an airtight container to keep them fresh and delightful.
Fridge: To extend their shelf life, keep the hand pies in the refrigerator for up to 5 days. Use parchment paper between layers to prevent sticking.
Freezer: Freeze Cherry Hand Pies in a single layer on a baking sheet for 1-2 hours, then transfer to a freezer bag for up to 3 months. This way, you can pull out individual pies whenever the craving strikes!
Reheating: Reheat frozen hand pies in a preheated oven at 350°F (175°C) for 15-20 minutes or until warmed through, bringing back that freshly baked goodness.
Tips for the Best Cherry Hand Pies
-
Proper Thawing: Ensure your pie crusts are completely thawed before rolling. They should be pliable to avoid cracking during cutting.
-
Avoid Overfilling: Stick to 1 – 1½ tablespoons of cherry pie filling per pie. Overfilling may cause them to burst in the oven, leading to a messy outcome.
-
Sealing Edges: Press the edges of the crust gently but firmly when sealing. This prevents leaks while baking, ensuring your Cherry Hand Pies stay intact and delicious.
-
Fork Technique: Use the tines of a fork for sealing and venting. It adds a beautiful rustic design while allowing steam to escape, preventing sogginess.
-
Cool Down: Let the hand pies cool on a rack. This helps them firm up slightly and enhances the overall texture, making each bite even more enjoyable!
Cherry Hand Pies Variations
Feel free to explore and personalize these hand pies to create a unique culinary experience that tantalizes your taste buds.
-
Berry Bliss: Swap cherry filling for mixed berry filling (blueberries, raspberries, and strawberries) for a delightful twist! Each bite will burst with vibrant flavors available during summer months.
-
Chocolate Surprise: Add a layer of chocolate chips within the cherry filling for a sweet, gooey surprise. The combination of chocolate and cherries is simply divine, ensuring a rich and indulgent dessert.
-
Nutty Crunch: Sprinkle in some chopped nuts like almonds or pecans into the cherry filling for added texture. This hearty crunch contrasts beautifully with the soft, flaky pie crust.
-
Spiced Apples: Replace the cherry pie filling with spiced apple pie filling for a cozy autumn variant. Pairing cinnamon with apple evokes warm, nostalgic memories of fall gatherings.
-
Lemon Zest: For a citrus twist, add a teaspoon of lemon zest to the cherry filling. This bright flavor enhances the sweetness and adds an unexpected zing that’s refreshing.
-
Gluten-Free Option: Use gluten-free pie crusts instead of traditional ones for a gluten-sensitive adaptation. This way, everyone can enjoy the flaky goodness without worry.
-
Savory Twist: Consider making a savory version with cheese, spinach, or mushrooms instead of fruit. These hand pies can be a unique appetizer or party snack with a cheesy, rich flavor profile.
-
Mini Hand Pies: Cut out smaller shapes using a mini cookie cutter. These bite-sized treats are perfect for parties or gatherings, allowing guests to sample a variety without filling up!
What to Serve with Cherry Hand Pies?
Imagine the delightful moments they’ll inspire as you gather with loved ones over a plate of these enchanting treats.
-
Vanilla Ice Cream: The creamy texture and sweet flavor perfectly balance the tartness of the cherry filling, creating a harmonious dessert experience. Just a scoop on the side transforms a warm hand pie into a luxurious delight.
-
Fresh Whipped Cream: Light and airy, homemade whipped cream adds a rich, fluffy layer that complements the crispy crust. A dollop of this treat elevates your Cherry Hand Pies into something truly special.
-
Coffee or Tea: A steaming cup of coffee or aromatic tea enhances the cozy aspect of enjoying these pastries. The warm beverage pairs perfectly with the sweet-tart flavor, making for a comforting afternoon break.
-
Fruit Salad: Combining cherries with various fresh fruits, such as strawberries and kiwi, creates a refreshing contrast. This light and fruity side offers a tartness that cuts through the sweetness of the hand pies.
-
Lemonade: The zesty, citrusy flavor of lemonade adds a crisp and refreshing element to your dessert spread. Its vibrant taste complements the rich cherry filling, ensuring a balanced palate.
-
Chocolate Sauce: A drizzle of warm chocolate sauce not only adds a decadent element but also enhances the cherry flavor. This indulgence turns your Cherry Hand Pies into a wonderful treat for special occasions.
With these delightful pairings, your Cherry Hand Pies will shine even brighter, making every bite a memorable moment!
Cherry Hand Pies Recipe FAQs
What kind of cherries should I use for the filling?
Absolutely! While canned cherry pie filling is the recipe’s star, you can also use fresh or frozen cherries. If you choose fresh, ensure they’re ripe and sweet; look for plump, firm cherries without dark spots.
How should I store leftover Cherry Hand Pies?
To enjoy your delicious hand pies later, place them in an airtight container. At room temperature, they’ll stay fresh for up to 2 days. For longer storage, refrigerate them for up to 5 days, placing parchment paper between layers to prevent sticking.
Can I freeze Cherry Hand Pies?
Yes, you can! To freeze, first lay the hand pies in a single layer on a baking sheet for 1-2 hours until they’re solid. Then, transfer them to a freezer-safe bag or container. They’ll keep well for up to 3 months. When you’re ready to enjoy, just reheat in a preheated oven at 350°F (175°C) for about 15-20 minutes.
What if the pie crust cracks while rolling?
If you find your pie crust cracking, don’t fret! Simply patch it up by pressing the edges together gently; a moist finger can help seal the cracks. Alternatively, you can roll out a little piece of excess crust and cover the crack—it’s a homey touch that adds character!
Are these hand pies safe for pets?
No, it’s best to keep these Cherry Hand Pies away from pets. The filling contains cherries and sugar—sweet ingredients that aren’t suitable for our furry friends. Always keep homemade treats for yourself where they belong!
Can I use a different filling instead of cherry?
Very! Feel free to experiment with fillings! Apple, peach, or even chocolate ganache would make delightful alternatives. Just remember to adjust the sweetness as needed, especially with fruit fillings that may vary in tartness!
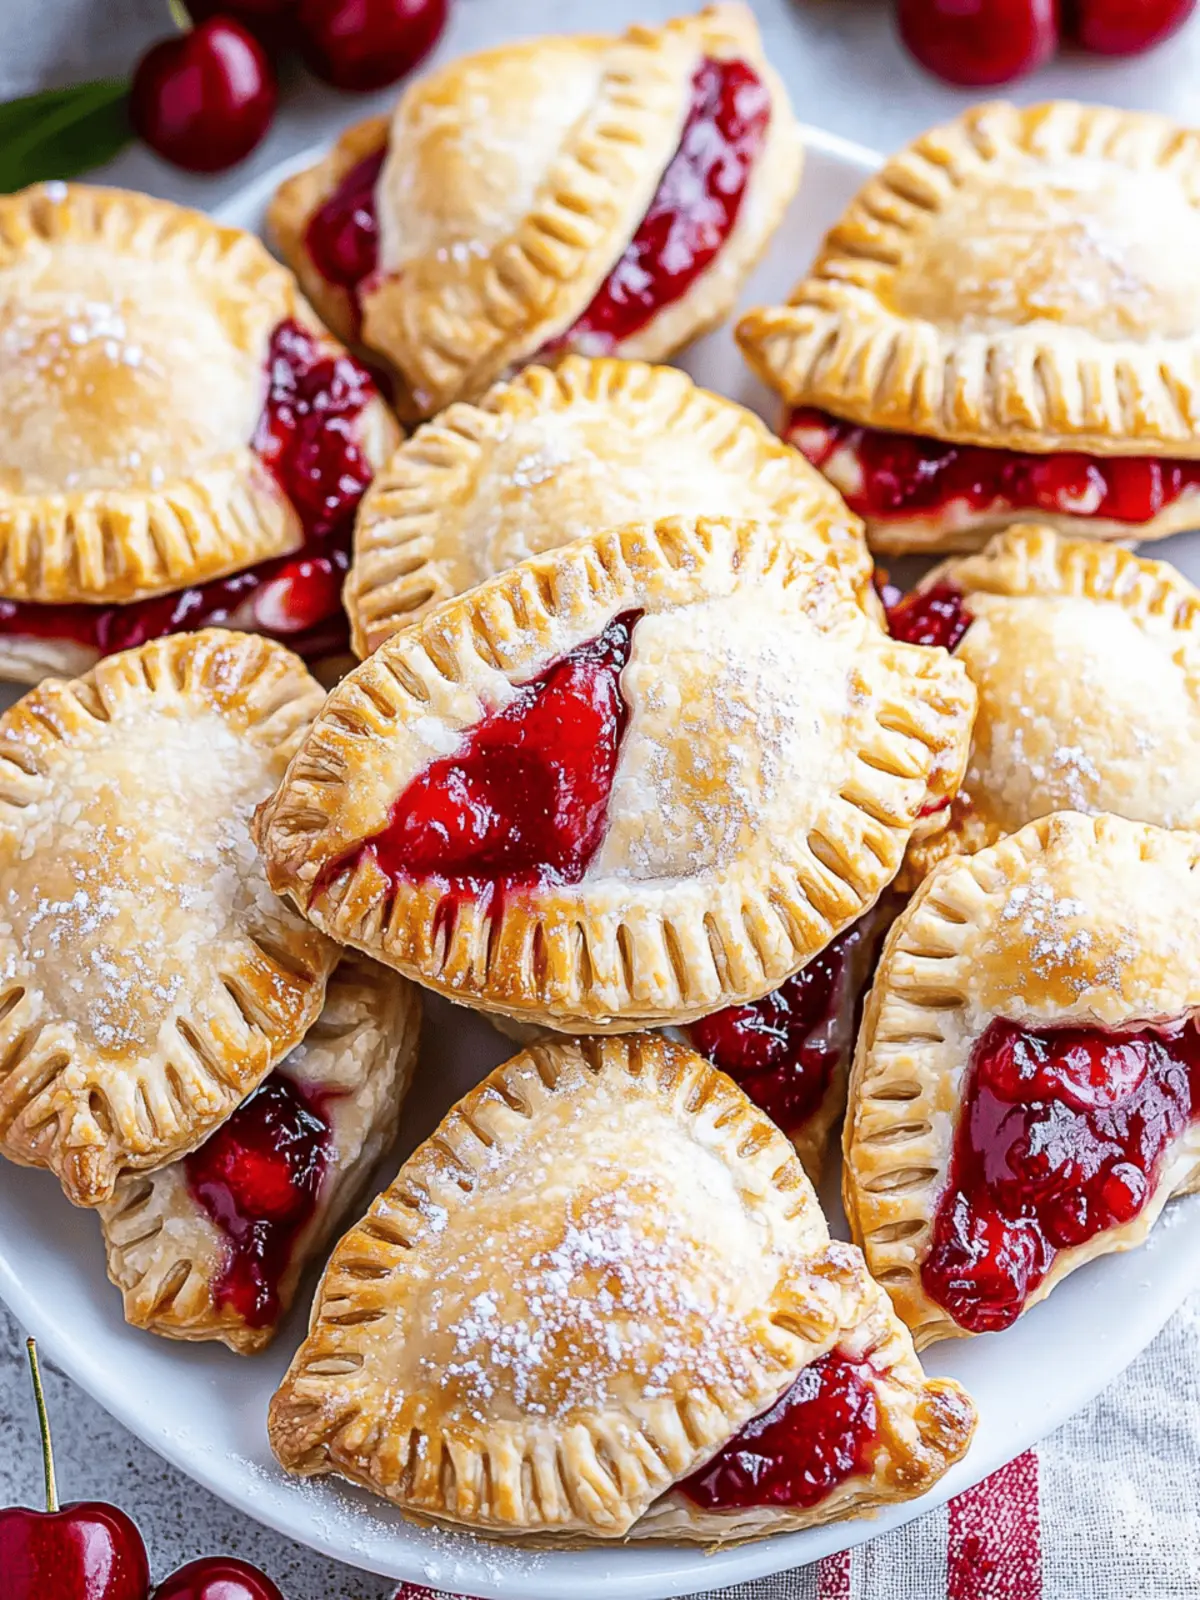
Delicious Cherry Hand Pies You Need to Bake Today
Ingredients
Equipment
Method
- Preheat your oven to 350°F (175°C).
- Line a large cookie sheet with parchment paper and set aside. Whisk the eggs with 2 tablespoons of water in a small bowl.
- Roll out one thawed pie crust until it’s between ¼” and ⅛” thick.
- Use a 3-4 inch holiday tree cookie cutter to cut out about 7 tree shapes.
- Place the tree shapes on the baking sheet and spoon about 1 – 1½ tablespoons of cherry pie filling into the center of each.
- Brush the edges with egg wash and place another tree-shaped crust over the filling. Press edges together gently.
- Seal the seams with a fork, cutting slits in the top crust for venting.
- Brush the top crusts with the remaining egg wash and sprinkle with sanding sugar if desired.
- Bake for 20-25 minutes or until golden brown. Transfer to a cooling rack.

