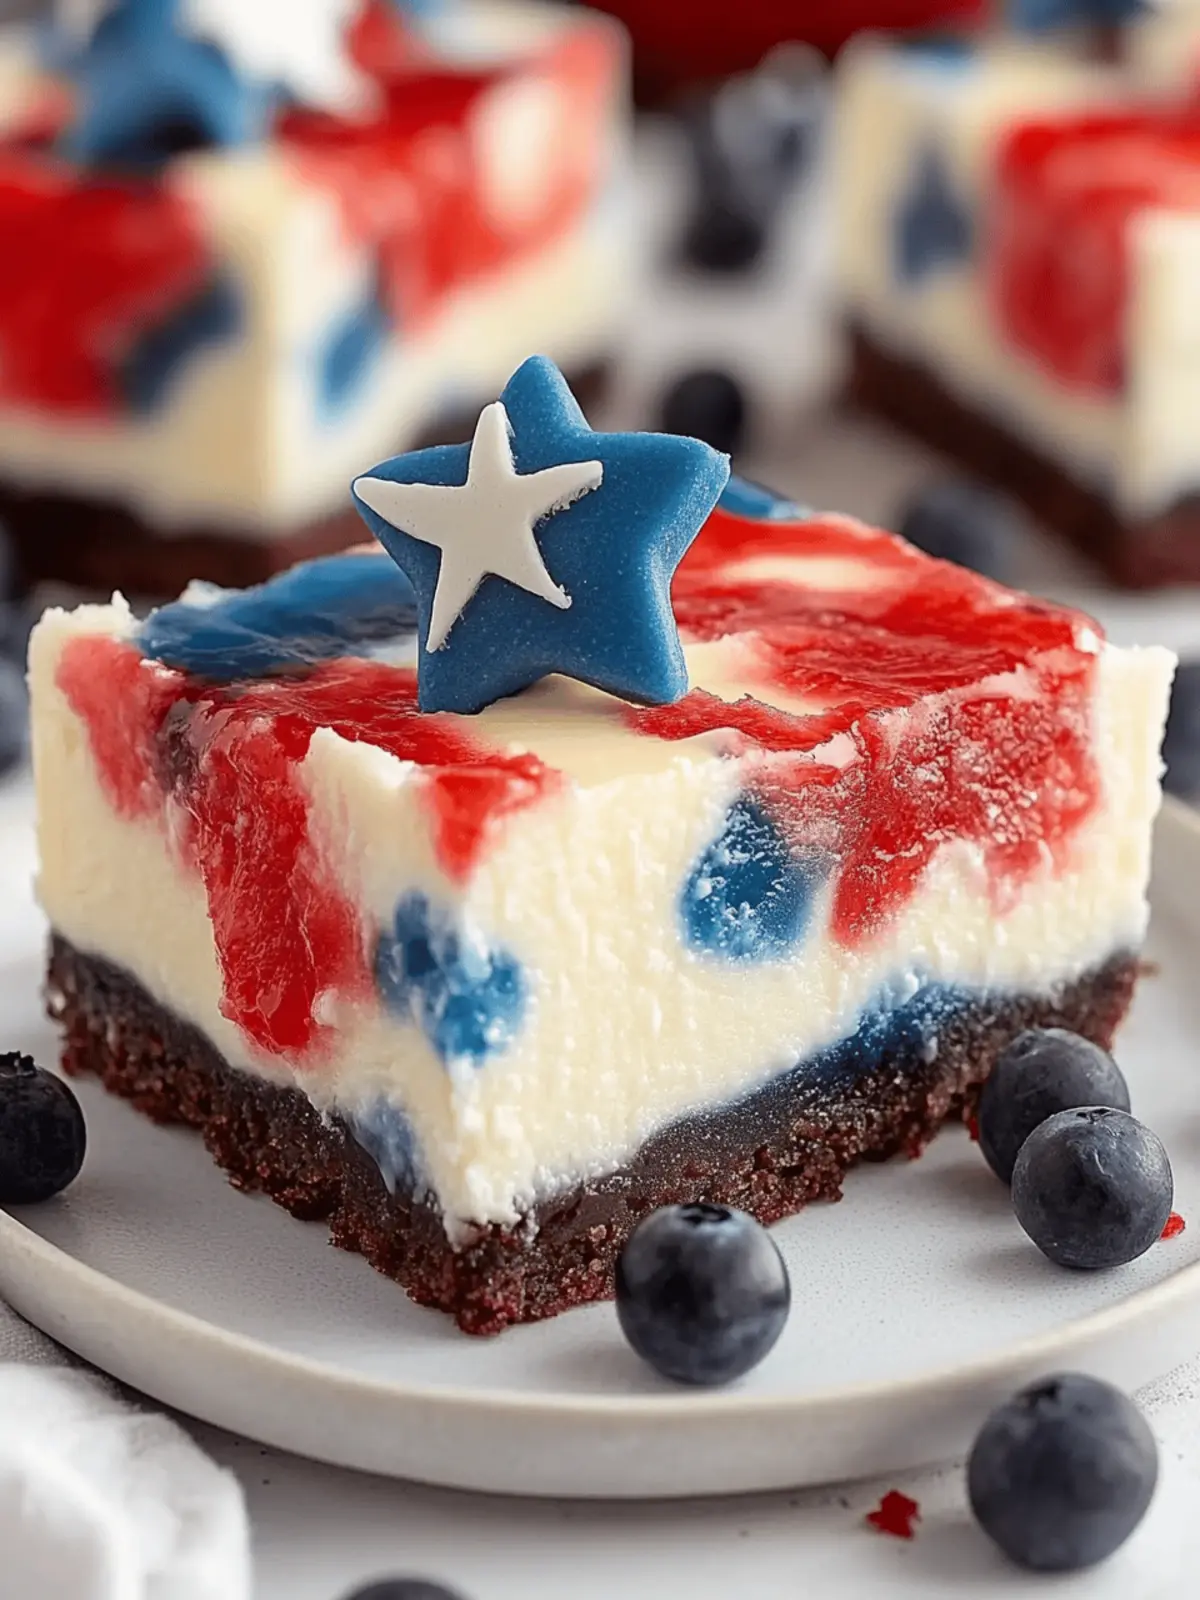
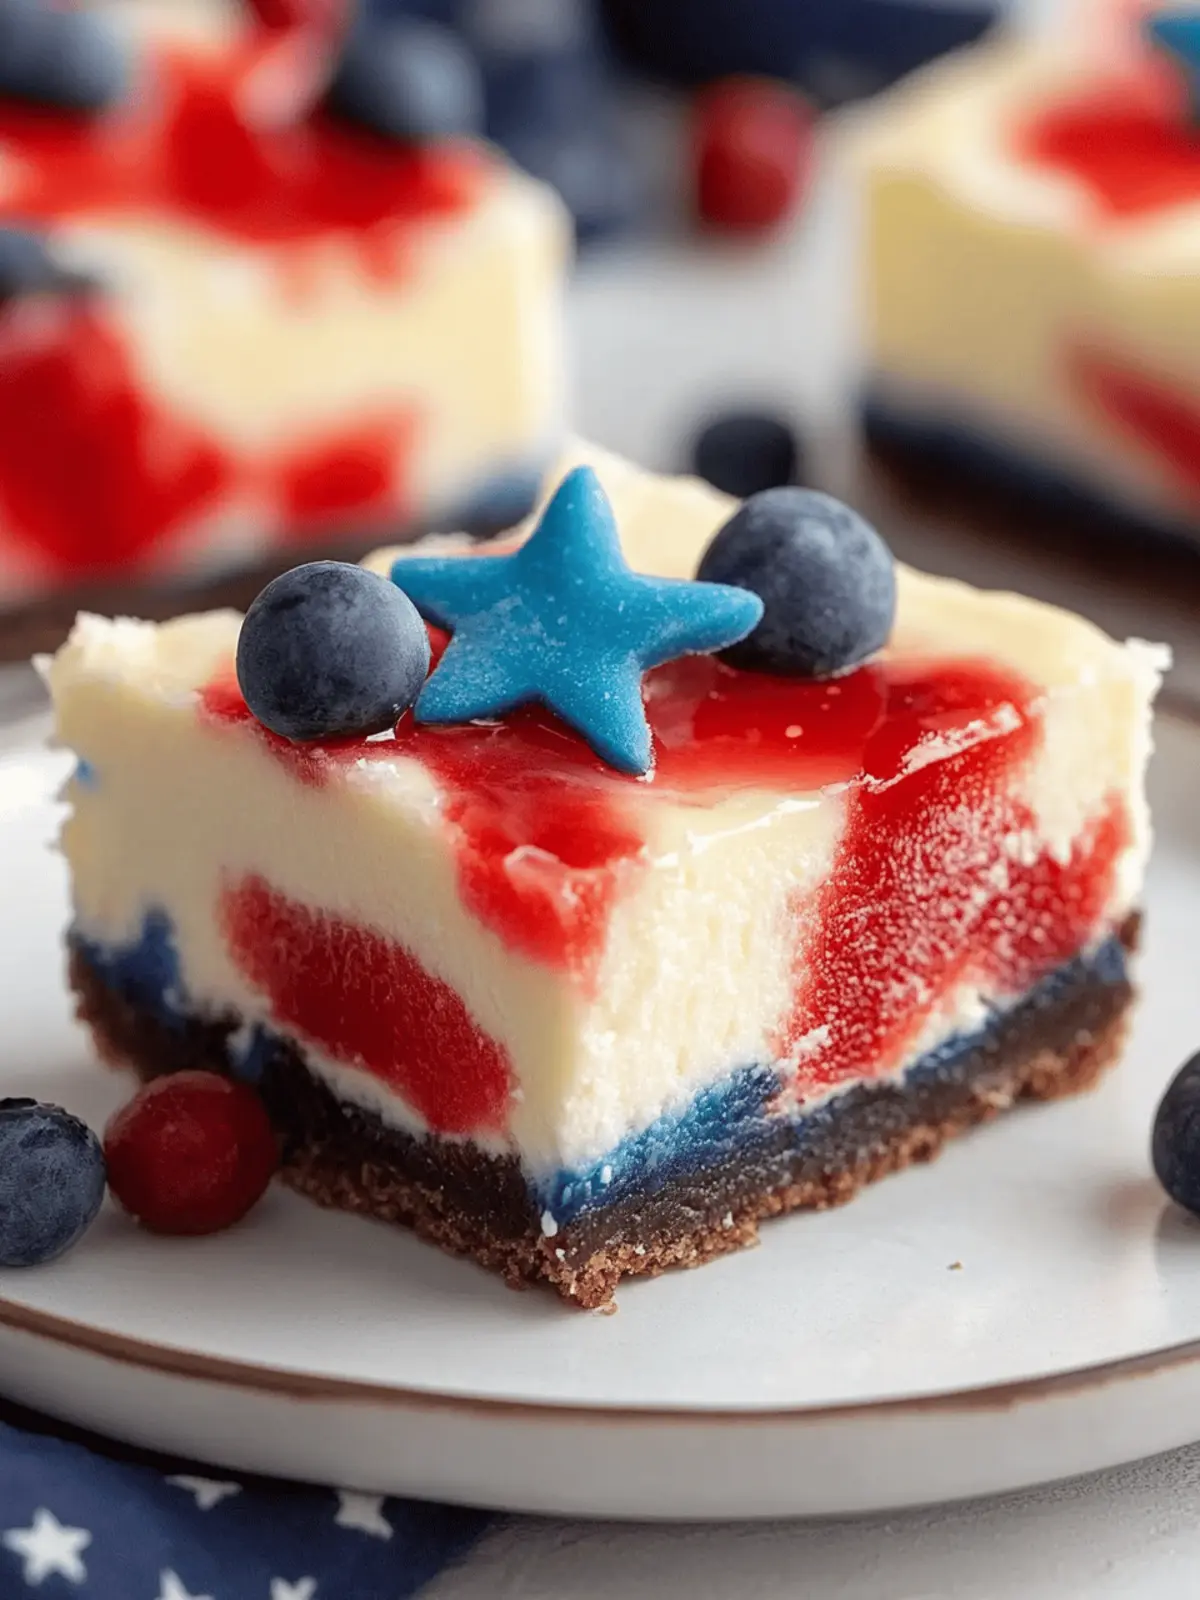
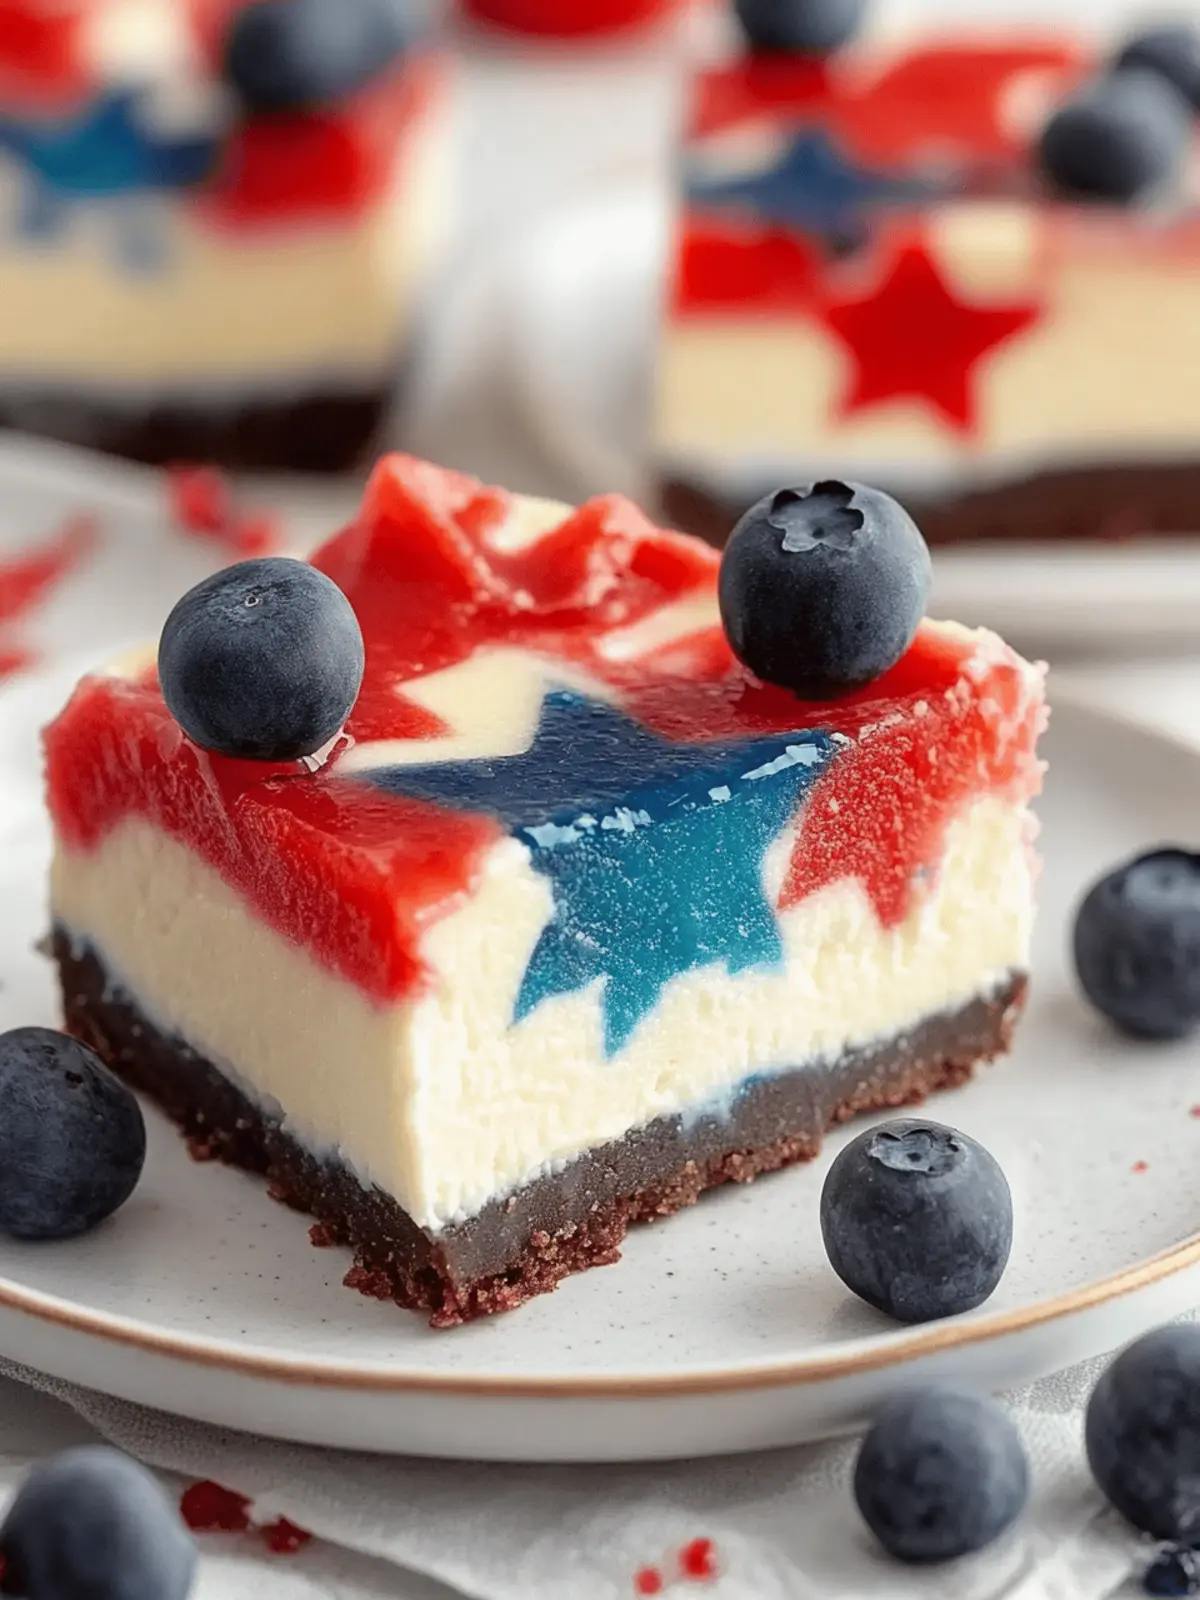
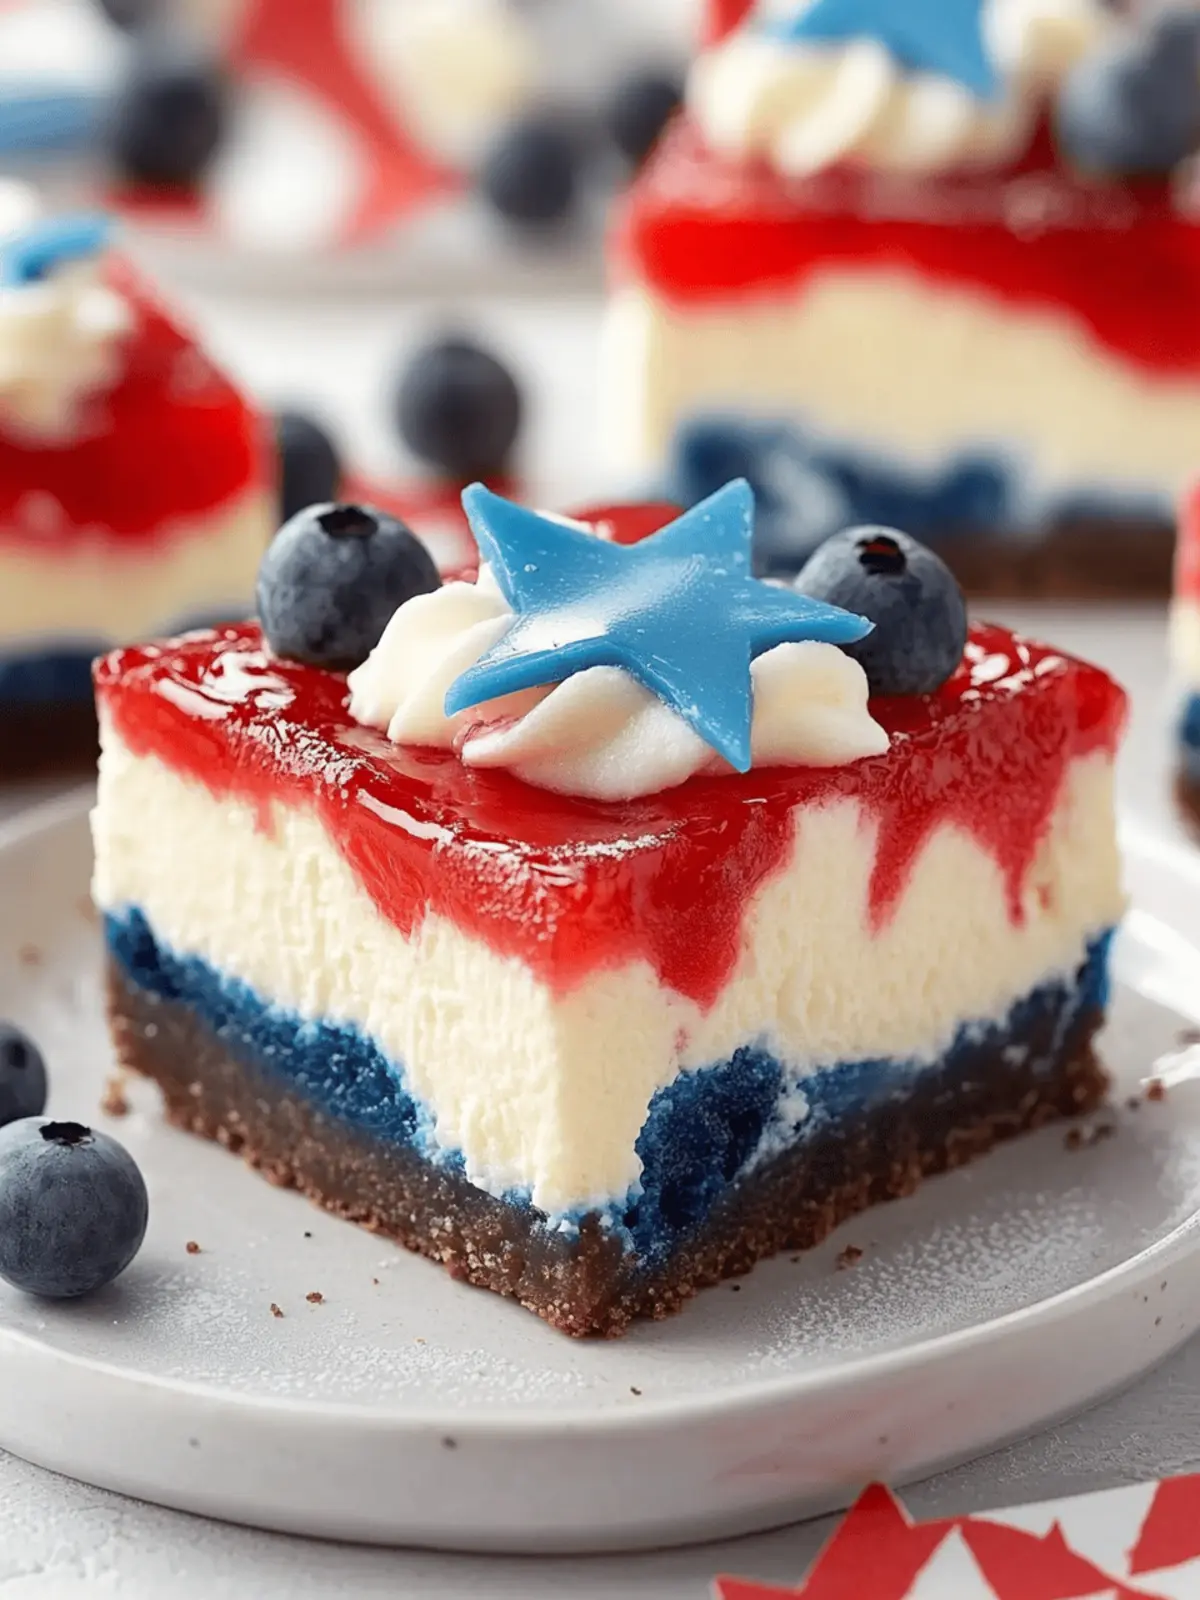
As summer beckons, I find myself drawn to vibrant flavors and festive gatherings, and nothing encapsulates this spirit quite like Creamy Red White and Blue Cheesecake Bars. Picture a sunny afternoon, laughter filling the air, and the tantalizing aroma of creamy cheesecake wafting from my kitchen. These bars marry the luxurious taste of traditional cheesecake with the refreshing essence of summer berries, creating a dessert that’s not just delicious but also a visual delight.
What I love most about these bars is their effortless charm—no elaborate decorating skills are required! Simply layer, swirl, and let the vibrant colors shine. Whether you’re hosting a backyard barbecue, celebrating a patriotic holiday, or simply enjoying a sweet treat on a warm day, these cheesecake bars are the perfect make-ahead dessert that will have everyone asking for more. Let’s dive into this easy recipe that combines ease and elegance, ensuring you can impress your friends and family without breaking a sweat!
Why Are Creamy Red White and Blue Cheesecake Bars So Irresistible?
Effortless Preparation: These cheesecake bars require no baking skills, making them accessible for everyone.
Vibrant Presentation: Their stunning red, white, and blue layers create an eye-catching dessert ideal for summer celebrations.
Versatile Flavors: You can easily swap berries or use flavored extracts, allowing for endless customization.
Crowd-Pleasing Delight: Perfect for parties, these bars are shareable and guaranteed to impress your guests.
Make-Ahead Convenience: Prepare them in advance, saving you time on the day of your gathering!
These Creamy Red White and Blue Cheesecake Bars are the ultimate summer indulgence that checks all the boxes!
Creamy Red White and Blue Cheesecake Bars
For the Cheesecake Filling
- Full-Fat Cream Cheese – Ensures a rich and creamy texture; soften before mixing for the best results.
- Granulated Sugar – Sweetens the cheesecake; opt for fine sugar to blend smoothly without graininess.
- Sour Cream – Adds tanginess and enhances creaminess; Greek yogurt works as a great swap if needed.
- Vanilla Extract – Infuses warm flavors; consider almond extract for a delightful twist.
- All-Purpose Flour – Stabilizes the filling; use almond flour for a gluten-free version.
- Large Eggs – Binds everything together; always use room temperature eggs for optimal mixing.
- Food Coloring – Creates the festive red and blue swirls; start with just a bit to avoid overpowering the batter.
For the Crust
- Butter – Acts as the glue for your crust; ensure it’s melted to mix easily.
- Cookies (e.g., Oreos) – This creates a deliciously crunchy base; feel free to play with different cookie flavors!
These Creamy Red White and Blue Cheesecake Bars are not only eye-catching but also a delightful treat that captures the spirit of summer celebrations!
How to Make Creamy Red White and Blue Cheesecake Bars
-
Preheat Oven: Warm your oven to 325°F (163°C) to prepare for baking the crust and filling. This initial step ensures a perfectly set cheesecake.
-
Prepare Crust: Crush the cookies into fine crumbs using a food processor. Combine with melted butter and press into the bottom of a lined 9×13-inch pan. Bake for 10 minutes until golden and let cool.
-
Set Up Water Bath: Place a baking sheet filled halfway with water on the bottom rack of the oven. This helps maintain moisture during baking and prevents cracks.
-
Make Cheesecake Filling: In a mixing bowl, beat softened cream cheese and sugar until smooth. Add sour cream, vanilla extract, and flour; mix until well combined. Gently incorporate room temperature eggs one at a time to avoid lumps.
-
Color the Batter: Divide the cheesecake batter into three bowls. Tint one red, one blue, and leave one plain. Start with just a few drops of food coloring for a natural look.
-
Layer Batters: Spoon the batters over the cooled crust in alternating patterns for a festive look. Use a knife to gently swirl through the colors for beautiful marbling.
-
Bake: Place the cheesecake pan over the water bath in the oven. Bake for 45-50 minutes until the center is slightly jiggly but mostly set—just the way you want it!
-
Cool Down: Carefully remove from the oven and let the cheesecake cool on a wire rack for 1 hour. Transfer to the fridge and chill thoroughly for 4-6 hours to allow the flavors to meld.
-
Serve: Once chilled, cut into squares and serve these delightful bars plain or topped with whipped cream and fresh berries for an added treat.
Optional: Drizzle with chocolate sauce for a delicious twist!
Exact quantities are listed in the recipe card below.
Make Ahead Options
These Creamy Red White and Blue Cheesecake Bars are a fantastic make-ahead dessert that saves you precious time during busy summer celebrations! You can prepare the crust and filling up to 24 hours in advance, allowing for the flavors to meld beautifully. Simply follow the recipe up to the baking step; once baked and cooled, refrigerate the bars for optimal freshness. To ensure the integrity of the cheesecake, cover it tightly with plastic wrap in the fridge. When it’s time to serve, slice your chilled cheesecake bars and garnish with whipped cream and fresh berries. With this prep, you can enjoy your gathering without any last-minute stress!
What to Serve with Creamy Red White and Blue Cheesecake Bars?
As you bask in the warmth of summer celebrations, set the scene with delightful pairings that elevate your dessert experience.
- Fresh Berries: Juicy strawberries, blueberries, and raspberries complement the cheesecake with a burst of flavor and added freshness.
- Whipped Cream: A dollop of fluffy whipped cream adds lightness and richness, creating a perfect contrast to the creamy bars.
- Grilled Peaches: The caramelized sweetness of grilled peaches enhances the dessert’s fruity vibe while adding a delightful smoky note.
- Mint Sprigs: A sprinkle of fresh mint not only beautifies your plate but adds a refreshing hint that cuts through the richness of the cheesecake.
- Chocolate Drizzle: A warm drizzle of chocolate sauce brings a luscious touch, making each bite a decadent experience.
- Sparkling Lemonade: This refreshing drink provides a zesty counterpoint, lifting the flavors and keeping things light and bubbly.
- Ice Cream: A scoop of vanilla or berry ice cream creates a deliciously creamy pairing, bringing a nostalgic feel to your dessert table.
- Fruit Salad: A chilled fruit salad with a mix of your favorite summer fruits adds a juicy, vibrant element that complements the richness of the cheesecake.
- Sangria: A fruity sangria works well with these bars, providing a festive touch and the perfect drink to sip on during summer gatherings.
Expert Tips for Creamy Red White and Blue Cheesecake Bars
-
Room Temperature Ingredients: Ensure your cream cheese and eggs are at room temperature for a smooth batter and minimal lumps.
-
Proper Cooling: Let the cheesecake cool gradually; sudden changes in temperature might cause unsightly cracks on the surface.
-
Swirling Technique: Use a gentle hand when swirling the colored batters to achieve the desired marbled effect without overmixing.
-
Clean Cuts: To cut perfect squares, dip a knife in hot water and wipe it dry between cuts for nice, clean edges.
-
Storage Savvy: Store any leftover Creamy Red White and Blue Cheesecake Bars in an airtight container in the fridge for freshness up to 5 days.
Creamy Red White and Blue Cheesecake Bars Variations
Feel inspired to make these cheesecake bars uniquely yours with simple twists and substitutions that will delight your taste buds!
- Fruit Swap: Replace the traditional berries with fresh peaches or strawberries for a seasonal twist. The sweetness will shine through in every bite.
- Greek Yogurt: Use Greek yogurt instead of sour cream for an added protein boost; it gives the cheesecake a slight tang. You’ll love how creamy it remains!
- Nutty Crust: For an extra crunch, combine crushed nuts with the cookie crumbs to create a flavorful crust. Almonds or pecans work beautifully!
- Chocolate Fans: Incorporate cocoa powder into the filling for a delectable chocolate layer. Each bite will offer a fun surprise for chocolate lovers!
- Citrus Zest: Add lemon or lime zest to the batter for a refreshing citrus twist that balances the creaminess. The bright flavor will elevate your bars!
- Festive Colors: Use natural food dyes from beet juice or spirulina for a healthier approach to coloring while still achieving vibrant hues.
- Lemonade Flavor: Add lemonade concentrate to the filling for a refreshing summer vibe—zesty and fun, it will take you right to the beach!
- Spicy Kick: For a daring twist, incorporate a pinch of cinnamon or nutmeg into the batter to add warmth and complexity. It’s an unexpected delight everyone will remember!
These variations allow you to express your creativity while enjoying a beloved classic!
Storage Tips for Creamy Red White and Blue Cheesecake Bars
-
Fridge: Store leftovers in an airtight container for up to 5 days. This keeps the bars fresh and ready to enjoy during summer celebrations.
-
Freezer: Wrap individual Cheesecake Bars tightly in plastic wrap and then place them in a freezer-safe bag. They can be frozen for up to 3 months without losing their delightful flavor.
-
Thawing: For the best texture, thaw frozen bars overnight in the fridge before serving. This helps them regain their creamy consistency.
-
Reheating: If desired, you can enjoy these bars cold right from the fridge, but for a warm touch, pop them in a 300°F (150°C) oven for about 10 minutes.
Creamy Red White and Blue Cheesecake Bars Recipe FAQs
How should I select ripe berries for my cheesecake bars?
Absolutely! When choosing berries, look for vibrant colors and plumpness. Strawberries should be bright red without dark spots, while blueberries should be firm and have a slight bloom (a white powdery coating). Avoid any that look mushy or have visible mold, as freshness is key to your dessert’s flavor.
How should I store my cheesecake bars for maximum freshness?
To keep those delicious Creamy Red White and Blue Cheesecake Bars fresh, store them in an airtight container in the refrigerator for up to 5 days. This helps preserve their creamy texture and vibrant flavors. As an extra tip, you can separate layers with parchment paper to prevent any sticking!
Can I freeze the cheesecake bars, and if so, what’s the best way?
Very! To freeze, first cut the cheesecake bars into squares. Wrap each piece tightly with plastic wrap, followed by a layer of aluminum foil, to prevent freezer burn. Place them in a freezer-safe bag or container, and they can last for up to 3 months. When you’re ready to enjoy, simply thaw them in the fridge overnight for the best texture.
What should I do if my cheesecake bars crack during baking?
If your cheesecake bars develop cracks, don’t worry—they’ll still taste fantastic! To minimize cracking in the future, ensure you avoid rapid temperature changes by keeping the oven door closed while they bake. Additionally, cooling at room temperature before refrigerating can help. For a seamless look, you can always cover any cracks with whipped cream or fresh berries when serving!
Are there any dietary considerations I should keep in mind for these cheesecake bars?
Definitely! If you’re concerned about gluten, you can easily substitute the all-purpose flour with almond flour, and use gluten-free cookies for the crust. For those allergic to dairy, try replacing the cream cheese and sour cream with vegan alternatives, but keep in mind that the texture and flavor may change slightly. Always double-check labels to ensure all ingredients meet your dietary requirements.
What’s the best way to slice the cheesecake bars for clean edges?
To achieve clean slices of your Creamy Red White and Blue Cheesecake Bars, use a sharp knife dipped in hot water before cutting. Wipe the knife dry between cuts to maintain pristine edges and prevent any crumbling. This simple tip keeps your presentation looking as fabulous as the flavors!
Creamy Red White and Blue Cheesecake Bars for Summer Bliss
Ingredients
Equipment
Method
- Preheat your oven to 325°F (163°C).
- Crush the cookies into fine crumbs and mix with melted butter. Press into the bottom of a lined 9x13-inch pan and bake for 10 minutes. Let cool.
- Place a baking sheet filled halfway with water on the bottom rack of the oven.
- In a mixing bowl, beat cream cheese and sugar until smooth. Add sour cream, vanilla, and flour, mixing until combined. Add eggs one at a time.
- Divide the batter into three bowls, tint one red, one blue, and leave one plain.
- Spoon the batters over the cooled crust in alternating patterns and swirl gently with a knife.
- Bake for 45-50 minutes until the center is slightly jiggly. Cool on a wire rack for 1 hour, then chill in the fridge for 4-6 hours.
- Cut into squares and serve with whipped cream and fresh berries.

