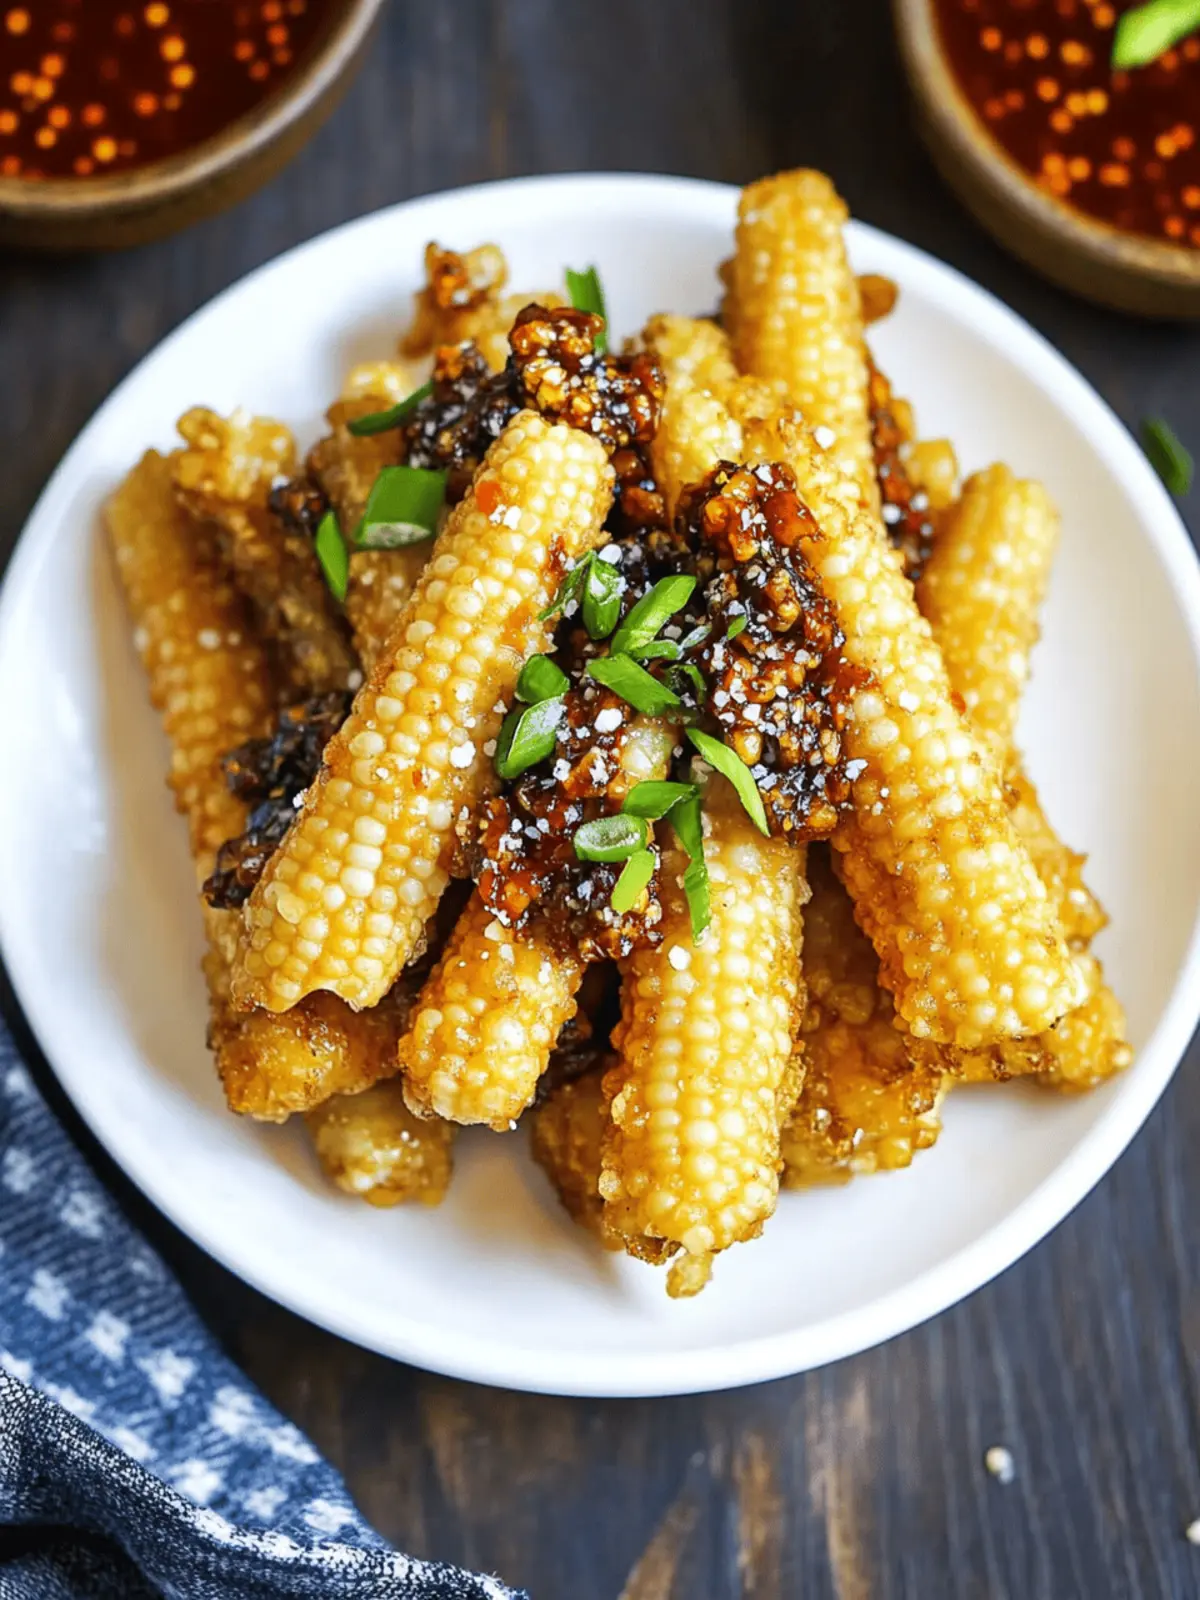
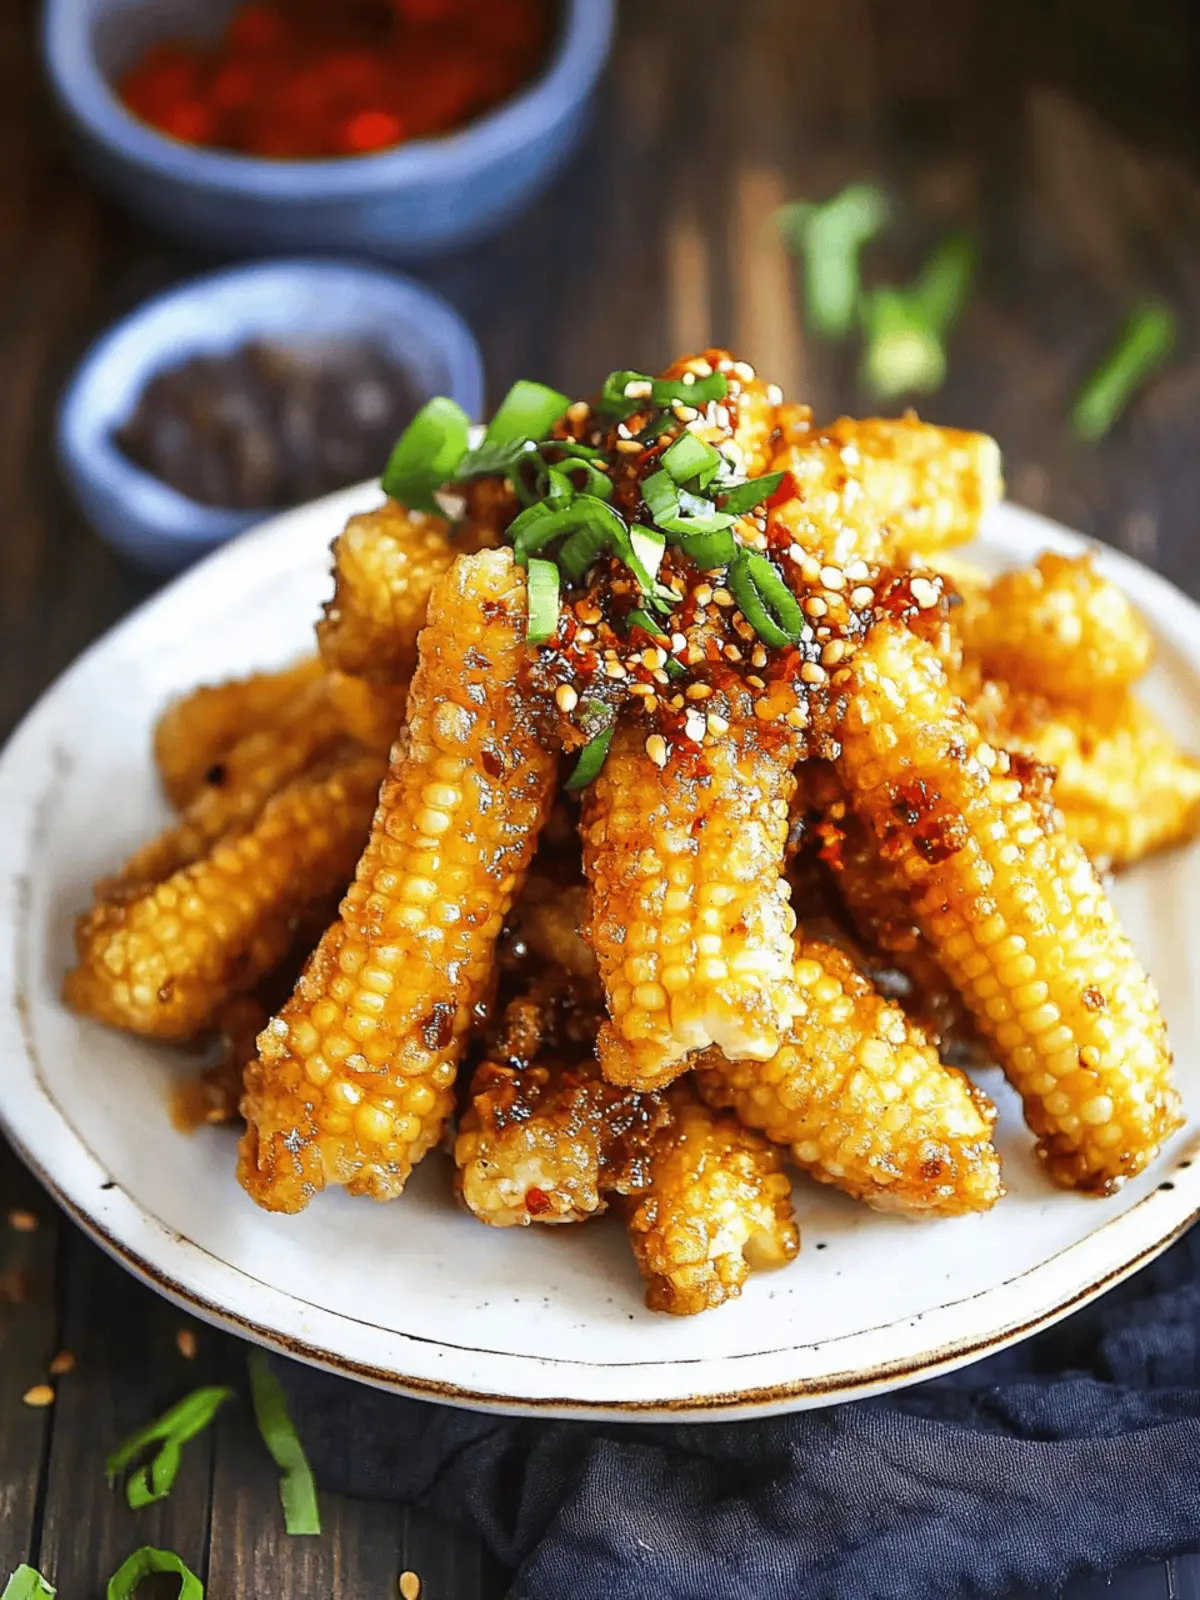
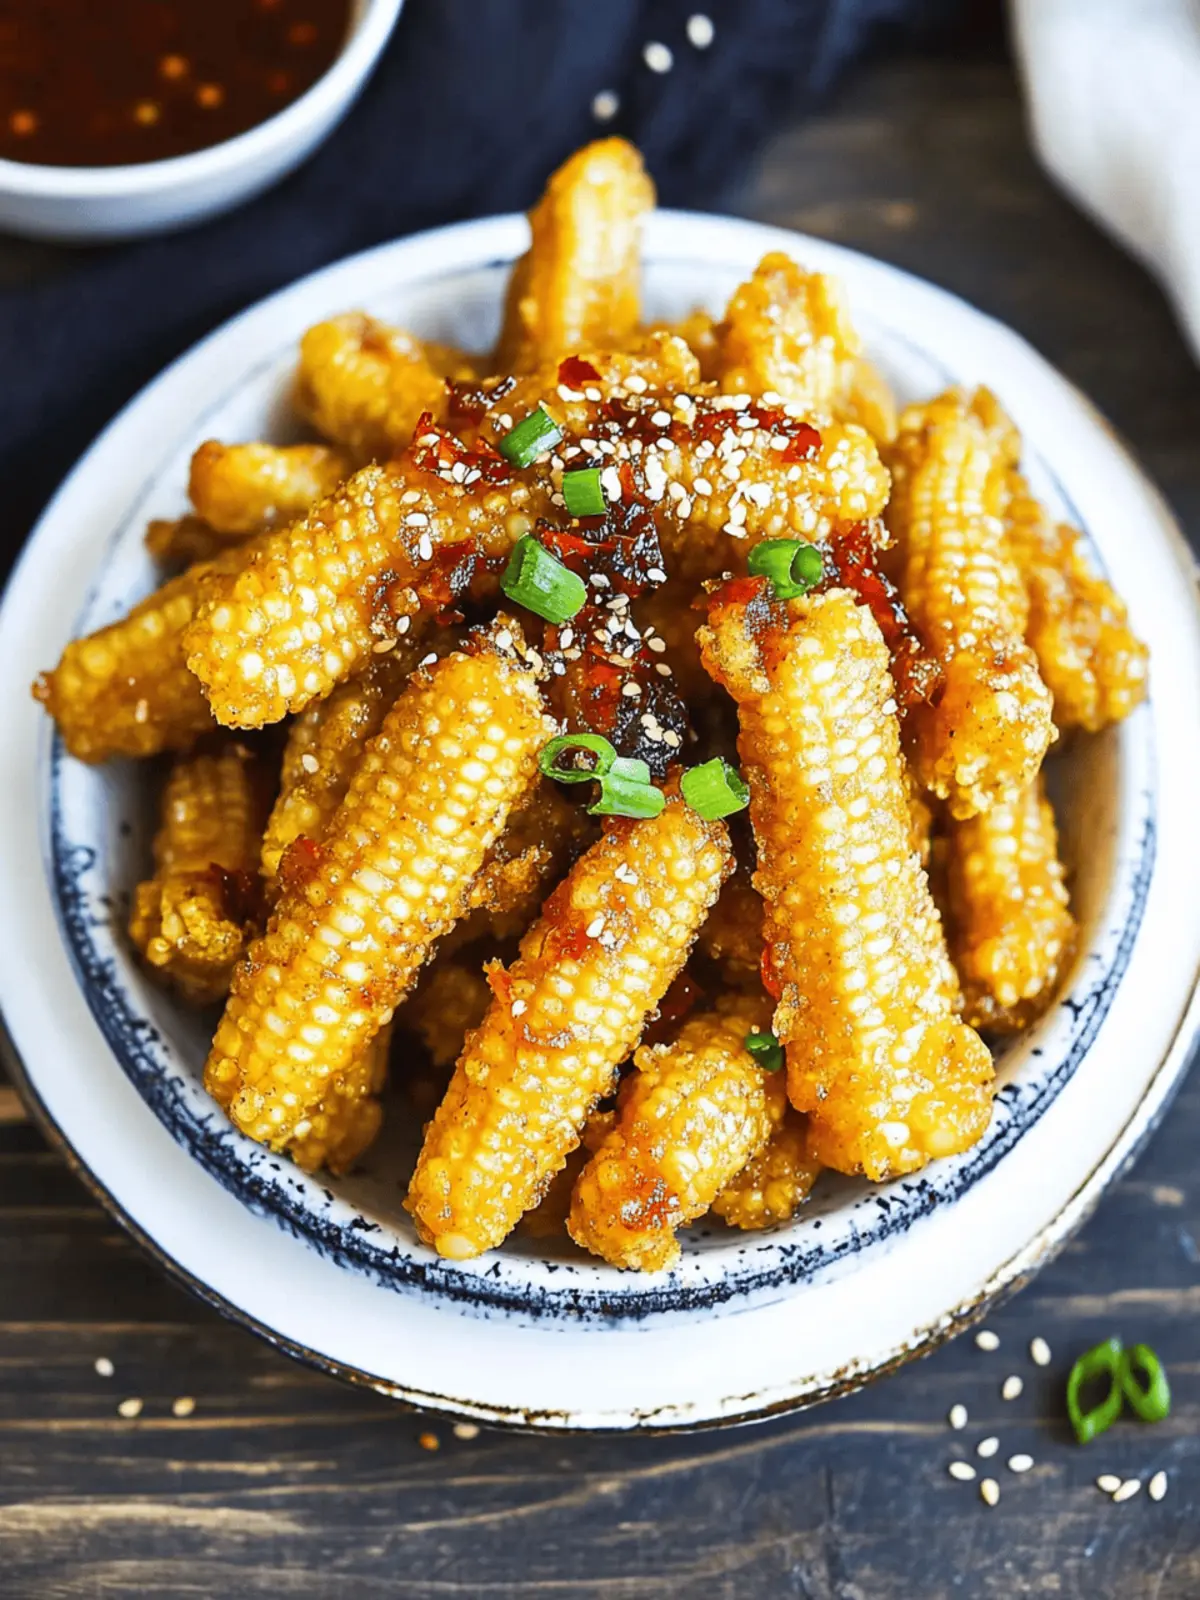
The moment the first bite of crispy baby corn hits your taste buds, you’re instantly transported to the vibrant streets of India, where the air is filled with enticing aromas of spices and sizzling delicacies. The delightful crunch of each bite is perfectly enhanced by a fiery chili garlic glaze that dances on your palate, making it an addictive treat you won’t forget.
In a world where fast food often overshadows home-cooked meals, this vegetarian Indian-Chinese dish stands out not only for its sensational flavor but also for its quick prep time. Whether you’re hosting a lively gathering or simply craving a tantalizing snack, these crispy chili baby corns are an easy way to impress your friends and elevate your culinary game. So, let’s dive into the recipe that transforms humble baby corn into a sensational dish that will leave everyone asking for more!
Why is Crispy Baby Corn a Must-Try?
Simplicity: This recipe is a breeze, perfect for both novice and experienced cooks!
Bold Flavor: The spicy chili garlic glaze pairs vividly with the crunchy baby corn, making each bite a flavor explosion.
Versatile: Enjoy it as a snack, appetizer, or party treat. You can also experiment with your own sauces!
Quick Prep: Ready in under 30 minutes, it’s ideal for satisfying those last-minute cravings.
Crowd-Pleaser: This dish is guaranteed to be a hit at gatherings, making it a favorite for family and friends who are tired of fast food.
Dive deeper into your cooking adventures by exploring other vegetarian delights that will impress and satisfy!
Crispy Baby Corn Ingredients
For the Chili Garlic Glaze
• Sesame Oil – Adds a rich, nutty flavor; substitute with vegetable oil if needed.
• Garlic (finely chopped) – Provides aromatic depth to the sauce; fresh garlic is preferred for the best flavor.
• Red Chili Flakes – Adds heat and texture; adjust quantity based on your spice tolerance.
• Red Chili Paste/Sauce – Offers a balance of heat and flavor; can interchange with sriracha for a different taste.
• Brown Sugar – Balances the spiciness of the sauce; white sugar can be used if unavailable.
• Soy Sauce – Provides umami depth; tamari is a great gluten-free substitute.
• Vinegar – Adds acidity to balance flavors; lime or lemon juice can be used as alternatives.
For the Batter
• Baby Corn (250 grams) – The star ingredient providing crunch; fresh or canned works well.
• All-Purpose Flour (1 Cup) – Basic structure for the batter; gluten-free flour can replace for dietary needs.
• Rice Flour (¼ Cup) – Enhances crispiness; substitute with cornstarch if unavailable.
• Salt & Pepper – Essential seasonings for both batter and sauce; adjust according to taste.
• Chilled/Ice Cold Water (½ Cup) – Helps achieve a light, crispy batter; always use cold water for the best texture.
For Frying & Garnishing
• Vegetable Oil (2 Cups, for deep frying) – Essential for frying; use any neutral oil suitable for cooking.
• Spring Onion Greens (1 Tablespoon) – For garnish and a fresh flavor; chives make a suitable substitute.
• Sesame Seeds (1 Teaspoon, white til) – Optional garnish that adds a nutty flavor and visual appeal.
This Crispy Baby Corn dish is not just a recipe; it’s a culinary experience that steals the spotlight at any gathering!
How to Make Crispy Baby Corn
-
Prepare Chili Garlic Sauce:
In a frying pan, heat sesame oil over medium heat. Add finely chopped garlic and red chili flakes, frying for 30-40 seconds until fragrant. Pour in the remaining sauce ingredients, stirring continuously until well combined. Set aside. -
Make the Batter:
In a mixing bowl, combine all-purpose flour, rice flour, salt, and pepper. Gradually whisk in the chilled water until you achieve a smooth batter. The cold water is key for ultimate crispiness! -
Coat and Fry Baby Corn:
Dip each piece of baby corn into the batter to ensure it’s fully coated. Heat vegetable oil in a deep frying pan over medium-high heat. Fry the baby corn in batches for about 5-7 minutes, or until they turn golden brown and crispy. Avoid overcrowding the pan for best results. -
Combine and Serve:
Once fried, remove the crispy baby corn from the pan and drain on a colander. Pour the chili garlic sauce over the corn, ensuring even coverage. Garnish with chopped spring onion greens and sesame seeds before serving.
Optional: Serve with sweet chili sauce or yogurt sauce for an extra flavor boost.
Exact quantities are listed in the recipe card below.
Expert Tips for Crispy Baby Corn
- Cold Water Essential: Always use ice-cold water in the batter to ensure a super crispy coating that sticks beautifully to the baby corn.
- Frying in Batches: Avoid overcrowding the pan while frying; this ensures the oil maintains its temperature, yielding a perfectly crispy baby corn.
- Monitor the Heat: Keep a close eye on the frying temperature; too high can burn the batter, while too low can lead to soggy corn.
- Taste Before Salt: Remember, the soy sauce and chili paste can be salty. Taste your chili garlic glaze before adding extra salt, ensuring balanced flavors.
- Double Fry for Extra Crunch: For an irresistible texture, consider double frying the baby corn—fry once, cool, and then fry again until golden.
Crispy Baby Corn Variations & Substitutions
Feel free to get creative and make this dish truly yours with these delightful twists and swaps!
- Flavor Boost: Add curry powder to the batter for an aromatic kick that infuses the corn with Indian spices.
- Herb Infusion: Incorporate fresh cilantro or parsley into the batter for a fresh herbaceous flavor that brightens each bite.
- Sweet Touch: Mix in honey or agave syrup with the chili garlic glaze to add a hint of sweetness that balances the spice.
- Crunchy Texture: Toss in some panko breadcrumbs for a double-coating effect that will give your crispy baby corn an extra crunch!
- Zesty Kick: Switch red chili paste with harissa or sriracha for a new level of heat with a flavor twist that packs a punch.
- Veggie Swap: For a unique take, use zucchini sticks or carrot batons as an alternative to baby corn; they’ll still crisp up beautifully.
- Garnish Options: Top with crushed peanuts or fried shallots for added texture and a nutty flavor twist on your garnish.
- Gluten-Free: Use chickpea flour instead of all-purpose flour to make a gluten-free batter that’s equally delicious and crispy.
Let your culinary creativity shine as you tailor this recipe to your taste!
Storage Tips for Crispy Baby Corn
-
Room Temperature: Best enjoyed fresh, but if needed, you can keep at room temperature for up to 2 hours before the crispiness starts to fade.
-
Fridge: Store any leftover crispy baby corn in an airtight container in the fridge for up to 1 day. Re-crisping is necessary to regain that delightful crunch.
-
Freezer: For longer storage, freeze the cooked baby corn in a single layer on a baking sheet, then transfer to a freezer bag. It can be kept for up to 1 month.
-
Reheating: To reheat, preheat your oven to 375°F (190°C) and bake the crispy baby corn for about 10-15 minutes until hot and crispy, ensuring you enjoy its initial texture and flavor.
Make Ahead Options
These Crispy Baby Corn bites are a meal prep dream! You can prepare the chili garlic sauce up to 3 days in advance and refrigerate it in an airtight container. Additionally, you can coat the baby corn pieces in the batter and store them in the refrigerator for up to 24 hours, ensuring they stay crisp during frying. When you’re ready to enjoy your snack, simply heat the oil and fry the coated baby corn until golden brown, then drizzle with the prepared sauce. This method saves time, allowing you to whip up a flavorful snack with minimal last-minute effort while yielding the same delicious results!
What to Serve with Crispy Chili Baby Corn?
Elevate your culinary experience by creating a full meal that perfectly complements this crunchy, flavorful delight.
-
Steamed Jasmine Rice: Its fluffy texture balances the crispy baby corn, providing a neutral base that soaks up the delicious chili garlic glaze.
-
Vegetable Stir-Fry: A medley of colorful veggies adds freshness and crunch, creating a delightful contrast to the crispy texture of the baby corn.
-
Spicy Mango Chutney: This sweet and tangy accompaniment contrasts beautifully with your chili garlic flavor, offering a refreshing burst of sweetness.
-
Garlic Noodles: These savory noodles introduce an aromatic flavor palette that plays harmoniously with the spices in the baby corn.
-
Cucumber Salad: A cool, refreshing salad dressed in a light vinegar sauce provides a crisp counterpoint to the heat of the chili garlic sauce.
-
Peanut Dipping Sauce: Creamy and nutty, this sauce takes the dish to another level, inviting delightful flavors with every bite.
-
Pineapple Fried Rice: The sweetness of the pineapple adds a tropical flair, balancing the flavors and enhancing the overall taste experience.
-
Mango Lassi: This creamy beverage cools down the spice levels and serves as a delightful refresher, completing your meal beautifully.
-
Chocolate Brownies: End your meal on a sweet note with a rich, fudgy dessert that contrasts with the savory spices of the main dish.
Crispy Baby Corn Recipe FAQs
How do I select the best baby corn?
Absolutely! When choosing baby corn, look for firm, bright yellow stalks without any dark spots or signs of wilting. Fresh baby corn should be crisp to the touch. If you’re using canned baby corn, opt for those packed in water rather than brine for a cleaner taste.
How long can I store leftovers?
Very! Leftover crispy baby corn can be stored in an airtight container in the fridge for up to 1 day. However, for best results and to maintain that delightful crunch, I recommend enjoying them fresh.
Can I freeze cooked crispy baby corn?
Of course! To freeze, lay the cooled crispy baby corn in a single layer on a baking sheet and place it in the freezer until solid. Once frozen, transfer them to a freezer bag. They will last up to 1 month. Reheat by baking them in a preheated oven at 375°F (190°C) for about 10-15 minutes to regain their crispiness.
What should I do if my baby corn batter isn’t sticking?
The more the merrier when it comes to batter! If you find the batter isn’t adhering well to the baby corn, it could be due to warm water. Always use ice-cold water to achieve a light, crispy batter. Also, ensure the baby corn pieces are completely coated; dipping them in the batter should be generous, covering all areas for the best results.
Is this dish suitable for people with allergies?
Absolutely! This crispy baby corn recipe is vegetarian, but be cautious with allergens. For soy allergies, you can substitute soy sauce with coconut aminos or tamari for a gluten-free option. Using fresh vegetables and controlling any added spices allows you to cater to various dietary needs.
Can I make this dish gluten-free?
Absolutely! To make crispy baby corn gluten-free, simply replace all-purpose flour with a gluten-free flour blend and ensure that your soy sauce is gluten-free or use tamari. This way, you can still enjoy this delectable snack without compromising on flavor!
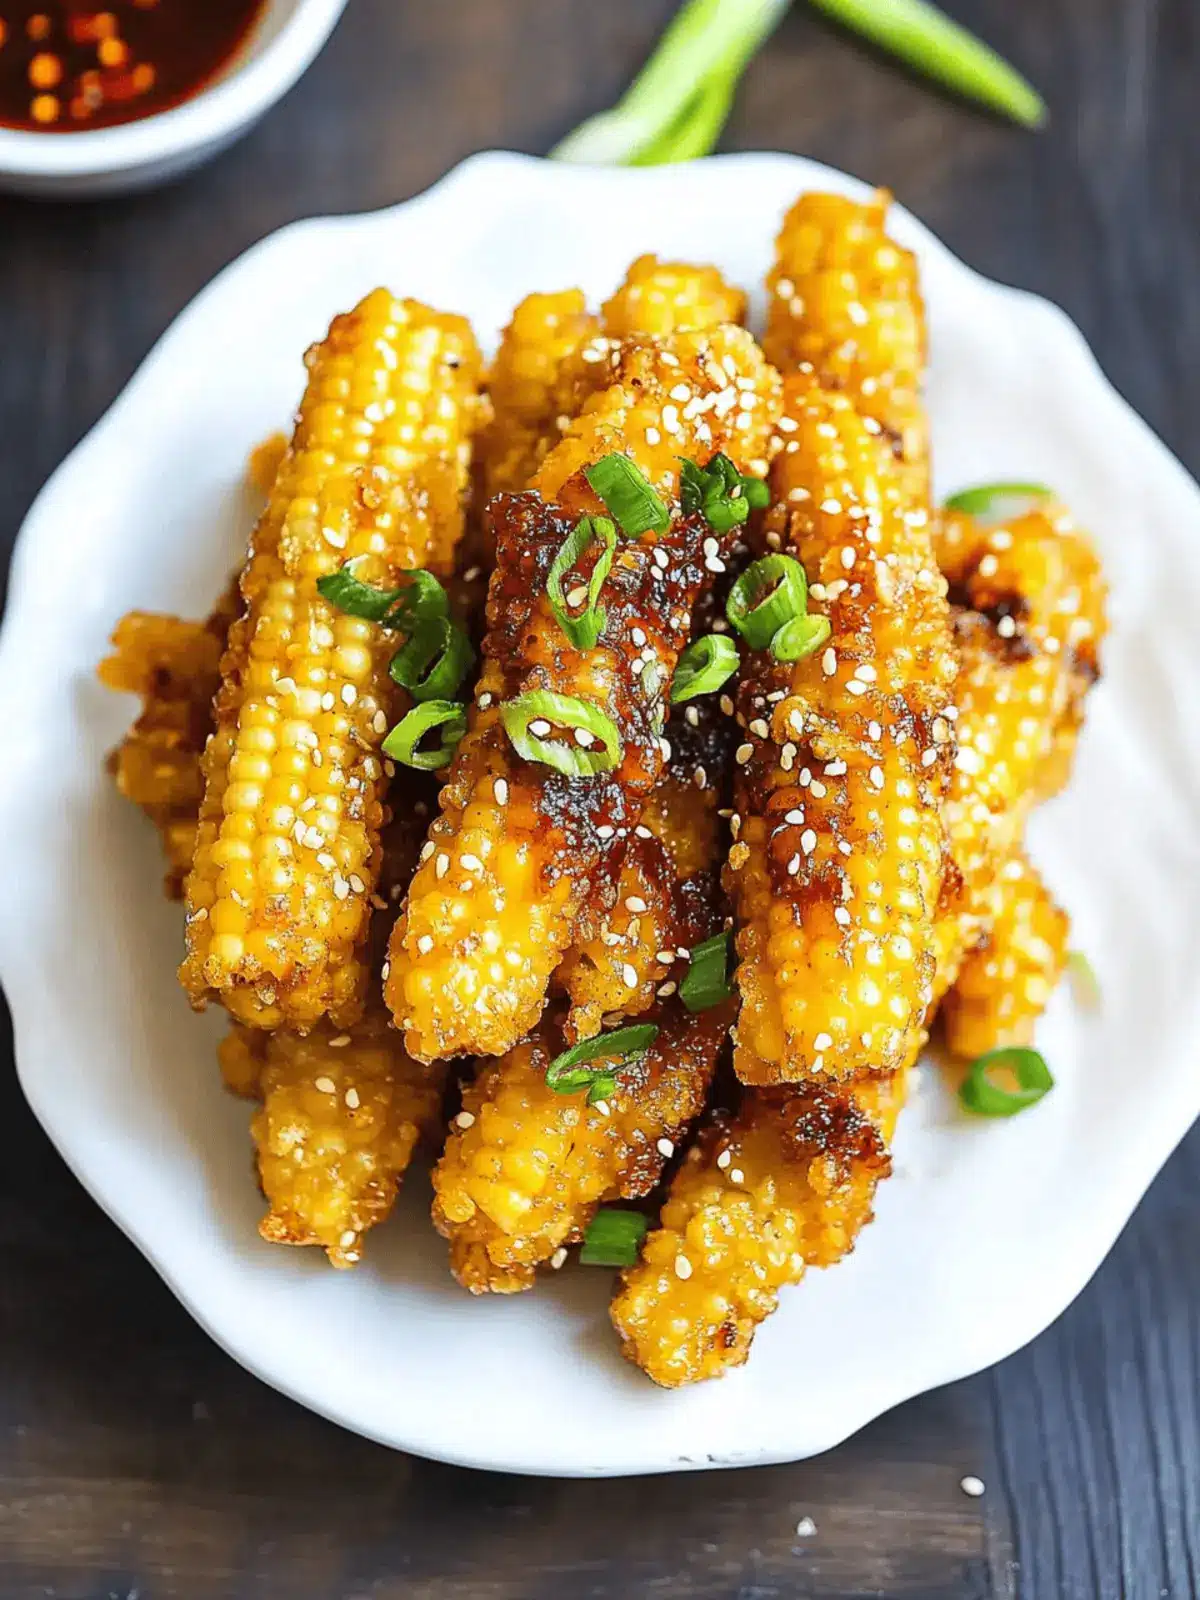
Crispy Baby Corn with Spicy Chili Garlic Glaze You’ll Love
Ingredients
Equipment
Method
- Prepare Chili Garlic Sauce: In a frying pan, heat sesame oil over medium heat. Add finely chopped garlic and red chili flakes, frying for 30-40 seconds until fragrant. Pour in the remaining sauce ingredients, stirring continuously until well combined. Set aside.
- Make the Batter: In a mixing bowl, combine all-purpose flour, rice flour, salt, and pepper. Gradually whisk in the chilled water until you achieve a smooth batter. The cold water is key for ultimate crispiness!
- Coat and Fry Baby Corn: Dip each piece of baby corn into the batter to ensure it's fully coated. Heat vegetable oil in a deep frying pan over medium-high heat. Fry the baby corn in batches for about 5-7 minutes, or until they turn golden brown and crispy. Avoid overcrowding the pan for best results.
- Combine and Serve: Once fried, remove the crispy baby corn from the pan and drain on a colander. Pour the chili garlic sauce over the corn, ensuring even coverage. Garnish with chopped spring onion greens and sesame seeds before serving.
