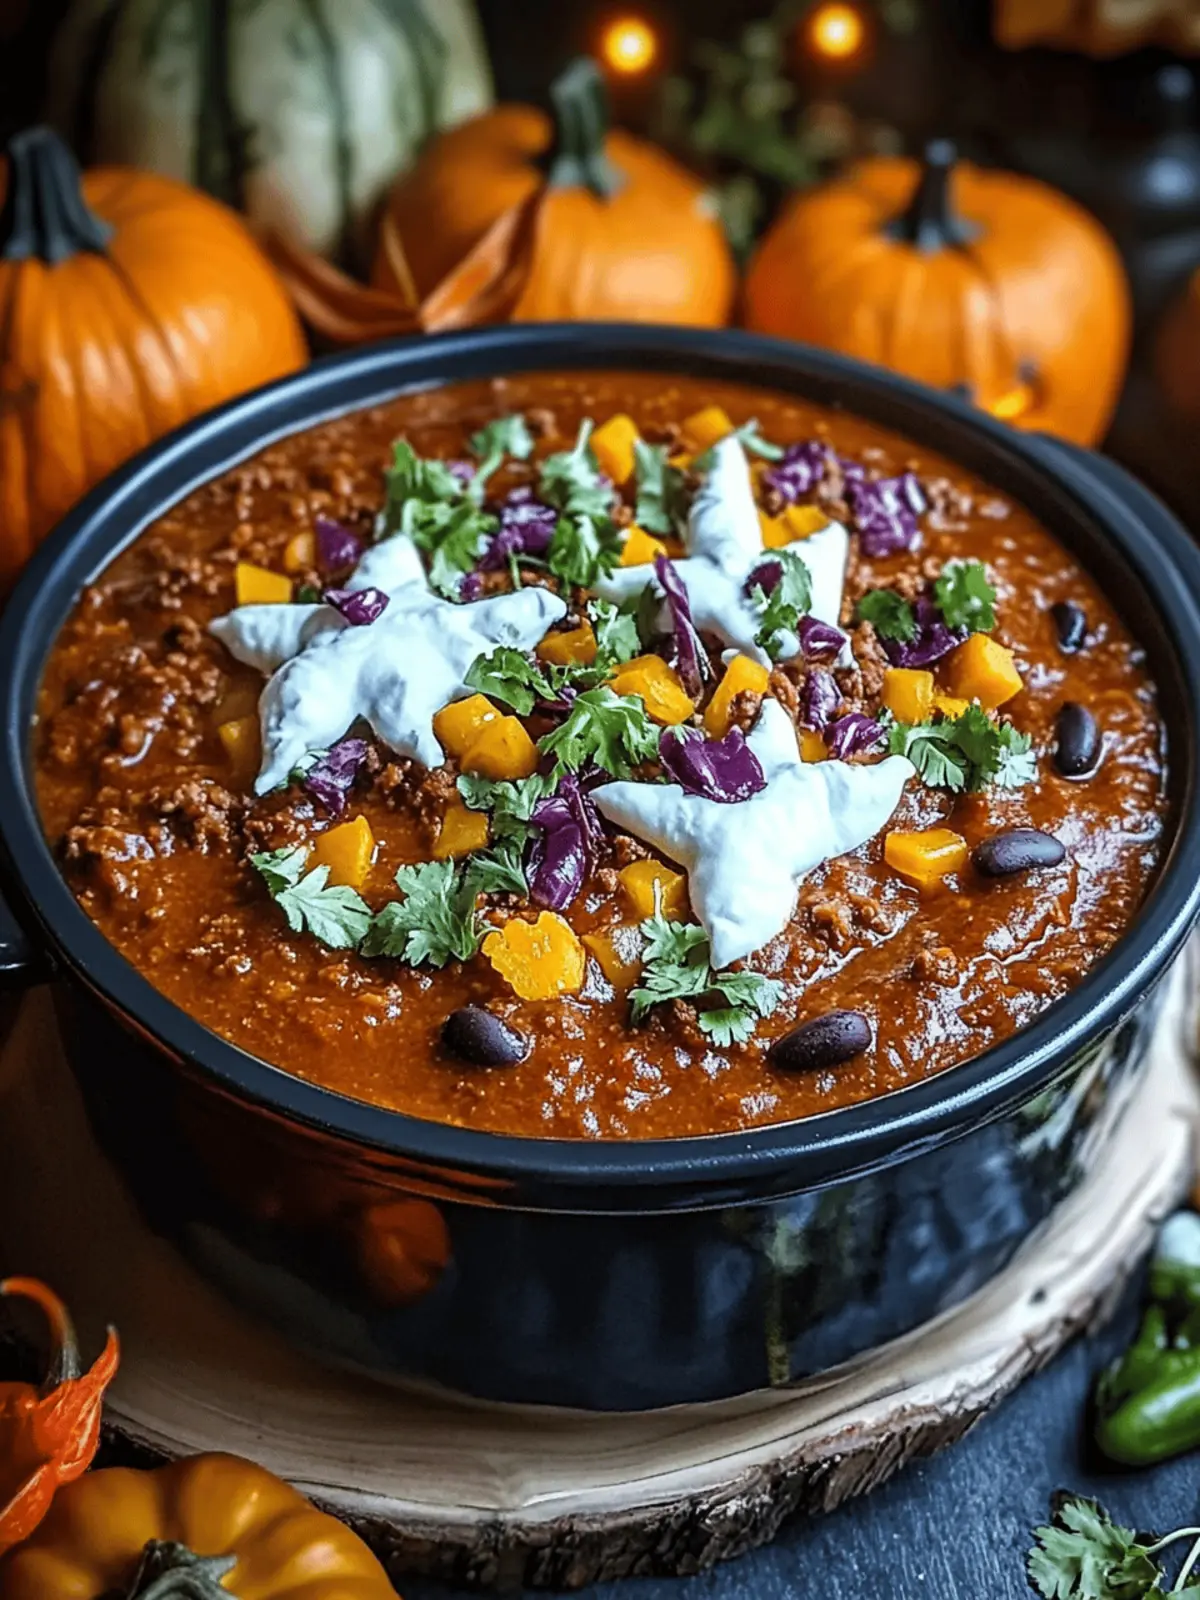
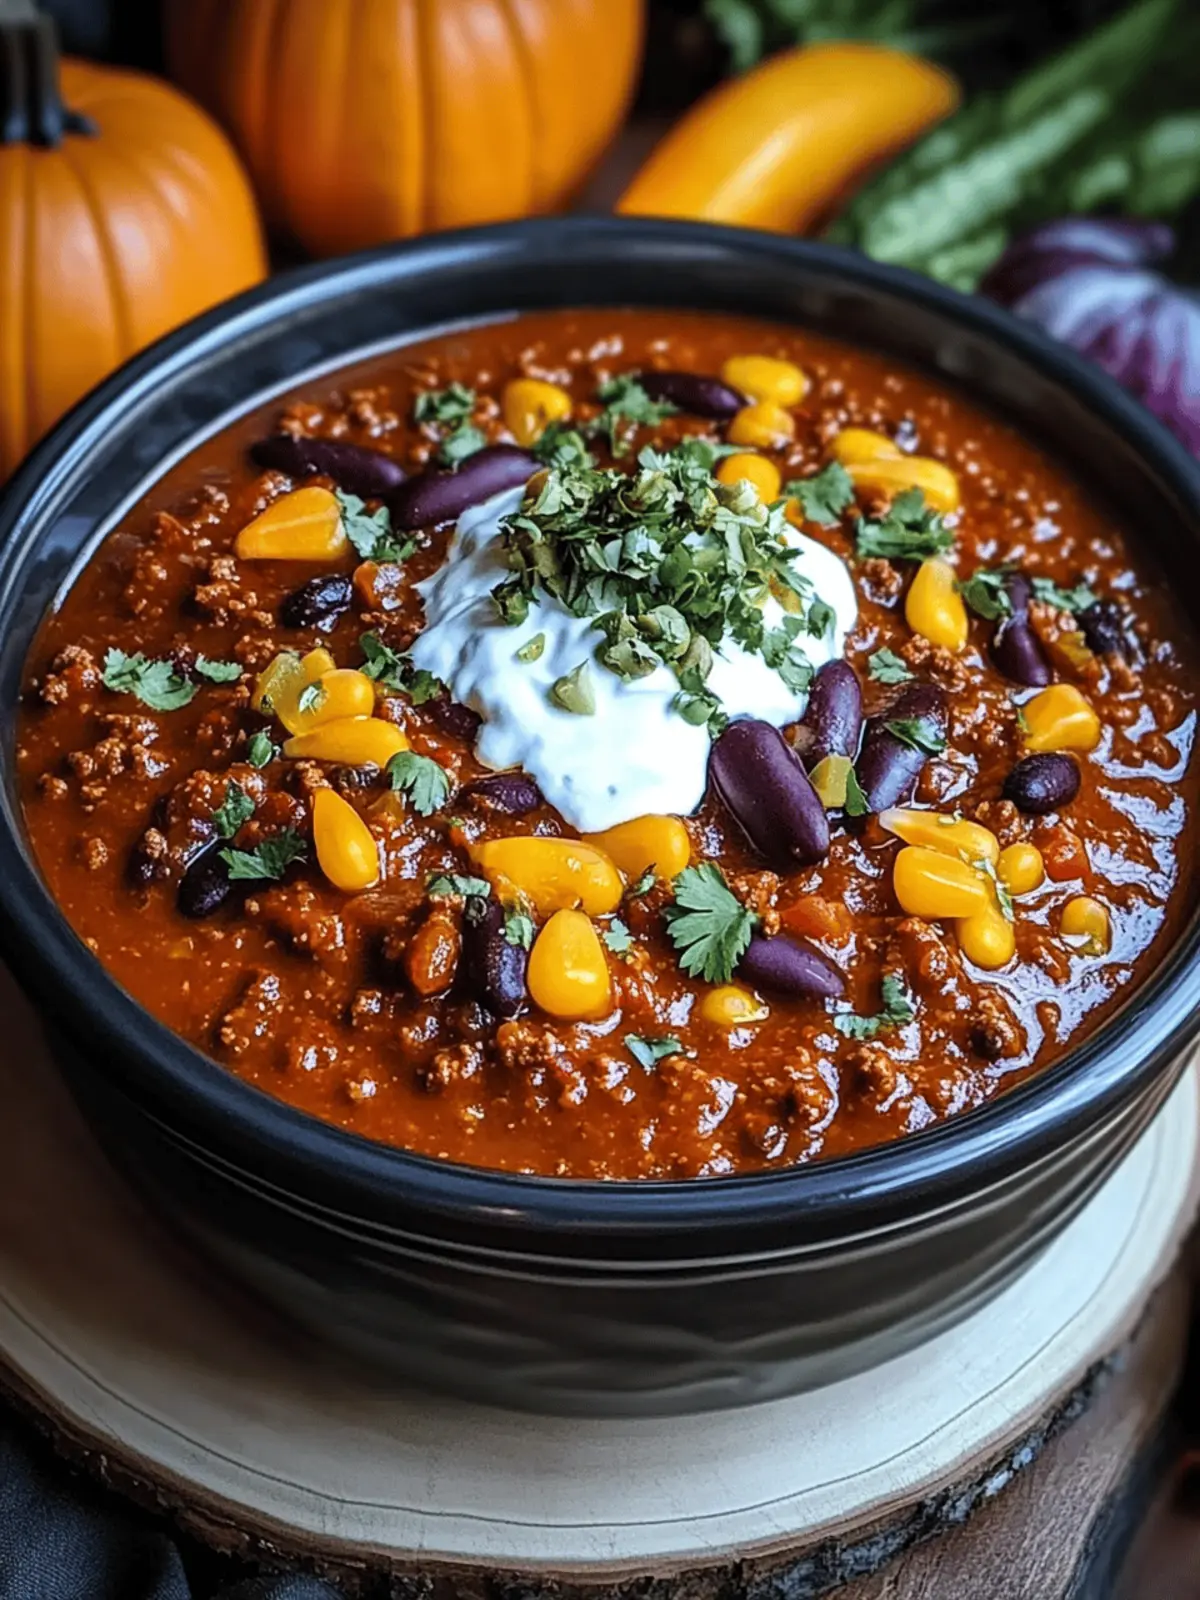
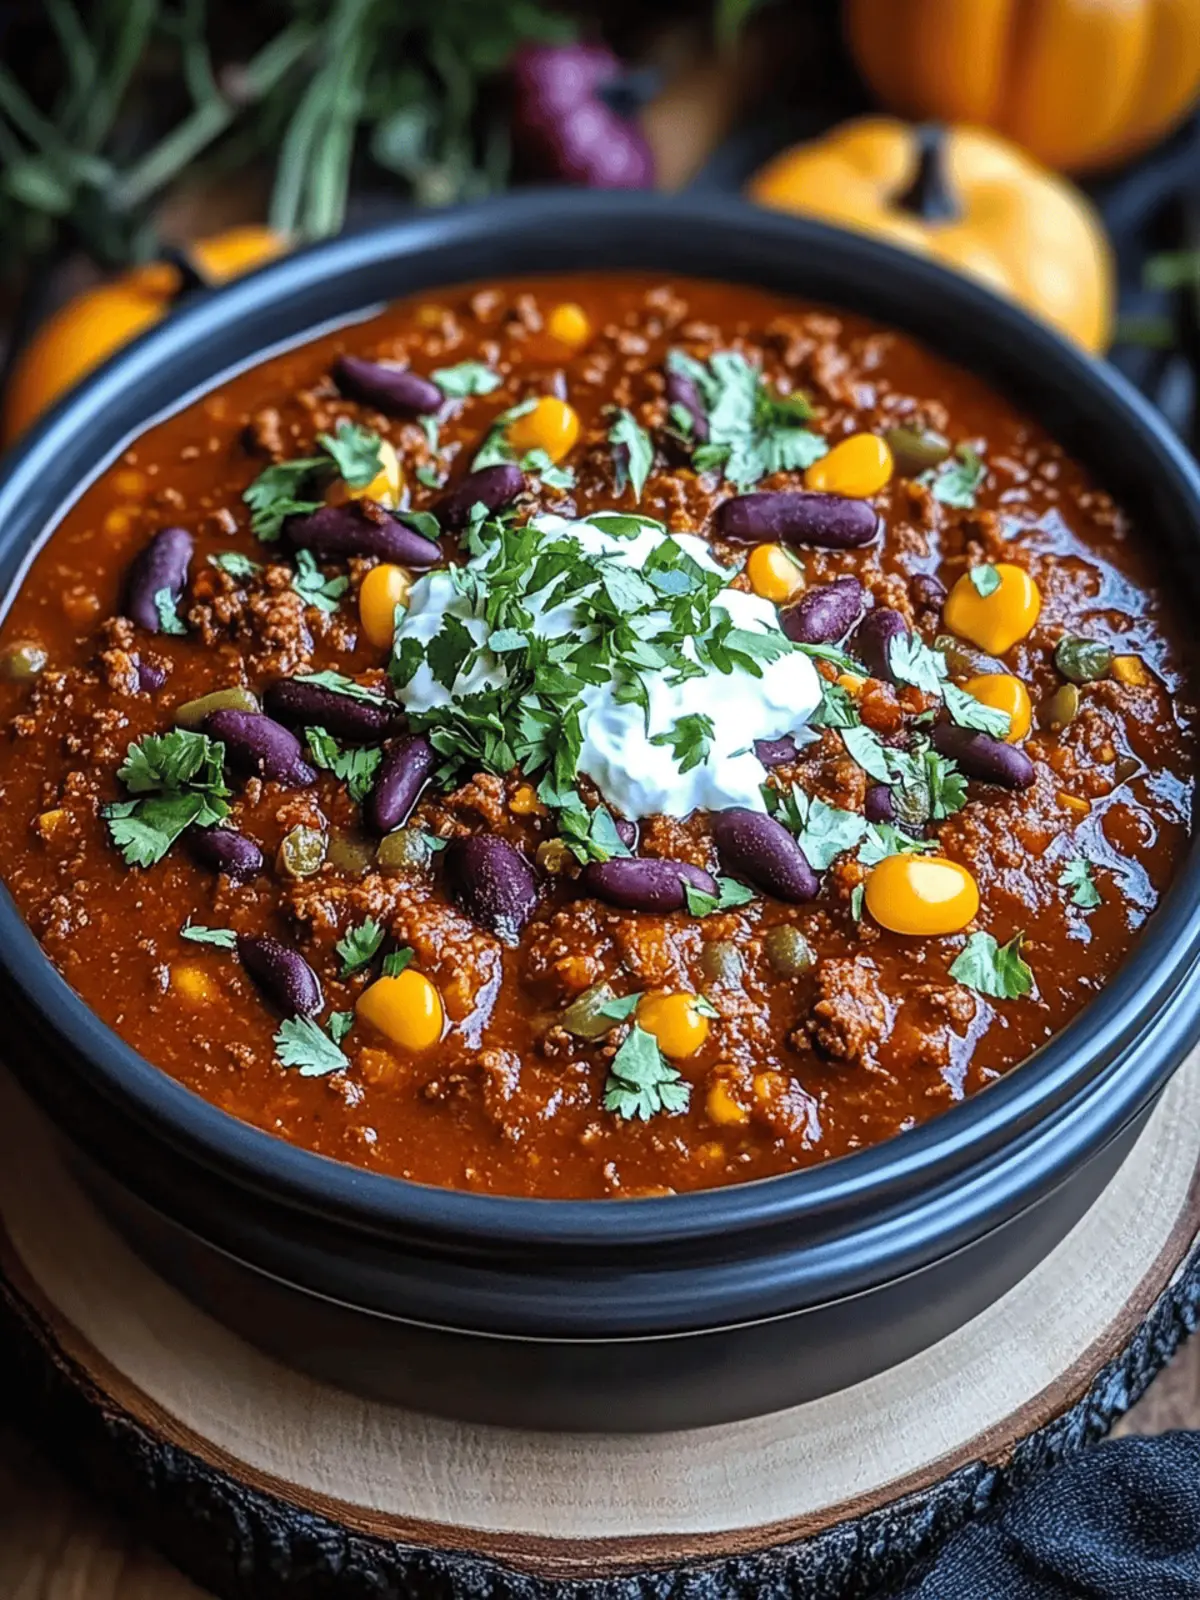
As the leaves turn crimson and the air gets that crisp chill, I find myself craving warmth—both in temperature and spirit. That’s when my famous Halloween Chili makes its grand appearance! It’s not just food; it’s an experience that transforms any gathering into a festive celebration. The bubbling pot’s bold aroma hits all the right notes, inviting friends and family to gather around for a hearty meal.
This chili is a canvas of flavor—filled with tender ground meat or plant-based alternatives, vibrant peppers, and a secret touch of cocoa that deepens the richness—making it a dish everyone will love. Not only is this recipe customizable for varied dietary needs, from gluten-free to vegetarian options, but it also invites a fun twist with spooky toppings.
Perfect for those cozy evenings or Halloween parties, my Halloween Chili is more than just dinner; it’s a hearty hug in a bowl that promises to delight everyone around your table. Join me as we dive into this delightful recipe that will make your autumn evenings memorable!
Why is Halloween Chili the ultimate dish?
Comforting Warmth: This Halloween Chili is like a blanket on a chilly night, enveloping you in cozy flavors that warm your soul.
Customizable Creations: With options for meat or plant-based proteins, and a variety of fresh toppings, everyone can create their ideal bowl.
Flavor Explosion: The unique addition of cocoa powder enhances richness, giving this chili a distinctive twist that surprises and delights.
Easy to Prepare: Quick prep and one-pot cooking make this dish a time-saver on busy evenings.
Crowd-Pleaser: Perfect for gatherings, its hearty nature and fun toppings will have everyone coming back for seconds!
Halloween Chili Ingredients
Get ready to whip up a festive pot of deliciousness!
For the Chili Base
- Ground Beef or Turkey – This main protein source provides heartiness; swap with plant-based ground meat for a vegetarian option.
- Chili Powder – Adds depth and classic chili flavor; adjust the amount to suit your heat preference.
- Sweet Bell Peppers (Orange and Green) – Provide sweetness, color, and nutrition; fresh corn can be added for additional sweetness during summer.
- Cocoa Powder – This unique twist enhances flavor richness; feel free to omit if desired.
- Beans (e.g., black beans) – Adds fiber and protein; using canned beans makes preparation a breeze.
- Diced Tomatoes – Create a flavorful base; choose canned or fresh based on what’s available.
- Onion and Garlic – Essential aromatics that build foundational flavor; fresh is best, but powders can work too!
- Broth (Vegetable or Chicken) – Adjusts consistency; select a gluten-free broth to accommodate dietary needs.
For the Toppings
- Sour Cream – Adds a creamy finish that balances flavors; consider plant-based alternatives for vegan options.
- Black Olives – Great for a salty kick and added texture; invite guests to add their favorites for personalization.
- Shredded Cheddar – A classic choice that enhances the flavor; feel free to use dairy-free cheese for a vegan twist.
Dive into making this Halloween Chili; it’s customizable, crowd-pleasing, and perfect for warming up those crisp autumn nights!
How to Make Halloween Chili
-
Prep Ingredients: Start by dicing your vegetables—onions, bell peppers, and garlic—and measuring out the spices. This will help you cook efficiently and keep everything organized.
-
Sauté Aromatics: In a large pot over medium heat, sauté the diced onion and garlic until they’re fragrant and translucent, about 2-3 minutes. This builds the flavorful base of your Halloween Chili!
-
Cook Protein: Add the ground beef or turkey to the pot, breaking it up with a spoon. Cook until browned, around 5-7 minutes, ensuring it’s fully cooked through—the golden color adds to the chili’s hearty appeal.
-
Combine Ingredients: Stir in the sweet bell peppers, chili powder, cocoa powder, diced tomatoes, and your choice of broth. Bring the mixture to a boil, stirring gently to combine all the delicious flavors.
-
Simmer: Once boiling, reduce the heat to a simmer. Let the chili simmer for 20-30 minutes, stirring occasionally. You want everything to blend beautifully and the vegetables to become tender.
-
Taste and Adjust: After simmering, taste your chili! If needed, adjust the seasoning with more chili powder, salt, or other spices to suit your flavor preference.
-
Serve: Ladle your Halloween Chili into bowls, and set up a toppings bar with sour cream, black olives, and shredded cheddar for guests to customize their bowls as desired.
Optional: Top with fresh cilantro or sliced jalapeños for an extra kick!
Exact quantities are listed in the recipe card below.
Expert Tips for Halloween Chili
-
Toast Spices: Toasting your chili powder before adding it enhances its flavor significantly. Don’t skip this step for a richer taste!
-
Texture Preference: For a smoother chili, consider blending half the mixture once cooked. Return it and mix for a delightful, creamy texture.
-
Make Ahead: Allowing Halloween Chili to sit overnight in the fridge enhances its flavors. Reheat gently and adjust the consistency with broth if needed.
-
Watch the Heat: Adjusting the chili powder is essential! Taste as you go to ensure it suits your heat preference without overwhelming the dish.
-
Vegan Options: If you’re serving guests with various dietary needs, ensure to include plant-based proteins and toppings at your Halloween chili bar for an inclusive feast!
Make Ahead Options
These Halloween Chili preparations are perfect for busy home cooks looking to save time! You can chop your vegetables and measure out spices up to 24 hours in advance, storing them in airtight containers in the refrigerator to maintain freshness. Additionally, feel free to cook the chili ahead of time and refrigerate it for up to 3 days; the flavors will deepen and improve overnight! When you’re ready to serve, reheat the chili gently over low heat, adding a splash of broth if necessary to achieve your desired consistency. This way, you’ll enjoy that perfect, hearty meal with minimal effort on busy Halloween nights!
Halloween Chili Variations
Feel free to take your Halloween chili on a creative spin, tailored to your taste preferences!
-
Vegetarian: Replace ground meat with canned chickpeas or lentils for a delicious plant-based option. This keeps all the bold flavors while making it friendly for veggies!
-
Spicy Kick: Add diced jalapeños or a sprinkle of cayenne pepper to spice things up. Just a little heat can add exciting depth to each bowl.
-
Sweet Addition: Toss in a handful of fresh corn or diced sweet potatoes. This will not only add a delightful sweetness but also a fun texture twist!
-
Beans Galore: Mix in different beans! Try kidney beans or pinto beans along with black beans for a varied texture and taste experience.
-
Smoky Flavor: Incorporate smoked paprika for an added smoky depth that enriches the overall flavor of your chili.
-
Cocoa Innovator: Adjust the cocoa powder by varying the amount based on your preference; more for a richer flavor or less for a milder taste while keeping the signature twist.
-
Garnish Magic: Experiment with unique toppings like avocado slices or crushed tortilla chips for an exciting contrast in texture that complements the rich chili perfectly.
-
Broth Swap: Use a beer or stock for cooking instead of plain broth to add complexity. A dark beer will elevate the flavors and give you a hearty finish that’s simply irresistible!
How to Store and Freeze Halloween Chili
Fridge: Store your Halloween Chili in an airtight container for up to 3 days. Make sure it’s completely cooled before sealing to maintain freshness.
Freezer: Keep Halloween Chili in freezer-safe containers for up to 2 months. Allow it to cool completely before transferring to avoid freezer burn.
Reheating: When ready to enjoy, thaw overnight in the fridge or use a microwave. Add a splash of broth to restore consistency while reheating on the stove.
Make-Ahead: For best flavors, consider making Halloween Chili a day in advance. This not only saves time but allows the spices to meld beautifully overnight!
What to Serve with Halloween Chili?
Create a festive feast that makes your Halloween Chili shine even brighter when paired with these delightful sides!
- Cornbread Muffins: These slightly sweet, fluffy muffins offer a comforting contrast to the spiciness of the chili, making every bite a delight.
- Tortilla Chips: Crunchy and salty, they provide the perfect vehicle for scooping up chili or enjoying alongside it for a fun snack.
- Simple Green Salad: A light and refreshing salad balances the heartiness of the chili, adding vibrant colors and a crisp texture to your meal.
- Guacamole: Creamy and rich, this avocado spread enhances the flavor profile while providing a cooling effect against the warmth of the chili.
- Spooky Breadsticks: Shaped like crescent fingers, these fun breadsticks add a festive touch while being perfect for dipping.
- Cider or Dark Beer: The fruity notes of cider or the rich flavors of dark beer pair beautifully with chili, enhancing your dining experience.
- Pumpkin Spice Brownies: End the meal on a sweet note with these moist, festive brownies that tie in the Halloween theme while satisfying your sweet tooth!
Halloween Chili Recipe FAQs
What kind of meat should I use for Halloween Chili?
You can use ground beef or turkey for a hearty base, but you can easily substitute with plant-based ground meat or even canned chickpeas for a vegetarian version. It’s all about what you prefer and who you’ll be serving!
How should I store leftover Halloween Chili?
Store your Halloween Chili in an airtight container in the fridge for up to 3 days. Allow it to cool completely before sealing to preserve its delicious flavors. You could also put it in a pot on the stovetop to gently warm it up when it’s time to eat again!
Can I freeze Halloween Chili?
Absolutely! To freeze your Halloween Chili, let it cool completely, then transfer it to freezer-safe containers. It should be good for up to 2 months. When you’re ready to enjoy it again, just thaw it overnight in the fridge and reheat on the stove, adding a splash of broth to adjust the consistency if needed.
What should I do if my chili is too spicy?
If you find your Halloween Chili is a bit too spicy, a great trick is to add a dollop of sour cream or yogurt to each serving to mellow out the heat. You can also stir in a bit of sugar or honey to balance it out, or incorporate more diced tomatoes or beans to dilute the spiciness for a gentler flavor.
Is Halloween Chili suitable for gluten-free diets?
Yes! To keep your Halloween Chili gluten-free, simply use a gluten-free broth and ensure that any other ingredients, like canned beans or spices, don’t contain gluten. It’s a comforting dish that’s easily adaptable for everyone’s dietary needs!
Can I make Halloween Chili ahead of time?
Absolutely! In fact, making Halloween Chili a day in advance is a fantastic idea. It allows the flavors to meld together beautifully. Just store it in the fridge overnight and then reheat it gently, adding a splash of broth if it thickens too much.

Hearty Halloween Chili: Fun, Customizable Comfort Food
Ingredients
Equipment
Method
- Prep Ingredients: Dice onions, bell peppers, and garlic; measure out spices.
- Sauté Aromatics: In a large pot, sauté onion and garlic over medium heat until fragrant.
- Cook Protein: Add ground meat, breaking it up and cooking until browned.
- Combine Ingredients: Stir in peppers, chili powder, cocoa powder, tomatoes, and broth. Bring to boil.
- Simmer: Reduce heat and let the chili simmer for 20-30 minutes.
- Taste and Adjust: Adjust seasoning as needed.
- Serve: Ladle into bowls and set up a toppings bar for personalization.


