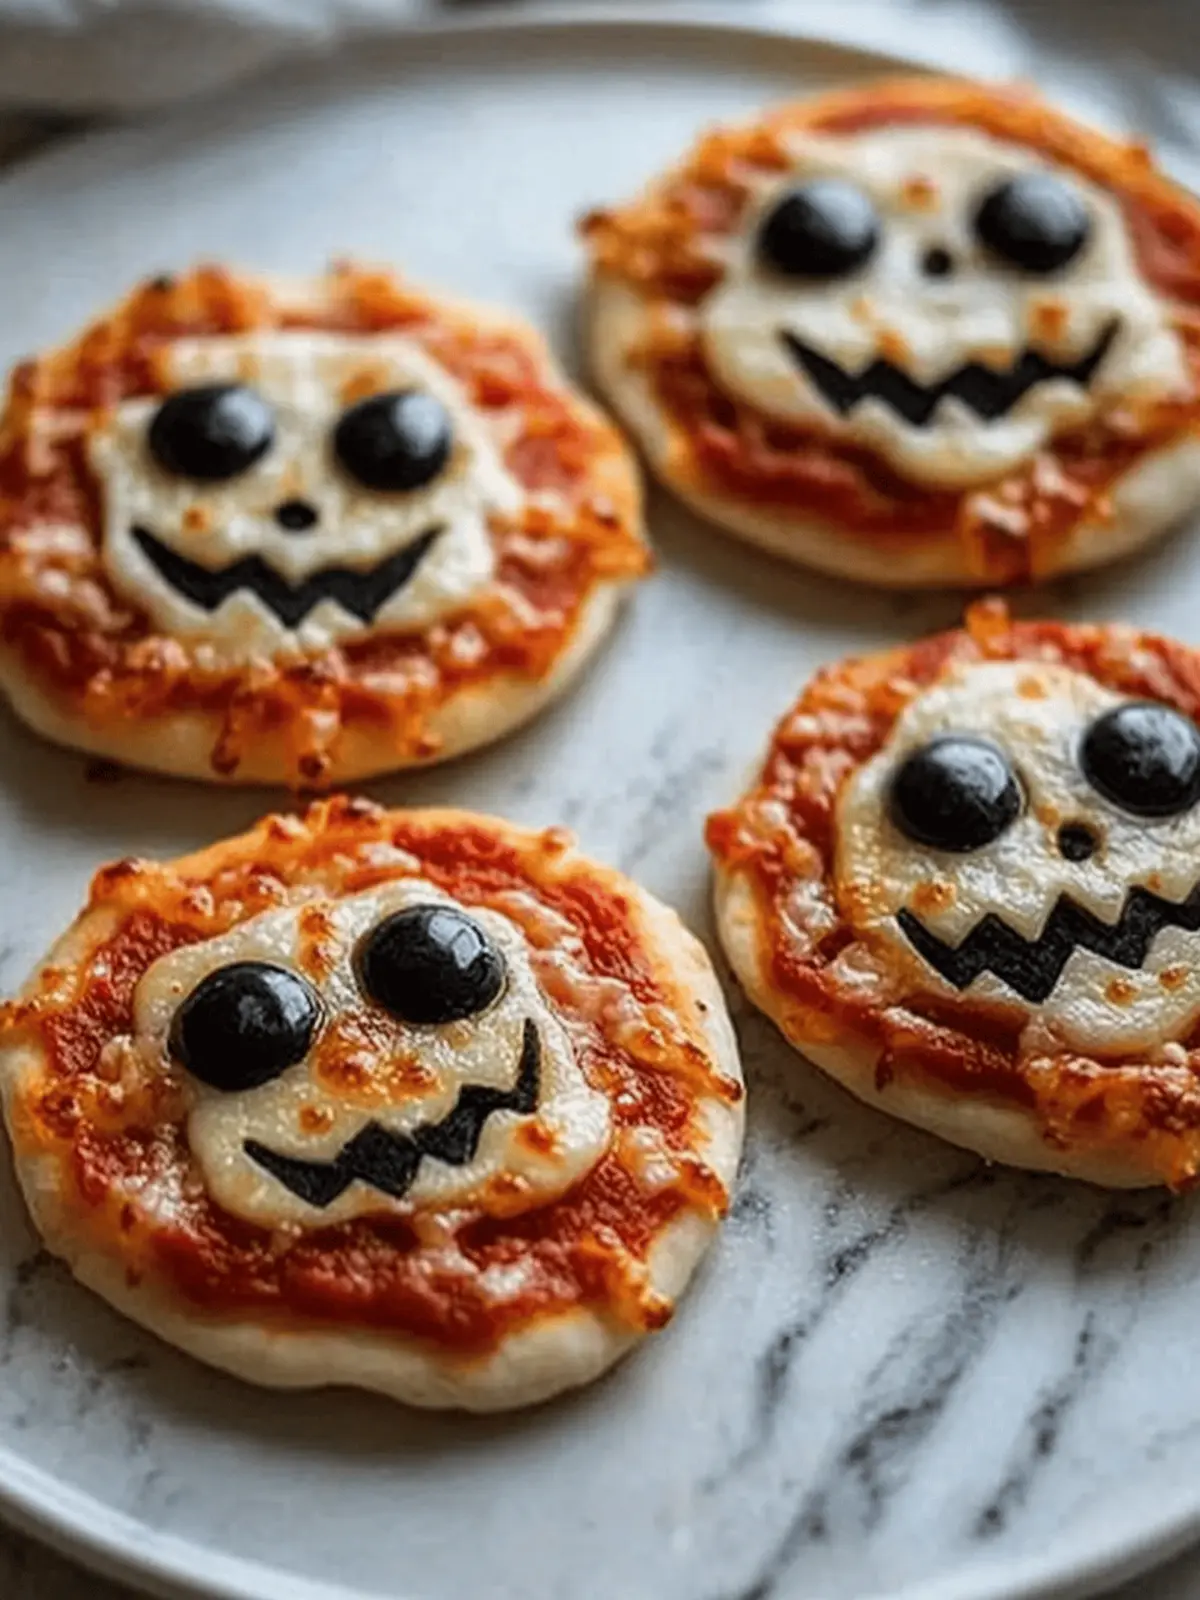
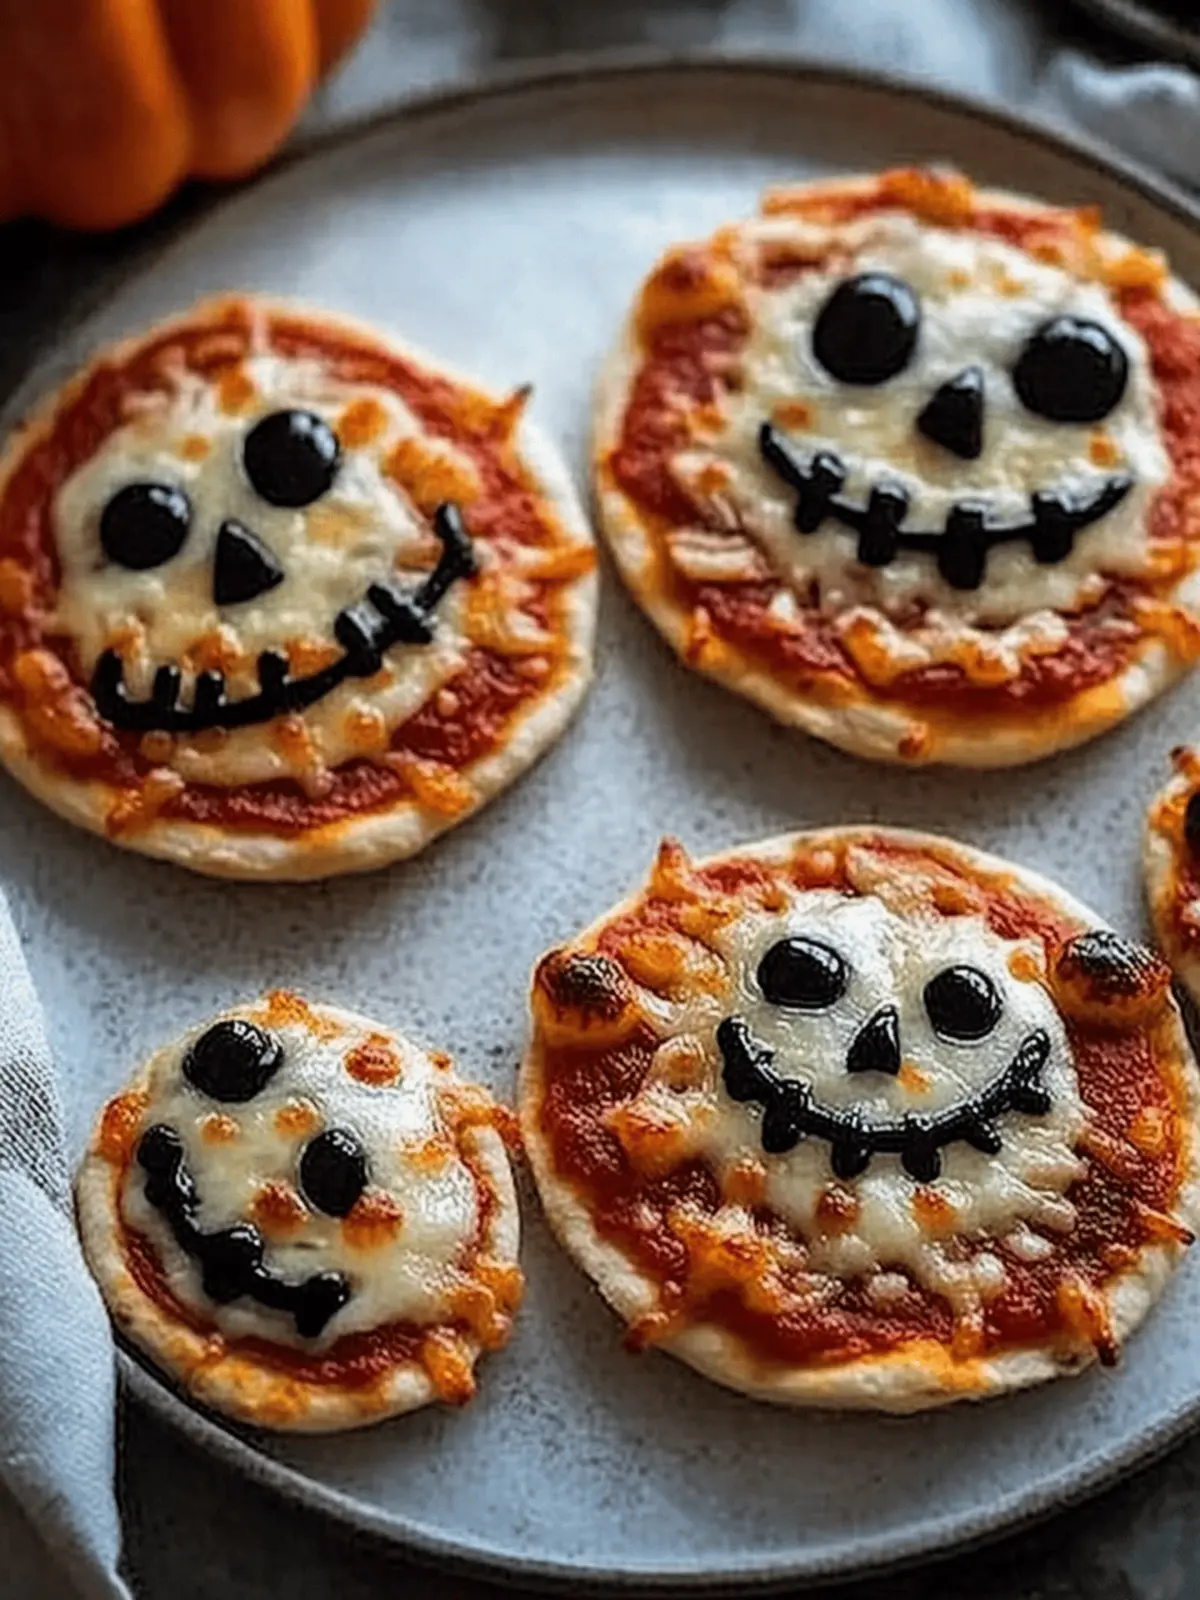
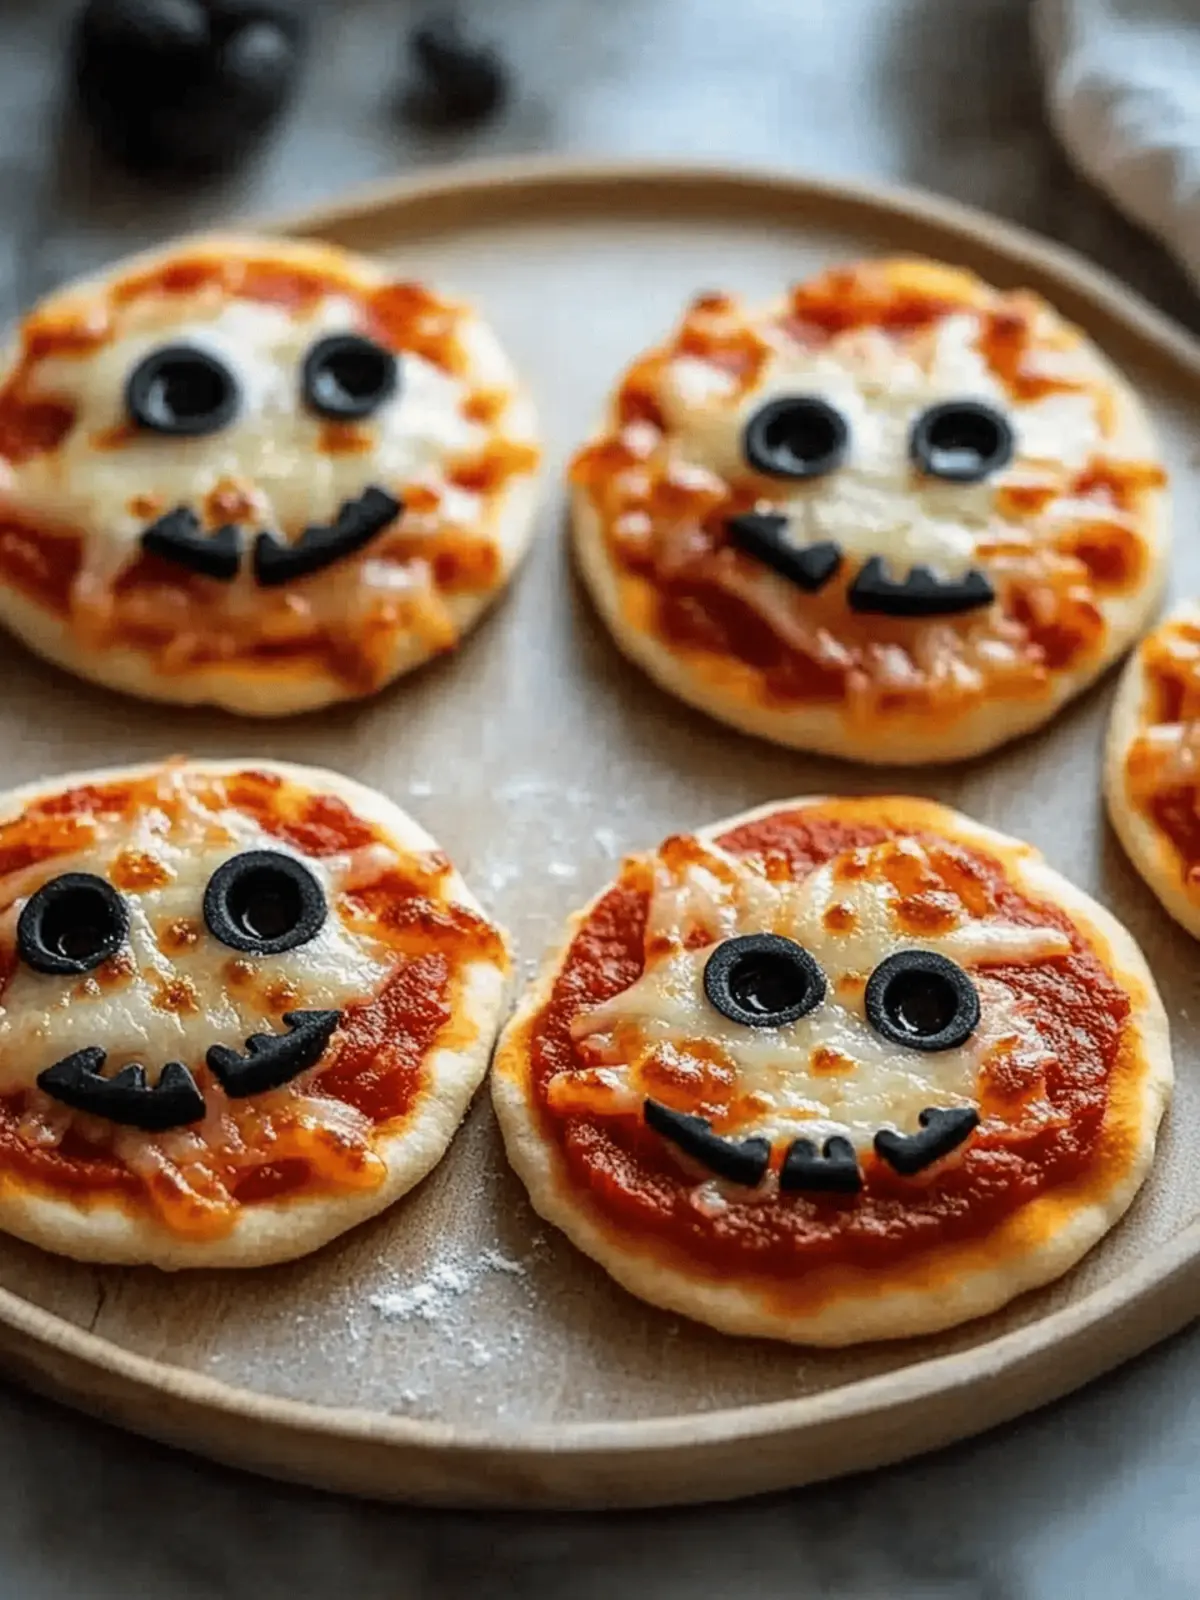
As the leaves turn crisp and the days grow shorter, there’s an undeniable excitement in the air—Halloween is just around the corner! This is the time of year when creativity and fun collide in the kitchen, and what could be better than whipping up some Spooky Mini Halloween Pizzas? These delightful, bite-sized treats not only satisfy those pizza cravings but also bring out your inner artist as you create whimsical ghost, mummy, and jack-o’-lantern designs.
Imagine the joyful expressions on your friends and family’s faces as they dig into these delicious creations, each one customizable to fit every picky palate. Perfect for parties, after-school snacks, or a cozy family dinner, these mini pizzas are quick to prepare, allowing you to squeeze in that much-needed family bonding time before the festivities kick off. So, gather your favorite toppings, turn on some spooky tunes, and let’s dive into this family-friendly Halloween tradition that’s bound to be a hit!
Why are Mini Halloween Pizzas a Must-Try?
Endless Customization: Transform each mini pizza into a spooky masterpiece tailored to your family’s tastes. Quick Prep: With minimal cooking time, these pizzas fit perfectly into your busy Halloween celebrations. Kid-Friendly Fun: Involve your children in the pizza-making process for a memorable bonding experience. Whimsical Designs: The playful ghost, mummy, and jack-o’-lantern shapes will delight guests of all ages. Crowd-Pleaser: Whether for a party or a cozy family night, these pizzas are sure to impress! For more festive ideas, check out our guide on creating unforgettable Halloween snacks.
Mini Halloween Pizzas Ingredients
For the Pizza Base
• Mini Pizza Crusts – The perfect base for your creative designs; feel free to substitute with homemade dough for a personalized touch.
• Pizza Sauce – Essential for flavor and moisture; try garlic butter for a delightful twist.
For the Toppings
• Shredded Mozzarella Cheese – Adds that delicious gooey texture; consider a dairy-free cheese for a vegan option.
• Mozzarella Slices – Great for crafting your ghost shapes; any melting cheese works just as well.
• Pepperoni – Offers a savory kick; swap it for sautéed veggies if you’re looking for a veggie alternative.
• Black Olive – Perfectly sliced for spooky eyes on your ghostly creatures; pimento or capers are fun substitutes.
• Orange Bell Pepper – Cut them into pumpkin shapes for a festive touch; other veggies like cucumbers add a fresh twist as well.
These Mini Halloween Pizzas bring creativity and deliciousness to your table, making them a must-try for your spooky celebrations!
How to Make Mini Halloween Pizzas
-
Preheat your oven to 400°F (200°C) and line a baking sheet with parchment paper to prevent sticking. This ensures your mini pizzas cook evenly and maintain their delightful shapes.
-
Place the mini pizza crusts on the baking sheet, giving them space to breathe, and spread a generous layer of pizza sauce evenly across each crust. The sauce will be the foundation of flavor, so don’t skimp!
-
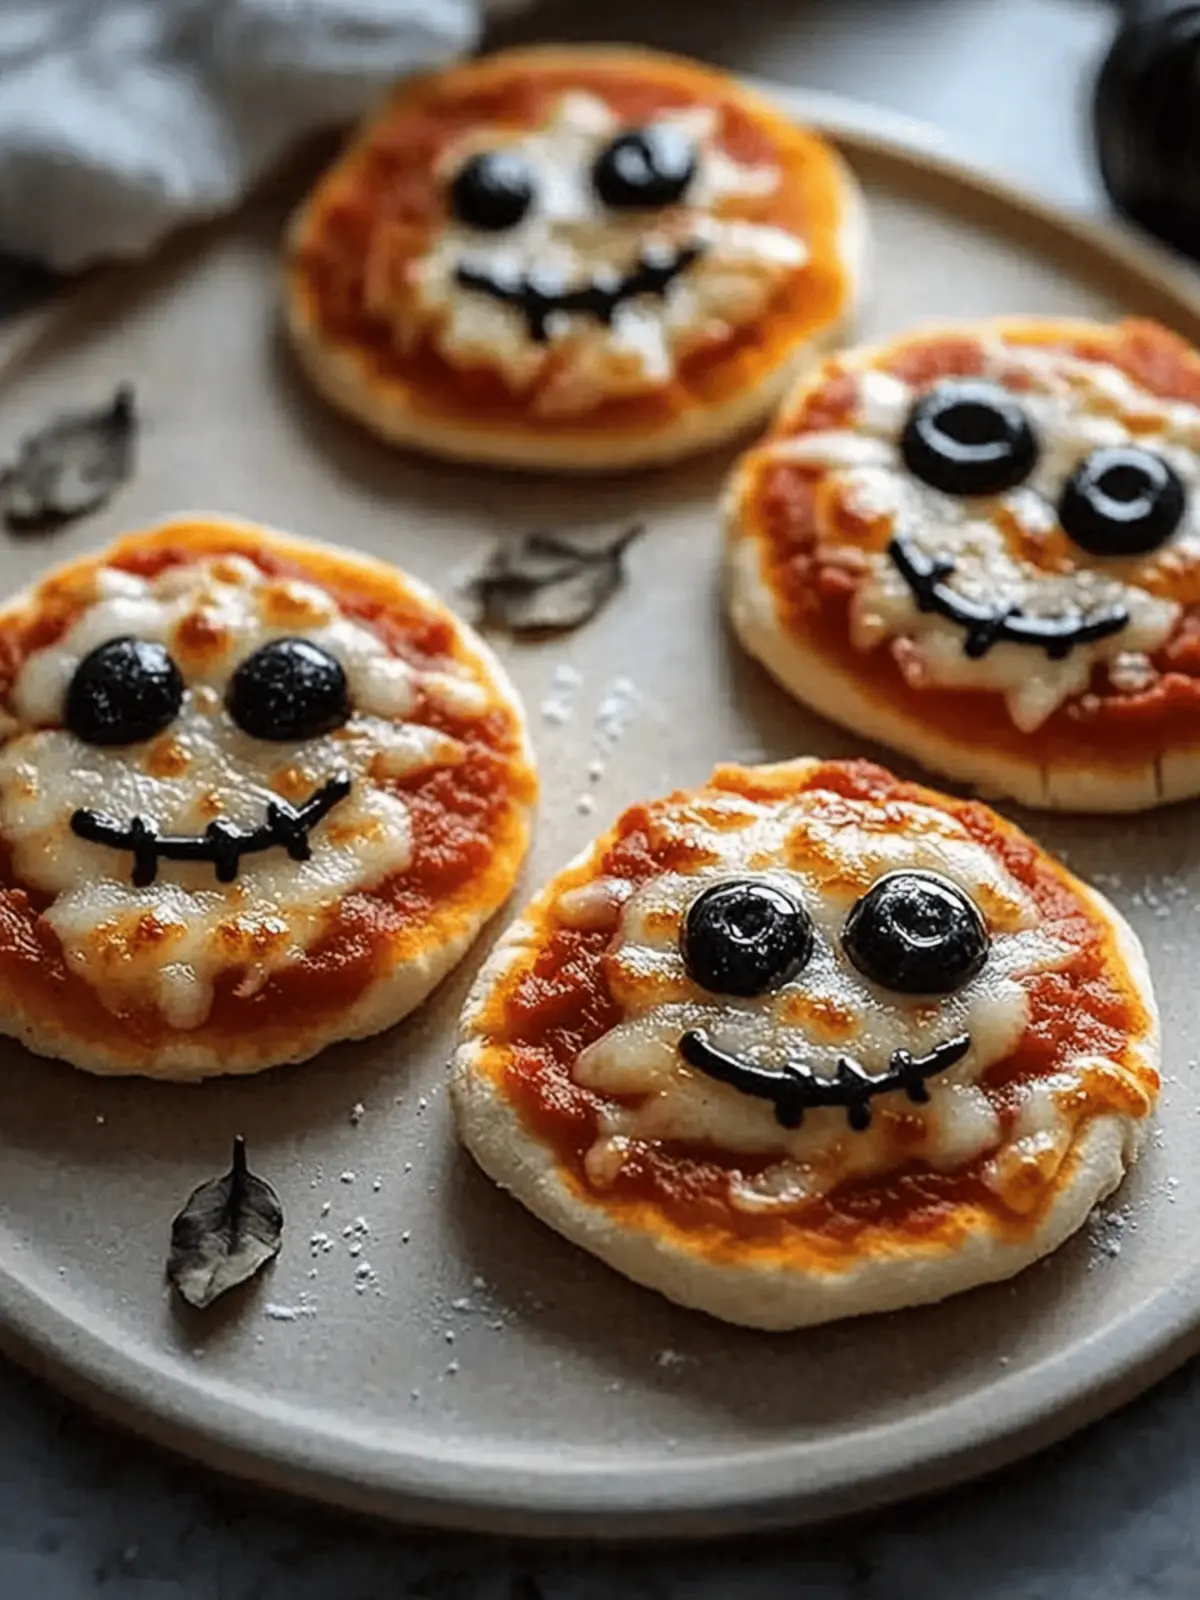
For Ghost Pizzas: Cut ghost shapes from mozzarella slices and gently place them on the sauced crusts. Add olive slices for spooky eyes, making your ghostly creations come alive.
-
For Mummy Pizzas: Layer strips of mozzarella cheese in a criss-cross pattern across the sauce. Garnish with black olives for eyes, giving your mummy pizzas a fun and mysterious look!
-
For Jack-o’-Lantern Pizzas: Sprinkle shredded mozzarella cheese generously over the sauce. Arrange bell pepper slices artistically to form cheerful pumpkin faces, making them truly festive.
-
Bake the assembled pizzas in the preheated oven for 8-10 minutes, or until the cheese is melted and the crust is golden. Keep an eye on them to achieve that perfect golden-brown finish!
-
Serve warm and enjoy the smiles as everyone digs into your spooky, delicious creations!
Optional: Garnish with a sprinkle of Italian herbs for an extra burst of flavor.
Exact quantities are listed in the recipe card below.
What to Serve with Mini Halloween Pizzas?
Elevate your Halloween snack night by pulling together a delightful spread that complements these fun mini pizzas.
- Witch’s Brew Punch: This vibrant, fruity drink adds a magical touch with its spooky color, perfectly balancing the savory flavors of the pizzas.
- Crispy Veggie Platter: Fresh-cut vegetables like carrots and cucumbers provide a crunchy contrast and a burst of refreshing flavor between the cheesy bites.
- Garlic Breadsticks: These warm, buttery breadsticks are a classic favorite, making great dippers for leftover pizza sauce.
- Pumpkin Spice Dips: A sweet and creamy pumpkin dip pairs splendidly with crackers or apples, introducing a festive touch that contrasts the savory pizzas.
- Spooky Fruit Kabobs: Alternate colorful seasonal fruits for an eye-catching and healthy treat; these bites will entice both kids and adults alike!
- Chocolate Mousse Cups: Creamy and decadent, these spooky dessert cups are the perfect indulgent finish to your meal and will satisfy any sweet tooth.
- Halloween-themed cupcakes: Decorated with candy and spooky frosting, they’re the perfect fun treat to keep the Halloween spirit alive after pizza!
Create an unforgettable feast with these complementary options and watch your Halloween gathering come alive with flavor and festivity!
Mini Halloween Pizzas Variations
Ready to unleash your creativity with these festive treats? Let’s explore some fun ways to switch up your mini Halloween pizzas!
- Dairy-Free: Swap shredded mozzarella with a plant-based cheese for a vegan-friendly option that’s just as delicious.
- Gluten-Free: Use cauliflower crust instead of traditional pizza bases to accommodate gluten sensitivities without sacrificing flavor.
- Spicy Twist: Add sliced jalapeños or a sprinkle of red pepper flakes atop your pizzas for those who enjoy a little heat in their Halloween treats!
- Herb-Infused Sauce: Mix fresh herbs like basil or oregano into your pizza sauce for an aromatic flavor boost that enhances each bite.
- Veggie Delight: Replace pepperoni with sautéed mushrooms, bell peppers, and zucchini for a colorful and nutritious twist enjoyed by everyone.
- Sweet Surprise: Drizzle a bit of honey or balsamic glaze over the finished pizzas for a touch of sweetness that pairs beautifully with salty toppings.
- Crunchy Toppings: Throw some crushed tortilla chips or crispy onions on top before baking for an added texture that will delight your taste buds.
- Cheesy Explosion: Experiment with combining different cheeses like gouda, cheddar, or feta to create a rich, cheesy experience that pizza lovers will adore.
With these variations, each mini Halloween pizza can be a unique creation tailored to your family’s tastes and dietary needs!
How to Store and Freeze Mini Halloween Pizzas
Fridge: Store any leftover mini Halloween pizzas in an airtight container for up to 3 days. This keeps them fresh and ready for a quick snack or meal.
Freezer: For longer-term storage, freeze the mini pizzas for up to 2 months. Place parchment paper between individual pizzas to prevent sticking, and wrap tightly in foil.
Reheating: To enjoy them again, reheat in the oven at 350°F (175°C) for about 10-12 minutes, or until heated through and crispy. This ensures your mini Halloween pizzas taste freshly made!
Make Ahead Options
These Mini Halloween Pizzas are perfect for meal prep, allowing you to create a fun and festive treat without the last-minute rush! You can prepare the pizza crusts and sauces up to 24 hours in advance, storing them in the refrigerator in airtight containers to maintain freshness. Additionally, you can pre-slice your toppings—like cheese and bell peppers—so all you have to do is arrange them over the sauce before baking. When you’re ready to serve, simply assemble your spooky designs and bake for about 8-10 minutes until the cheese is golden and bubbly. This make-ahead approach not only saves time but ensures your family enjoys delightful Mini Halloween Pizzas fresh from the oven, just as delicious as ever!
Expert Tips for Mini Halloween Pizzas
-
Kid Involvement: Encourage your children to help assemble their own pizzas; it’s a great way to create lasting memories while letting them express their creativity.
-
Keep an Eye on Baking: Watch the pizzas closely as they bake to avoid overcooking—the perfect crust is golden and crispy, and broiling for the last 1-2 minutes can help achieve that desired finish.
-
Use Cookie Cutters: Utilize fun cookie cutters for shaping cheese or veggies; this adds an extra layer of excitement to your Mini Halloween Pizzas, making them visually appealing and fun to eat.
-
Sauce Alternatives: Experiment with different sauces like garlic butter or pesto to elevate flavors; it’s a great way to customize each pizza according to your family’s preferences.
Mini Halloween Pizzas Recipe FAQs
What kind of pizza crust should I use for Mini Halloween Pizzas?
You can use mini pizza crusts as a convenient base for these delightful treats. However, if you’re looking for a personal touch, feel free to substitute with homemade dough or mini naan. This way, you can customize the thickness and flavor to your liking!
How should I store leftover Mini Halloween Pizzas?
To keep your leftover mini pizzas fresh, store them in an airtight container in the fridge for up to 3 days. If you want to save them for later, they can be frozen for up to 2 months. Just place parchment paper between each pizza to prevent them from sticking together!
Can I freeze Mini Halloween Pizzas?
Absolutely! When freezing, wrap each mini pizza tightly in foil, making sure to label them with the date. This will keep them fresh for about 2 months. When you’re ready to enjoy them again, simply reheat in the oven at 350°F (175°C) for 10-12 minutes until hot and crispy.
What if my cheese isn’t melting properly on the Mini Halloween Pizzas?
If your cheese isn’t melting the way you’d like, make sure you’re using cheese that melts well, like mozzarella. Additionally, check your oven temperature; if it’s not hot enough, cheese may not melt properly. For a little extra help, you can broil the pizzas for 1-2 minutes at the end to achieve that gooey, bubbly top!
Are there any allergy considerations when making Mini Halloween Pizzas?
Definitely! If you’re accommodating allergies, be sure to check labels for allergens such as gluten, dairy, or meats. You can easily make dairy-free versions using plant-based cheese and opt for gluten-free crust options like cauliflower crusts. Always be cautious and ask your guests about any dietary restrictions before preparing your spooky creations.
How can I make these Mini Halloween Pizzas healthier?
You can certainly elevate the nutritional value of your Mini Halloween Pizzas! Consider using whole-wheat crusts for added fiber. Load them up with a variety of veggies, which not only adds color but also boosts vitamins and minerals. Experimenting with sauces like pesto or adding a sprinkle of herbs can provide more flavor without adding too many calories too!
Delicious Mini Halloween Pizzas for a Spooky Snack Night
Ingredients
Equipment
Method
- Preheat your oven to 400°F (200°C) and line a baking sheet with parchment paper.
- Place the mini pizza crusts on the baking sheet and spread a layer of pizza sauce evenly over each crust.
- For Ghost Pizzas: Cut ghost shapes from mozzarella slices and place them on the sauced crusts. Add olive slices for spooky eyes.
- For Mummy Pizzas: Layer strips of mozzarella cheese in a criss-cross pattern across the sauce and garnish with black olives for eyes.
- For Jack-o'-Lantern Pizzas: Sprinkle shredded mozzarella cheese over the sauce and arrange bell pepper slices to form pumpkin faces.
- Bake the pizzas for 8-10 minutes or until the cheese is melted and the crust is golden.
- Serve warm and enjoy!

