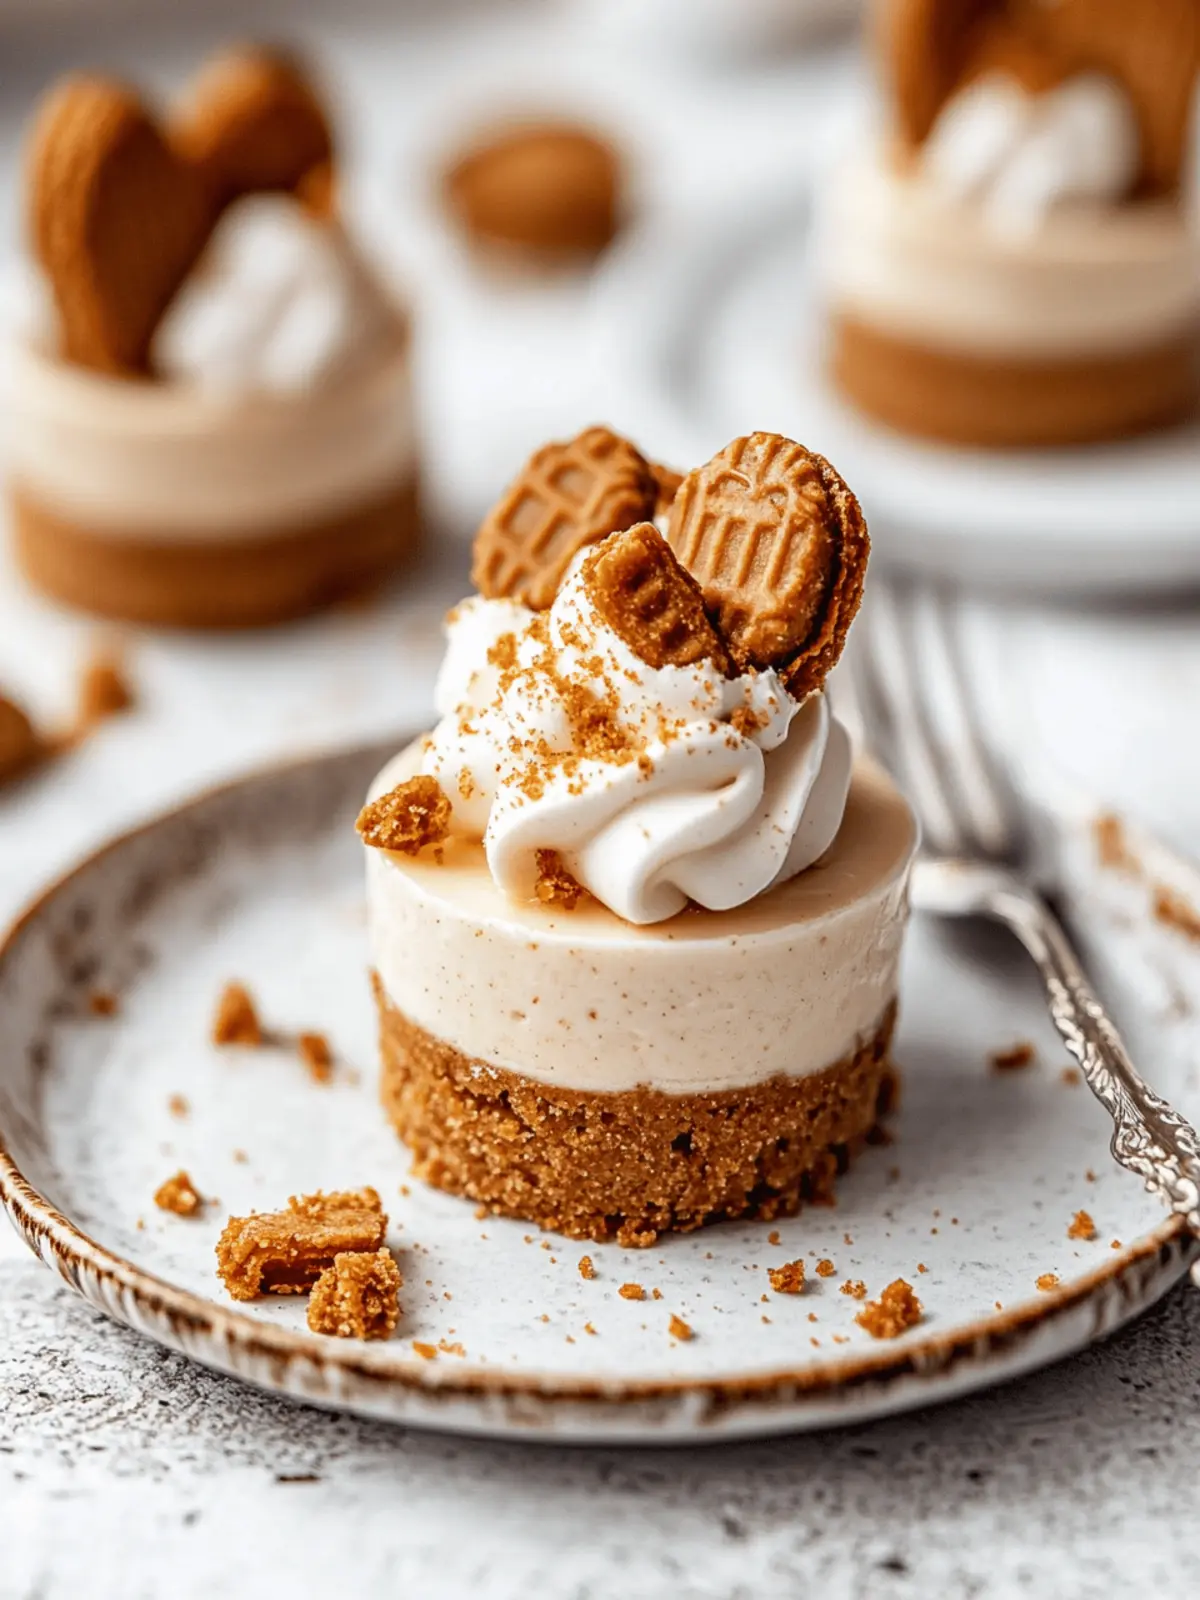
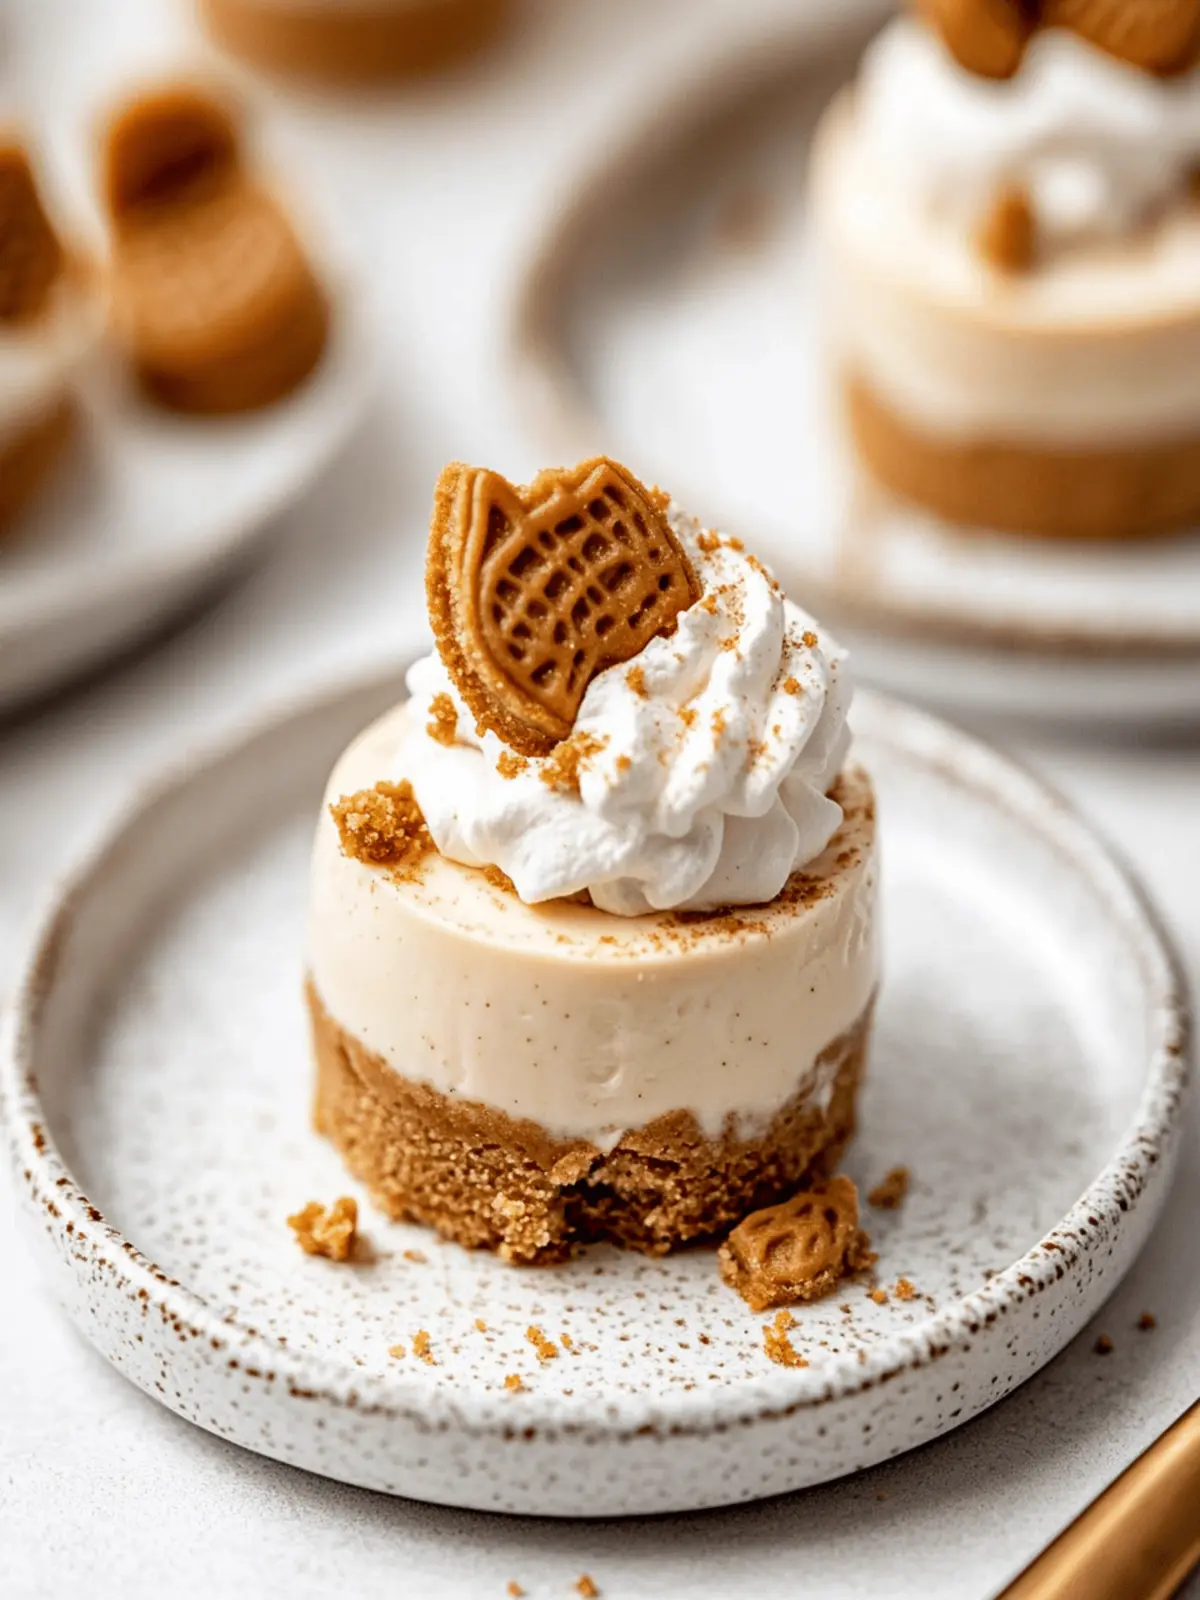
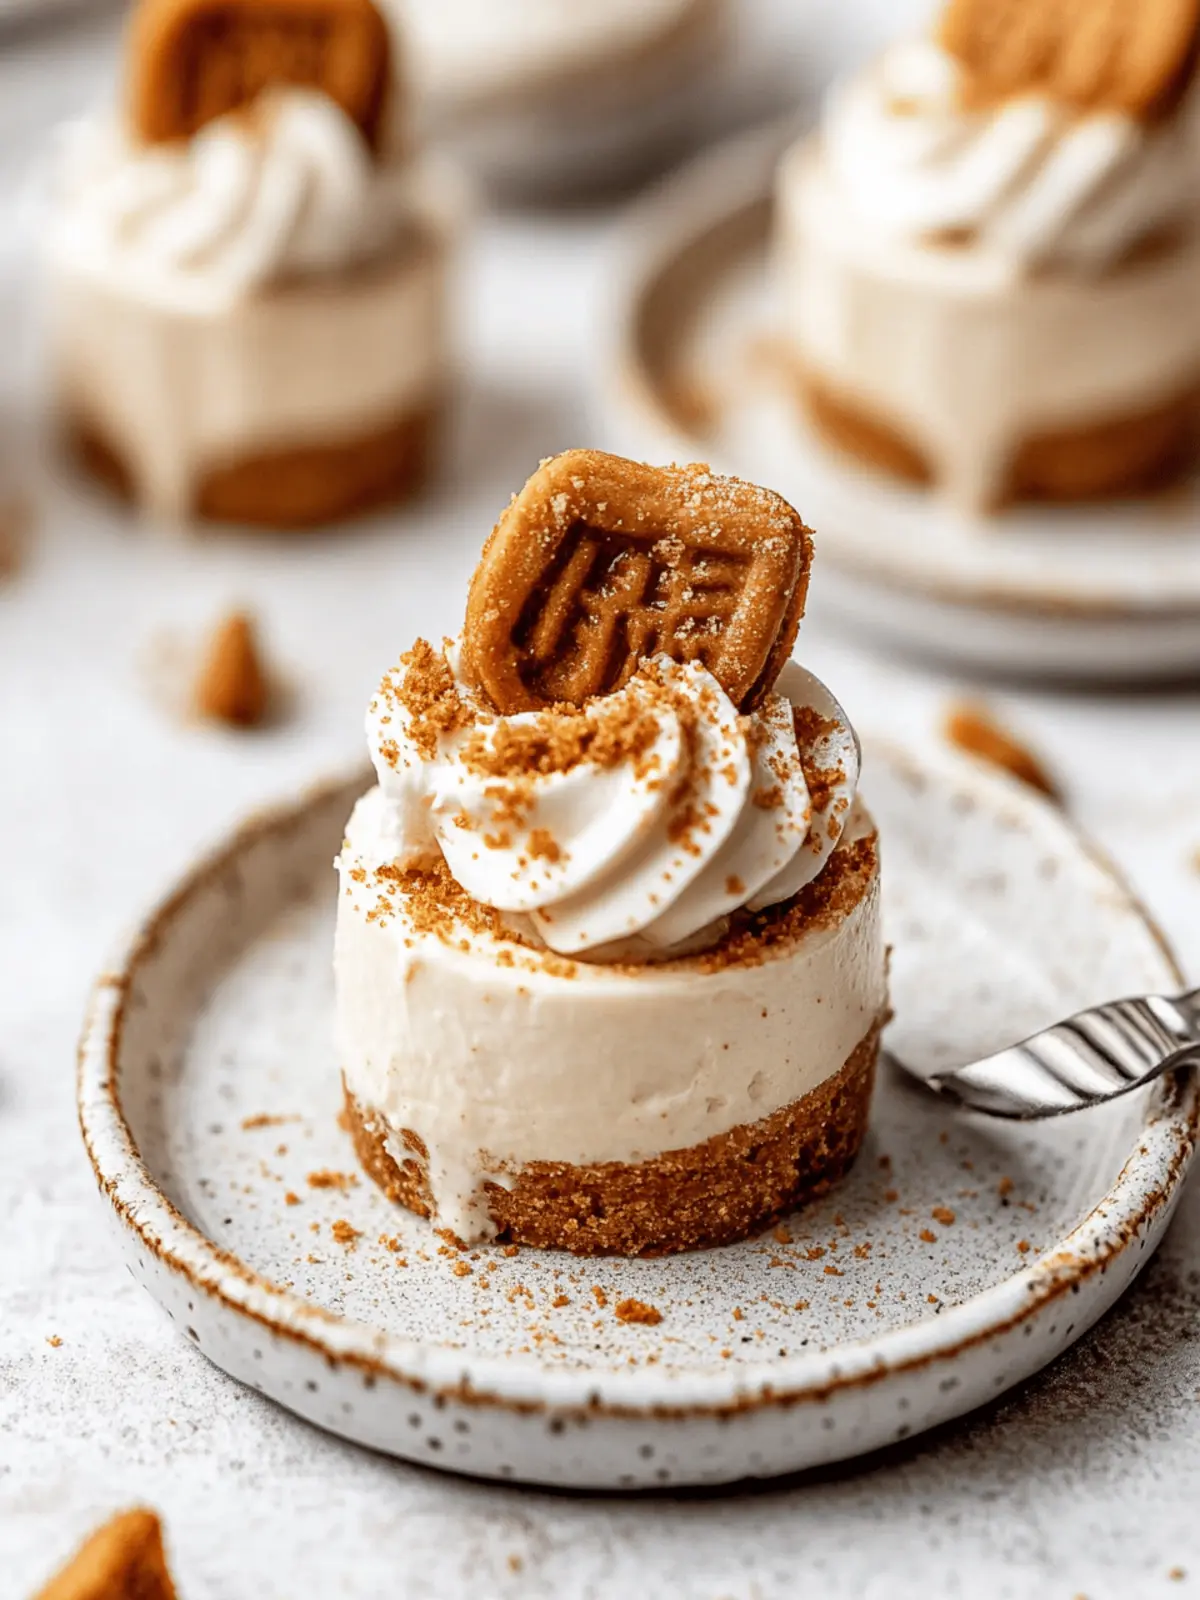
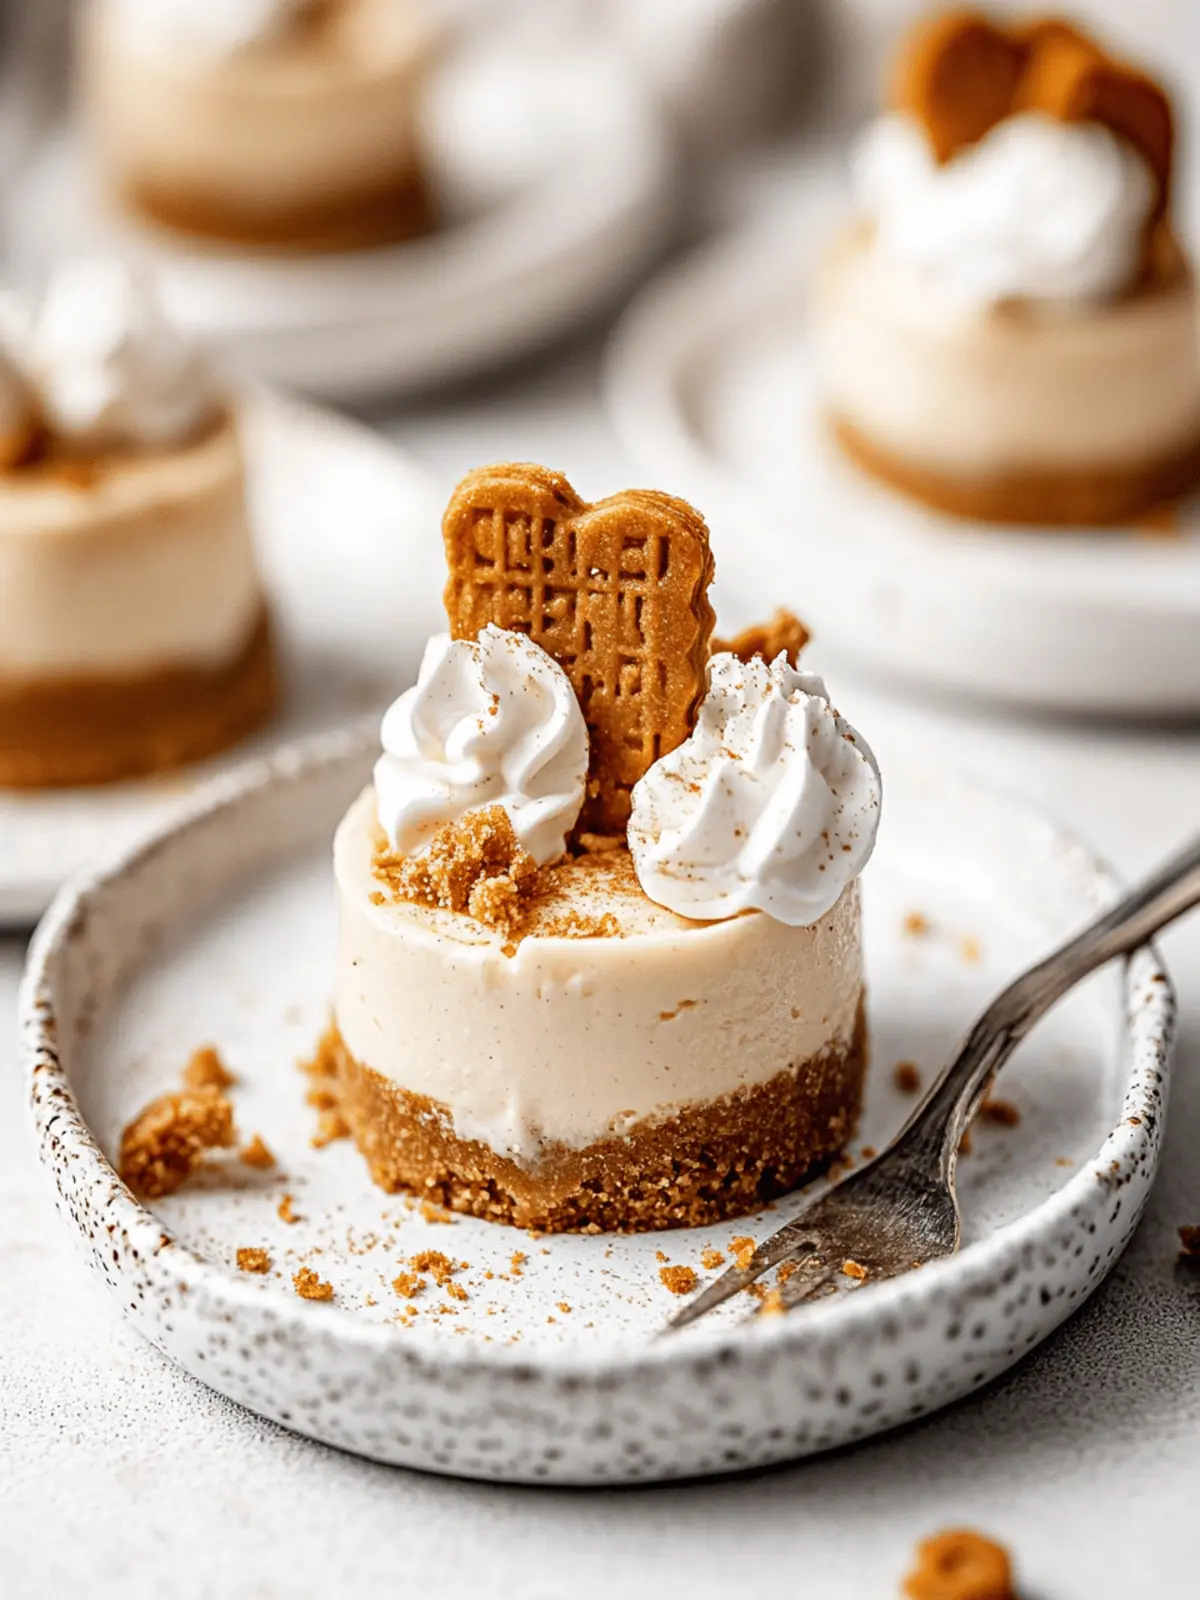
There’s something particularly delightful about having a scoop of creamy cheesecake without turning on the oven, especially as warmer months approach. Picture this: the layers of rich, velvety Biscoff cheesecake melt in your mouth, the sweet and spiced notes perfectly complemented by a crumbly cookie crust. That’s the magic of these No Bake Mini Biscoff Cheesecakes!
I stumbled across this recipe during a sunny afternoon, eager to create a sweet treat that required zero baking effort yet would wow my friends. The combination of luscious cream cheese and the irresistible flavor of Biscoff makes each bite a delicious indulgence. What’s even better? These mini cheesecakes are perfect for gatherings, parties, or simply a quiet night in when you need a little sweet escape. With just a handful of ingredients and a few simple steps, you’ll have impressive little desserts ready to impress—even if you’re short on time. So grab your mixing bowl and let’s dive into this no-bake wonder together!
Why are No Bake Mini Biscoff Cheesecakes a must-try?
Decadent flavor awaits with these delightful mini cheesecakes, combining rich Biscoff and creamy textures that will elevate your dessert game!
No oven needed means you can whip up these treats without any fuss, making it ideal for spontaneous cravings or hot summer days.
Crowd-pleaser appeal, perfect for gatherings, impressing guests or family with little effort.
Versatile toppings allow you to customize each cheesecake, making them unique for any occasion.
Plus, they’re incredibly easy to prepare, taking just 30 minutes of hands-on time before chilling. Dive into these delightful bites of bliss!
No Bake Mini Biscoff Cheesecakes Ingredients
For the Crust
• Biscoff cookies – they provide a uniquely spiced foundation that adds an irresistible flavor.
• Melted butter – helps bind the cookie crumbs together for a crunchy, yet tender crust.
For the Filling
• Heavy cream – whip to stiff peaks for a light, airy texture in your cheesecake.
• Full-fat cream cheese – ensures the cheesecakes are rich and creamy, providing the decadent experience.
• Powdered sugar – adds sweetness without the grittiness found in granulated sugar.
• Creamy Biscoff cookie butter – enhances the Biscoff flavor throughout the filling, making each bite heavenly.
• Sour cream – adds a subtle tanginess that balances the sweetness beautifully.
• Pure vanilla extract – elevates the overall flavor profile, creating depth in each layer.
• Pinch of salt – a small touch that enhances all the flavors in the filling.
For the Topping
• Creamy Biscoff cookie butter – melted and drizzled on top for that final touch of indulgence.
• Additional Biscoff cookies – for garnish, either whole or crushed, to add texture and visual appeal.
• Whipped cream – a dollop to top them off, giving an extra touch of elegance.
With these ingredients in hand, you’re one step closer to creating your very own No Bake Mini Biscoff Cheesecakes that are sure to delight!
How to Make No Bake Mini Biscoff Cheesecakes
-
Blitz the Crust:
Crush the Biscoff cookies in a food processor until finely ground. Pour in the melted butter and blend until combined. The mixture should be sandy yet hold together when pressed. -
Prep the Pans:
Spray your mini cheesecake pans (or use muffin pans with cupcake liners) with non-stick spray. Firmly press about 1 tablespoon of the cookie mixture into each cavity. Chill in the freezer or refrigerator while making the filling. -
Whip the Cream:
In a chilled mixing bowl, beat the cold heavy cream with a hand mixer or stand mixer until stiff peaks form, about 2 minutes. Keep in the fridge to maintain its light texture. -
Mix the Filling:
In a separate bowl, blend cream cheese, powdered sugar, Biscoff cookie butter, sour cream, vanilla, and salt until smooth and fully combined. -
Fold in Cream:
Gently fold in the whipped cream using a rubber spatula. Careful not to over-mix—aim for a light and airy filling with no white streaks remaining. -
Pipe the Filling:
Transfer the filling into a piping bag fitted with a round 1A tip. Pipe the creamy mixture onto each chilled crust, smoothing the tops for an even layer. -
Chill:
Refrigerate the cheesecakes for 6 hours or overnight. They can be loosely covered to ensure they set perfectly. -
Add Topping:
Melt the remaining Biscoff spread in the microwave for 20-30 seconds until smooth. Drizzle over the cheesecakes and return to the fridge for about 15-20 minutes to set. -
Garnish:
Finish your cheesecakes with desired toppings—whether it’s a whole Biscoff cookie perched on top, a sprinkle of crumbled cookies, or a dollop of whipped cream. Enjoy!
Optional: Drizzle some chocolate sauce for an extra sweet twist!
Exact quantities are listed in the recipe card below.
How to Store and Freeze No Bake Mini Biscoff Cheesecakes
Fridge: Keep these delightful cheesecakes in an airtight container for up to 3 days. This helps retain their creamy texture and flavor.
Freezer: If you want to save some for later, freeze the cheesecakes in individual portions. Wrap each tightly in plastic wrap and store in an airtight freezer-safe container for up to 2 months.
Thawing: When you’re ready to enjoy the frozen No Bake Mini Biscoff Cheesecakes, transfer them to the fridge to thaw overnight. This will help them regain their creamy consistency.
Reheating: No need to heat! Enjoy these cheesecakes chilled for the best taste and texture.
Make Ahead Options
These No Bake Mini Biscoff Cheesecakes are a dream for busy home cooks looking to save time! You can prepare the crust and filling up to 24 hours in advance. Simply make the cookie crust and press it into the pans, then refrigerate. For the filling, whip everything together as instructed and keep it covered in the refrigerator. When you’re ready to serve, simply pipe the filling onto the chilled crusts, drizzle with melted Biscoff cookie butter, and let it set for an additional 15-20 minutes. By pre-preparing the components, you’ll have delightful mini cheesecakes that taste just as delicious, perfect for celebrations or a sweet weeknight treat!
Expert Tips for No Bake Mini Biscoff Cheesecakes
-
Chill Thoroughly: Ensure your cheesecakes chill for at least 6 hours or overnight for perfect texture—this helps them hold their shape well.
-
Whip Cream Properly: Use cold heavy cream and a chilled bowl to achieve stiff peaks when whipping. This adds the necessary lightness to the filling.
-
Avoid Overmixing: When folding in the whipped cream, gently incorporate until no streaks remain, to keep the filling airy and creamy.
-
Piping Precision: Use a piping bag fitted with a round tip for a more polished look, ensuring the filling is evenly spread across the crust.
-
Customize Toppings: Feel free to experiment with different toppings! Add fresh fruit or drizzles of chocolate to make your No Bake Mini Biscoff Cheesecakes even more delightful.
What to Serve with No Bake Mini Biscoff Cheesecakes?
Elevate your dessert experience with delightful accompaniments that balance the sweetness and add variety to your table setting.
-
Fresh Berries: Their tartness contrasts beautifully with the rich cheesecakes, adding a pop of color and freshness to each bite.
-
Espresso or Coffee: A warm, robust drink complements the creamy sweetness while providing a lovely balance. Imagine sipping coffee as you savor each cheesecake bite.
-
Chocolate Sauce: Drizzling rich chocolate over the top enhances indulgence and brings an additional layer of flavor. It’s an irresistible combination!
-
Vanilla Ice Cream: The creaminess of ice cream pairs perfectly, creating a decadent dessert that everyone will love.
-
Mint Leaves: Use these as a garnish for a refreshing touch on each cheesecake. A subtle hint of mint elevates the flavor profile and adds vibrancy.
-
Caramel Drizzle: Sweet and buttery, a touch of caramel adds richness that pairs deliciously with the Biscoff.
-
Lemon Sorbet: A light, tangy sorbet creates a refreshing contrast, cleansing the palate between each sweet bite.
-
Almond Cookies: These offer a delightful crunch alongside the cheesecakes, enhancing the texture experience.
-
Sparkling Water with Citrus: Keep it light with bubbly water infused with citrus slices for a refreshing drink that won’t overpower the dessert.
Each of these pairings brings a unique element to your No Bake Mini Biscoff Cheesecakes, ensuring every gathering is memorable and delicious!
No Bake Mini Biscoff Cheesecakes Variations
Feel free to let your creativity run wild and make these cheesecakes your own!
-
Gluten-Free: Use gluten-free cookies in place of regular Biscoff cookies for an equally delicious crust.
-
Vegan: Swap out cream cheese for a vegan alternative and use coconut cream instead of heavy cream for a plant-based delight.
-
Nutty Twist: Add some chopped nuts like pecans or walnuts to the crust for added crunch and flavor.
-
Chocolate Lover: Incorporate cocoa powder into the filling or swirl melted chocolate throughout for a rich twist.
-
Fruit Infusion: Mix in fresh fruit or fruit preserves into the filling for a sweet and tangy flavor burst.
-
Spiced Up: Enhance the flavor by adding a teaspoon of cinnamon or nutmeg to the filling for an extra layer of warmth.
-
Caramel Drizzle: Drizzle caramel sauce over the top before chilling for a sweet, gooey finish that complements the Biscoff beautifully.
-
Mini Tarts: Instead of mini cheesecakes, use the same mixture in a tart shell for a chic dessert presentation.
With these exciting variations, each bite will be a new adventure that brings joy and warmth to your table!
No Bake Mini Biscoff Cheesecakes Recipe FAQs
How do I choose the right Biscoff cookies for the crust?
Absolutely! When selecting Biscoff cookies, look for those with a rich, caramel color and a crunchy texture. Avoid any packages with dark spots or signs of moisture to ensure the best flavor. They should snap easily and smell sweet-spiced.
How long can I store No Bake Mini Biscoff Cheesecakes in the fridge?
You can store these delightful mini cheesecakes in an airtight container in the fridge for up to 3 days. This keeps them fresh, and you can enjoy their creamy texture and flavors without worry!
Can I freeze No Bake Mini Biscoff Cheesecakes?
Very! To freeze, wrap each mini cheesecake tightly in plastic wrap, then place them in an airtight freezer-safe container for up to 2 months. They freeze well, preserving that creamy goodness.
When you’re ready to savor them, just transfer them to the refrigerator and let them thaw overnight.
What should I do if my whipped cream isn’t thickening properly?
If your whipped cream isn’t thickening, make sure your heavy cream is cold and your mixing bowl is chilled as well. Whipping at a higher speed can also help. If after a few minutes it still doesn’t form stiff peaks, consider adding a tablespoon of powdered sugar as a stabilizer.
Are No Bake Mini Biscoff Cheesecakes suitable for those with allergies?
While these cheesecakes are a delightful treat, they do contain dairy (cream cheese, heavy cream, and sour cream), and gluten (Biscoff cookies). If you’re preparing for someone with allergies, consider using gluten-free cookies and dairy alternatives like coconut cream and vegan cream cheese. Always double-check your ingredients!
How do I garnish my No Bake Mini Biscoff Cheesecakes?
For an eye-catching finish, melt some Biscoff cookie butter and drizzle it over the tops. You can also use whole Biscoff cookies for a cute accent or sprinkle crushed cookies for added texture. Be creative—fresh fruits like raspberries or strawberries can also give a bright touch!
Decadent No Bake Mini Biscoff Cheesecakes for Sweet Indulgence
Ingredients
Equipment
Method
- Crush the Biscoff cookies in a food processor until finely ground. Pour in the melted butter and blend until combined.
- Spray mini cheesecake pans with non-stick spray. Press 1 tablespoon of cookie mixture into each cavity. Chill while making filling.
- In a chilled mixing bowl, beat cold heavy cream until stiff peaks form, about 2 minutes. Keep in the fridge to maintain texture.
- In another bowl, blend cream cheese, powdered sugar, Biscoff cookie butter, sour cream, vanilla, and salt until smooth.
- Gently fold in the whipped cream using a rubber spatula until no white streaks remain.
- Transfer the filling into a piping bag fitted with a round tip. Pipe the creamy mixture onto each chilled crust.
- Refrigerate the cheesecakes for 6 hours or overnight. They can be loosely covered to ensure they set perfectly.
- Melt the remaining Biscoff spread in the microwave for 20-30 seconds until smooth, then drizzle over the cheesecakes.
- Finish cheesecakes with desired toppings like crushed cookies or whipped cream. Enjoy!
