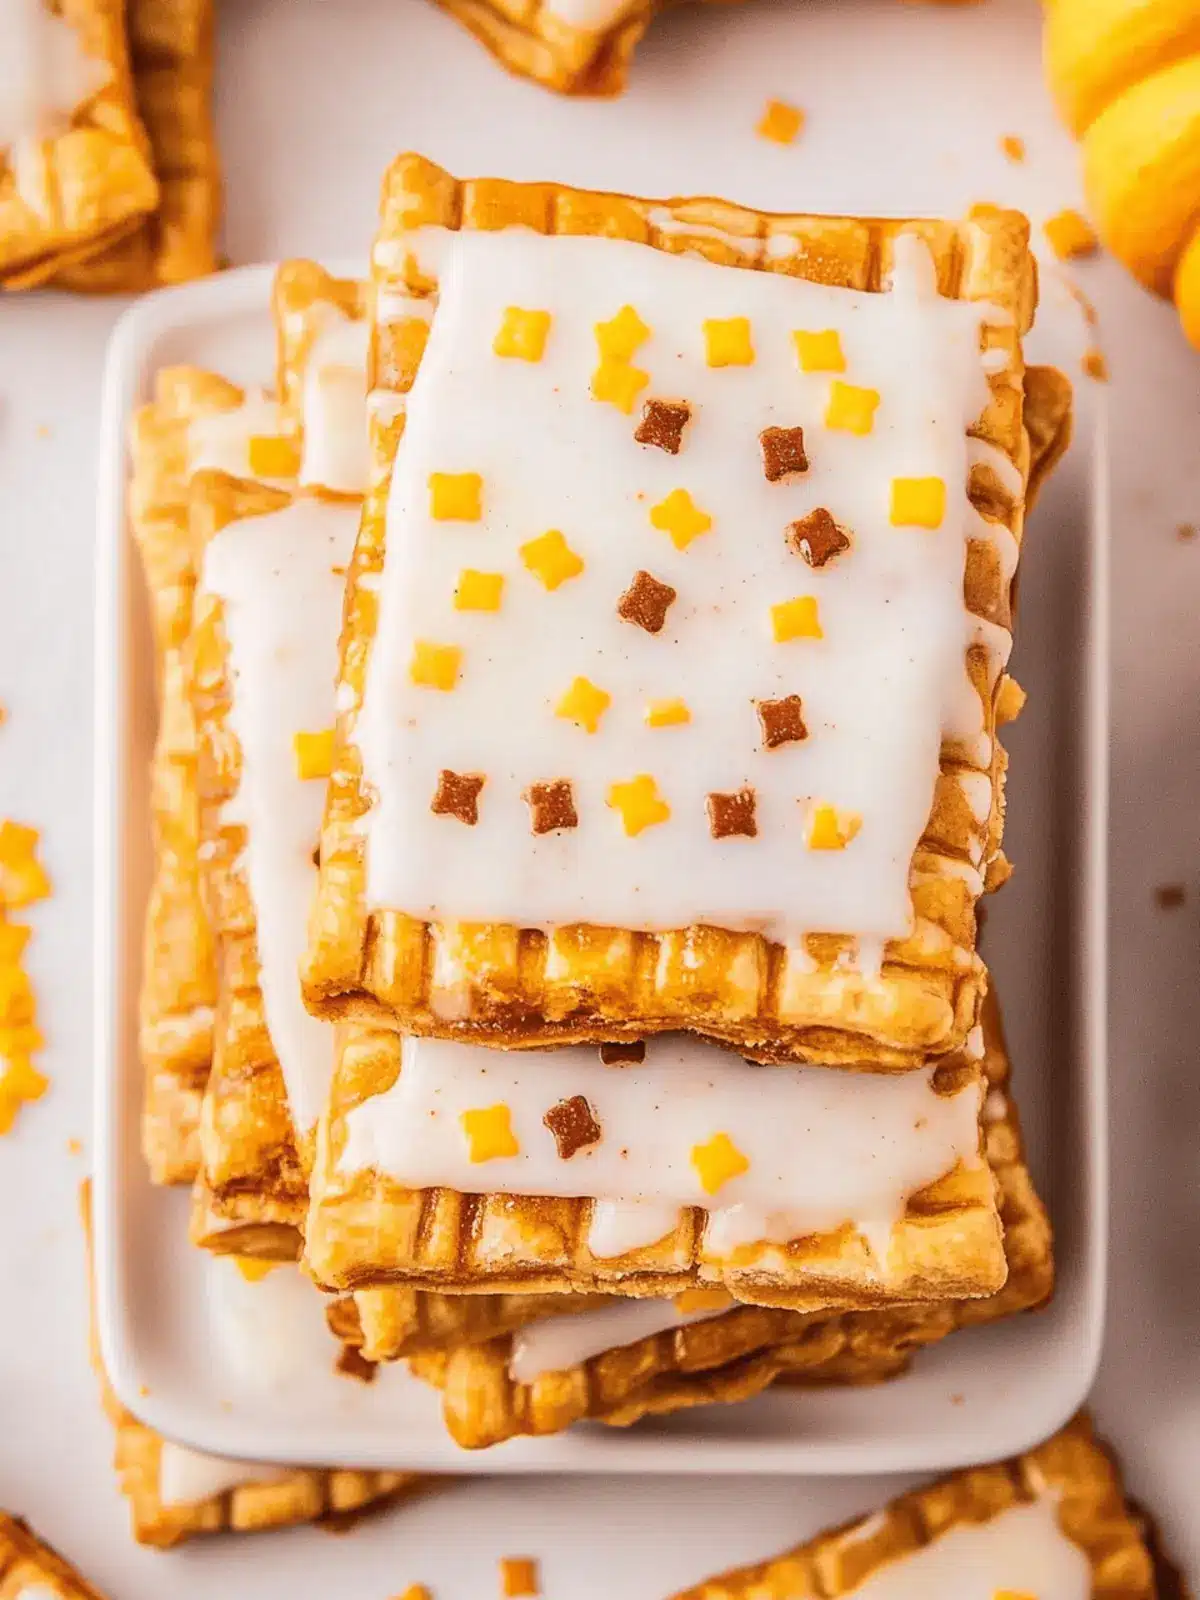
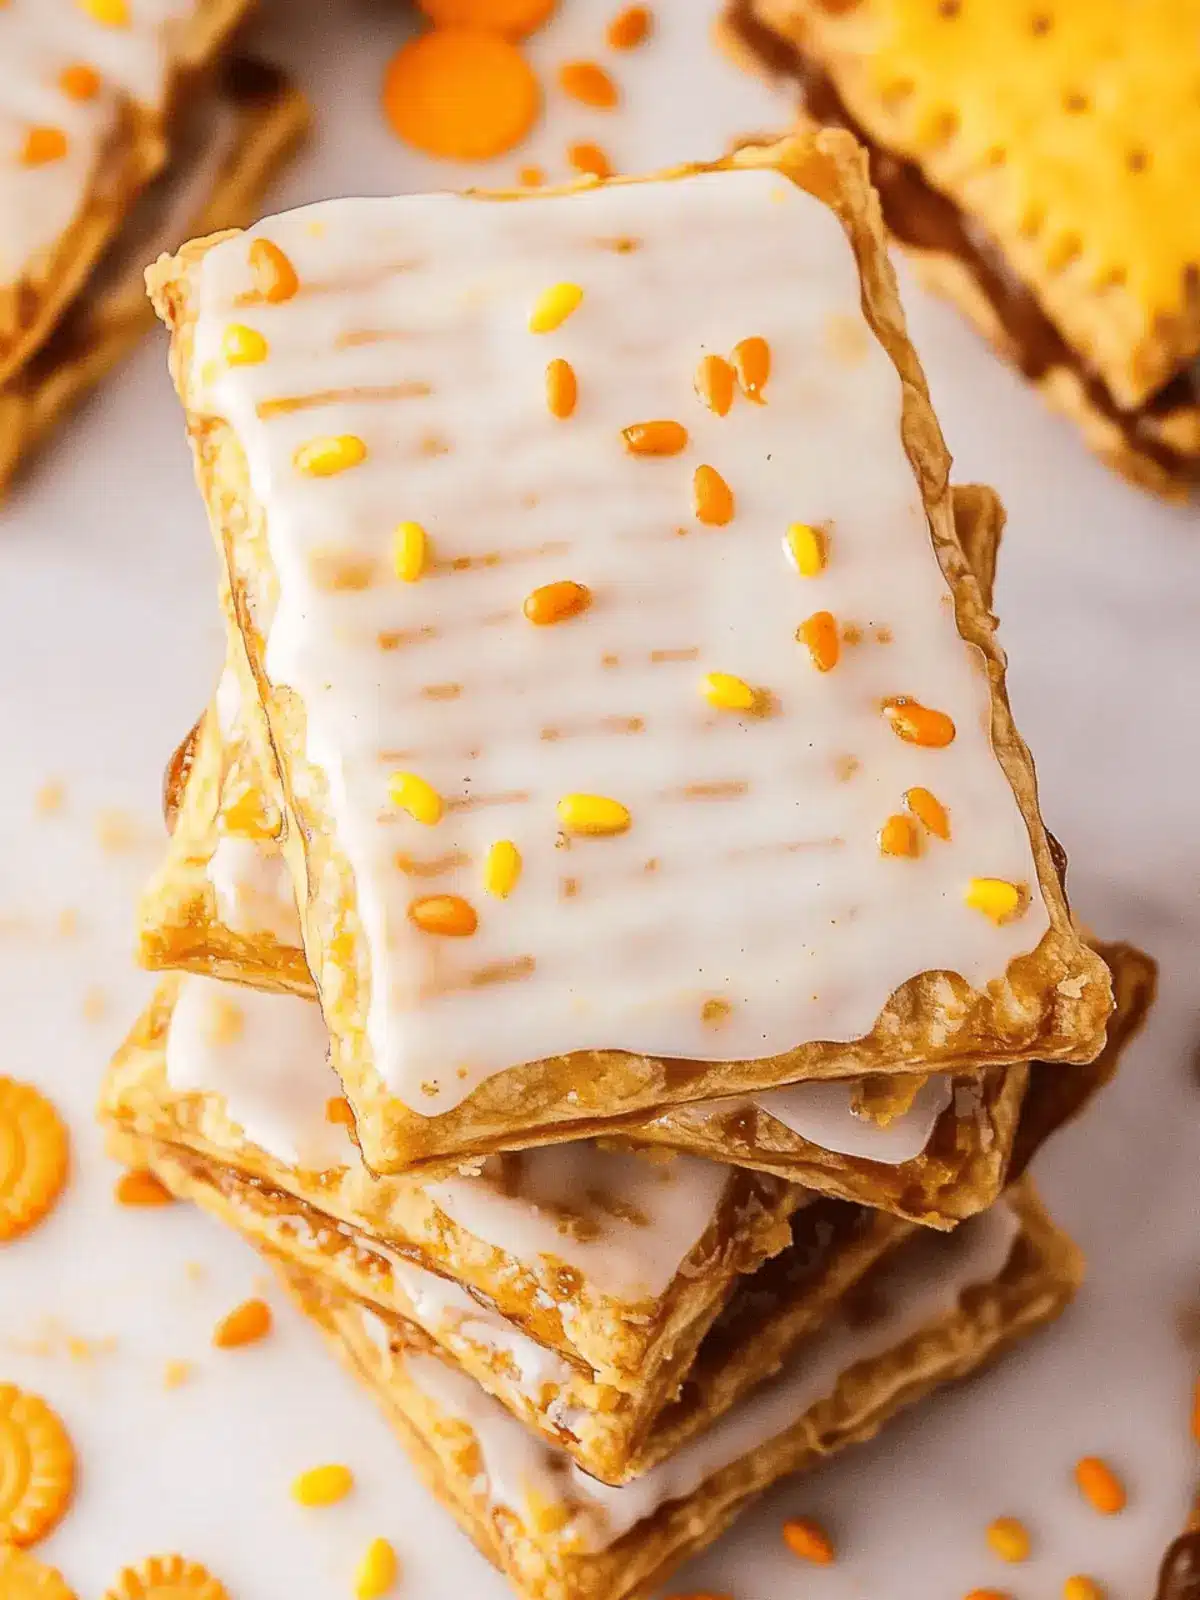
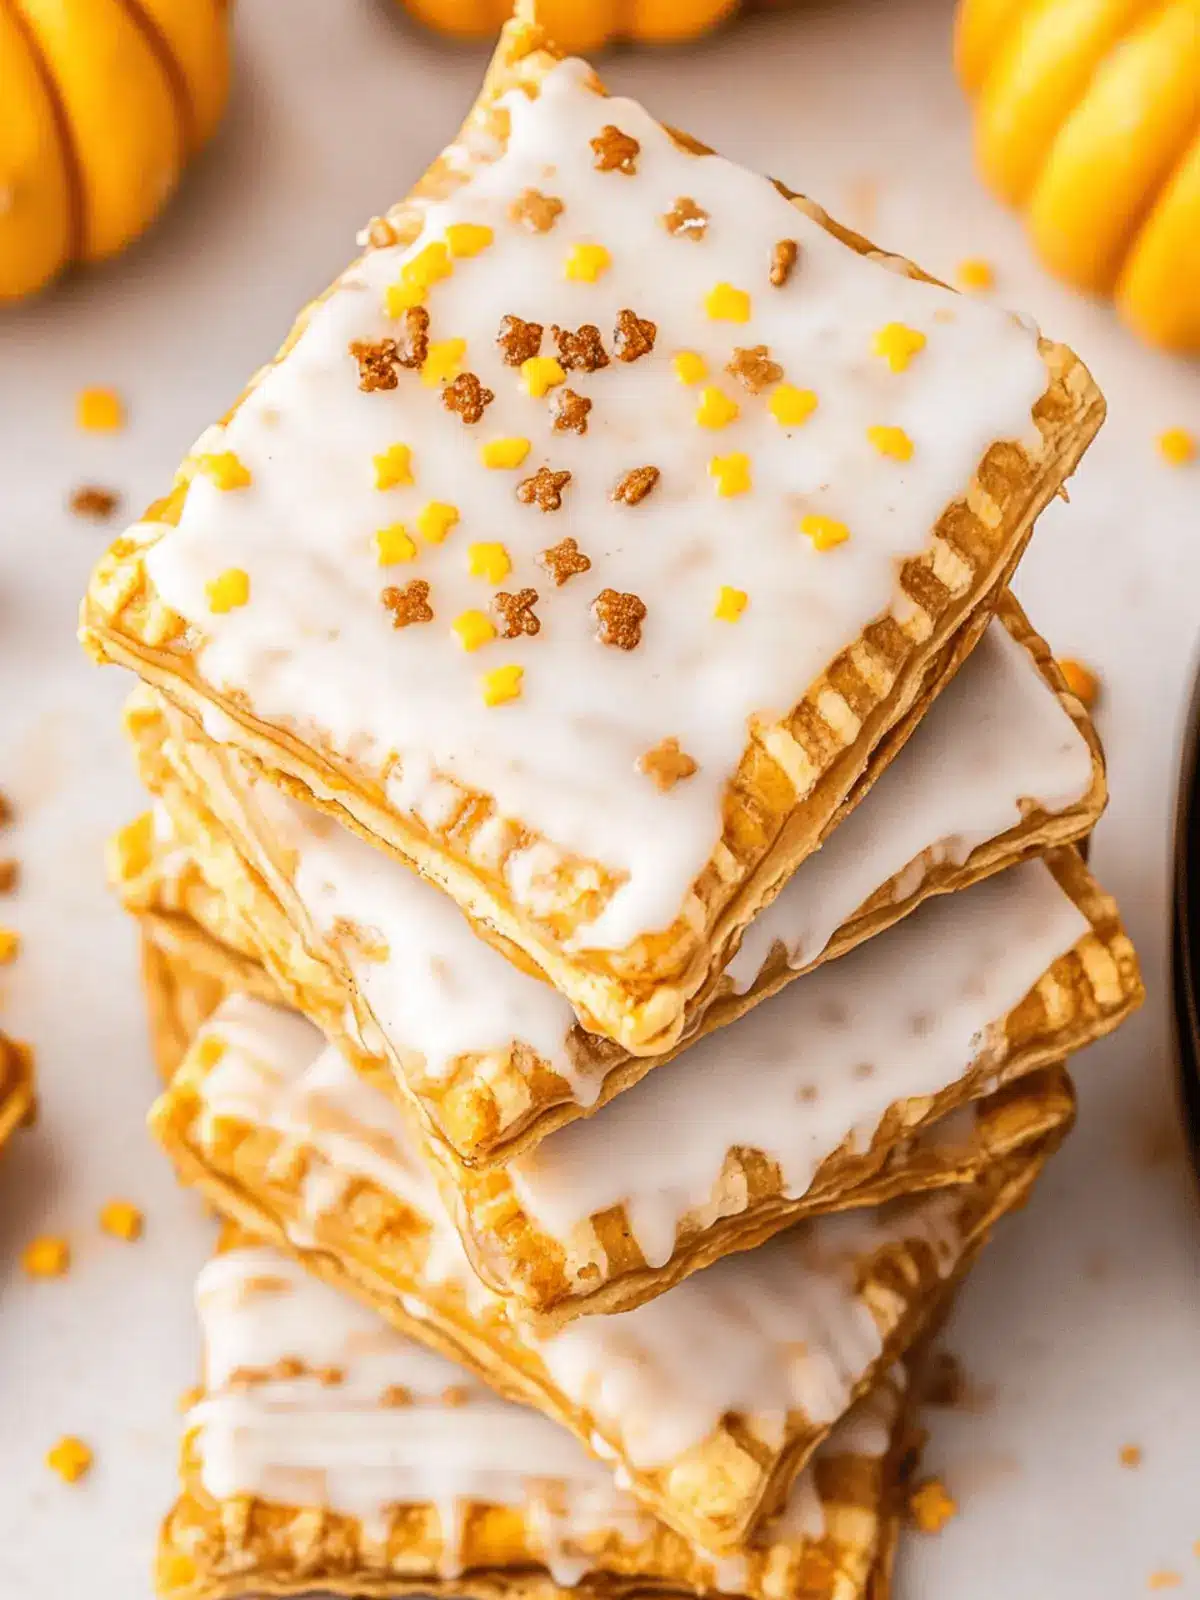
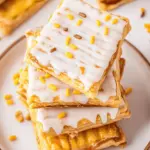
As the leaves begin to dance with hues of orange and gold, there’s a comforting pull to the kitchen—where aromas of autumn come to life. I recently unearthed a delightful recipe that perfectly encapsulates the essence of the season: Quick & Easy Pumpkin Pie Pop Tarts. Picture this: a flaky, buttery crust cradling a velvety pumpkin filling, all drizzled with a sweet maple glaze. It’s like enjoying a slice of homemade pumpkin pie, but conveniently wrapped up for your busy morning.
These pop tarts are not only a nostalgic nod to fall but also a breeze to whip up, making them a fantastic treat for breakfast or an afternoon snack. Whether you’re a seasoned chef or someone looking to escape the fast-food trap, this recipe brings joy back to the table. Plus, the best part? Kids love them! Join me in crafting these charming pastries that are sure to impress and satisfy, all while celebrating the cozy flavors of autumn.
Why are Pumpkin Pie Pop Tarts a must-try?
Irresistible Flavor: These pop tarts combine the beloved taste of pumpkin pie with a fun, portable format that kids and adults alike will adore.
Quick & Easy: No need for extensive baking skills here! This recipe simplifies the classic pie into a fast treat, perfect for busy mornings.
Fall-Inspired Delight: Embrace the essence of autumn with every bite, as the creamy pumpkin filling and warm spices bring seasonal joy to your kitchen.
Versatile Options: Feeling adventurous? Customize your filling or add optional sprinkles to match festive occasions.
Time-Saver: Bake a batch ahead of time and store them for quick breakfasts or snacks, making this recipe ideal for anyone on the go!
Crowd-Pleaser: Impress family and friends with these charming pastries; they are sure to become a favorite at gatherings and brunches.
Pumpkin Pie Pop Tarts Ingredients
For the Crust
• Refrigerated Pie Crusts – Use one 15 oz package for a quick and flaky base.
For the Filling
• Pure Pumpkin – 1⅓ cups gives a rich pumpkin flavor; canned is the easiest option for convenience.
• Packed Light Brown Sugar – 2/3 cup adds sweetness with a delightful caramel undertone.
• Pumpkin Pie Spice – 2 teaspoons enhance the filling with warm, seasonal spice; can swap with cinnamon, nutmeg, or ginger.
• Large Egg – One egg serves as a binding agent, helping to seal those delicious edges.
For the Glaze
• Powdered Sugar – 1½ cups forms the base for the sweet glaze, giving it that perfect finish.
• Pure Maple Syrup – 2 tablespoons enhance the glaze with natural sweetness, making these Pumpkin Pie Pop Tarts a real treat.
• Milk – 4-5 teaspoons adjust the glaze’s consistency; use whole milk for a creamier texture.
For Egg Wash
• Milk – 1 tablespoon adds moisture to the egg wash, helping achieve a beautiful golden finish on top.
For Decoration
• Sprinkles (optional) – Choose festive fall or Halloween-themed sprinkles to make these pop tarts even more delightful!
How to Make Pumpkin Pie Pop Tarts
-
Preheat the Oven: Begin by preheating your oven to a warm 450°F. This will ensure that your pop tarts bake to golden perfection. Don’t forget to line a baking sheet with parchment paper for easy cleanup!
-
Prepare the Crust: Roll out one refrigerated pie crust on a clean surface. Using a sharp knife or a pizza cutter, cut the dough into 12 rectangles, each measuring about 5″ x 2″. Arrange these on your lined baking sheet.
-
Mix the Filling: In a mixing bowl, combine the pure pumpkin, brown sugar, and pumpkin pie spice. Stir well until it forms a creamy filling that evokes the warmth of autumn.
-
Fill the Tarts: Spoon 2 tablespoons of the pumpkin mixture onto the center of each rectangle, making sure to leave a ½-inch border around the edges. This space is crucial for sealing the pop tarts!
-
Prep the Egg Wash: In a small bowl, whisk together one large egg and 1 tablespoon of milk until well combined. This mixture will help the pastry edges stick together beautifully.
-
Seal and Crimp: Place a second rectangle of dough over each filled piece. Use a fork to crimp the edges, ensuring they’re tightly sealed to keep the delicious filling inside.
-
Brush and Bake: Gently brush the tops of the pop tarts with the egg wash, then use a toothpick to poke a few holes for ventilation. Bake in your preheated oven for 8-12 minutes, or until they turn a lovely golden brown.
-
Cool and Glaze: Allow the baked pop tarts to cool on the baking sheet. While they’re cooling, prepare the glaze!
-
Make the Glaze: In a mixing bowl, whisk together the powdered sugar, pure maple syrup, and enough milk to reach your desired consistency. This glaze will be the sweet crowning touch on your pop tarts.
-
Glaze and Serve: Once the pop tarts have cooled, generously brush the sweet glaze over the tops. For an extra festive touch, add sprinkles if desired.
Optional: Enjoy these pop tarts with a warm cup of coffee or cider for the ultimate autumn experience!
Exact quantities are listed in the recipe card below.
Storage Tips for Pumpkin Pie Pop Tarts
Room Temperature: Keep your Pumpkin Pie Pop Tarts in an airtight container at room temperature for 1-2 days for optimal freshness.
Fridge: Storing the pop tarts in the refrigerator extends their life up to a week, maintaining taste and texture while keeping them cool.
Freezer: For long-term storage, freeze the pop tarts individually wrapped in plastic wrap. They can last for up to 3 months in the freezer.
Reheating: Gently reheat previously stored pop tarts in a toaster until warm, or enjoy straight from the fridge for a cold treat!
Expert Tips for Pumpkin Pie Pop Tarts
-
Cooling Time Matters: Allow your pop tarts to cool completely before glazing. This prevents moisture from making the glaze soggy.
-
Milk Choice: Use whole or half-and-half milk for a richer glaze. Adjust milk quantity as needed to achieve your desired thickness.
-
Enhanced Flavor: For a taste boost, add a pinch of sea salt or a splash of vanilla extract to the pumpkin filling.
-
Crust Sealing: Make sure to crimp the edges well to keep the pumpkin filling contained—nobody wants a filling leak during baking!
-
Creative Variations: Feel free to swap the pumpkin filling for alternatives like apple or sweet potato, allowing for seasonal flexibility.
-
Perfect Poking: Don’t forget to poke holes in each pop tart before baking! This step lets steam escape and keeps them from puffing up too much.
Pumpkin Pie Pop Tarts Variations
Get ready to customize your Pumpkin Pie Pop Tarts for a truly unique experience that will delight your taste buds!
-
Apple Filling: Swap out the pumpkin filling for spiced apple filling—just cook diced apples with sugar and cinnamon until soft. This fruity twist adds a refreshing crunch!
-
Sweet Potato: Use mashed sweet potatoes instead of pumpkin for a slightly sweeter and creamier filling that brings unexpected depth to your pop tarts.
-
Nutty Texture: Mix in finely chopped nuts, like pecans or walnuts, into the pumpkin mixture for an extra crunch that perfectly complements the creamy filling.
-
Shortbread Crust: For a richer flavor, make a homemade shortbread crust using butter, flour, and sugar. The buttery notes take these treats up a notch!
-
Chocolate Drizzle: Top with a simple chocolate glaze by melting dark chocolate and drizzling it over the cooled pop tarts for a delightful chocolate-pumpkin combo.
-
Spicy Kick: Add a pinch of cayenne or chili powder to the filling for a surprising spicy twist that beautifully contrasts the sweetness.
-
Mini Size: Create mini pop tarts by cutting smaller rectangles of dough; these bite-sized delights are perfect for snack time or parties!
-
Vegan Option: Use plant-based alternatives for the milk, egg, and pie crust to make these pop tarts vegan-friendly while keeping them delicious.
Make Ahead Options
These Pumpkin Pie Pop Tarts are perfect for busy home cooks looking to save time! You can prepare the filling by mixing pure pumpkin, brown sugar, and pumpkin pie spice up to 24 hours in advance—simply refrigerate the mixture in an airtight container. Additionally, you can cut the pie crust rectangles and store them layered with parchment paper in the fridge for up to 3 days, ensuring they stay fresh and ready to assemble. When you’re ready to bake, just seal the filled pop tarts and follow the remaining steps, baking them until golden brown. This way, you can enjoy delightful pastries with minimal effort, making your mornings a bit sweeter!
What to Serve with Pumpkin Pie Pop Tarts?
Pair your delightful pastries with these tasty options to create a warm and inviting breakfast experience.
-
Crispy Bacon: The savory saltiness of crispy bacon provides a delicious contrast to the sweet pop tarts, elevating your breakfast to a whole new level.
-
Apple Cider: A warm cup of spiced apple cider complements the flavors of fall beautifully and creates a cozy atmosphere during breakfast.
-
Whipped Cream: Light and airy whipped cream adds a luxurious touch, making every bite even more indulgent and bringing a classic dessert feel to the table.
-
Vanilla Ice Cream: Serve with a scoop of creamy vanilla ice cream for a dreamy dessert option, transforming your morning treat into a delightful after-dinner dessert.
-
Chai Tea: The aromatic spices in chai tea harmonize beautifully with the cinnamon notes of the pop tarts, creating a happiness-in-a-cup experience.
-
Fresh Fruit: Pairing with sliced apples or pears offers a refreshing crunch and balance to the sweetness of the pop tarts, showcasing the best of autumn flavors.
-
Coffee: A rich, bold coffee or latte provides a comforting wake-up call, enhancing the cozy experience of enjoying pumpkin pie pop tarts on crisp mornings.
-
Maple Syrup: Drizzle a little extra maple syrup on top for a delightful finishing touch that enhances the sweet, seasonal flavors of your pop tarts.
Embrace the flavors of autumn and create the perfect breakfast spread with these delightful pairings!
Pumpkin Pie Pop Tarts Recipe FAQs
What type of pumpkin should I use for the filling?
I recommend using canned pure pumpkin for convenience and consistency. It has a rich flavor that works perfectly in the filling. If you prefer, you can use homemade pumpkin puree as long as it’s well-cooked and free of excess moisture.
How should I store leftover Pumpkin Pie Pop Tarts?
Store your Pumpkin Pie Pop Tarts in an airtight container at room temperature for 1-2 days. If you want them to last longer, place them in the refrigerator, where they can stay fresh for up to a week.
Can I freeze Pumpkin Pie Pop Tarts?
Absolutely! For freezing, wrap each cooled pop tart individually in plastic wrap, then place them in a freezer-safe zip-top bag. They can last for up to 3 months in the freezer. When you’re ready to enjoy them, simply thaw overnight in the fridge or reheat them directly from the freezer in a toaster!
How can I prevent my pop tarts from leaking during baking?
To avoid leaks, ensure you crimp the edges of the pop tarts well using a fork. This helps to keep the filling secure. Additionally, make sure to leave the proper ½-inch border when adding the filling, so there’s enough dough to seal them tightly.
Are Pumpkin Pie Pop Tarts safe for pets?
While the ingredients in Pumpkin Pie Pop Tarts are generally safe for humans, they may not be suitable for pets. Avoid giving them to dogs or cats, particularly due to the sugar and spices used. If you want to treat your furry friends, consider making a pet-friendly pumpkin treat specifically designed for them.
What if my glaze turns out too thin or too thick?
No worries! If your glaze is too thin, gradually add more powdered sugar until you reach your desired thickness. If it’s too thick, add a teaspoon of milk at a time, whisking until it smooths out. The thickness can really enhance or detract from the final presentation, so it’s great to adjust to your liking!
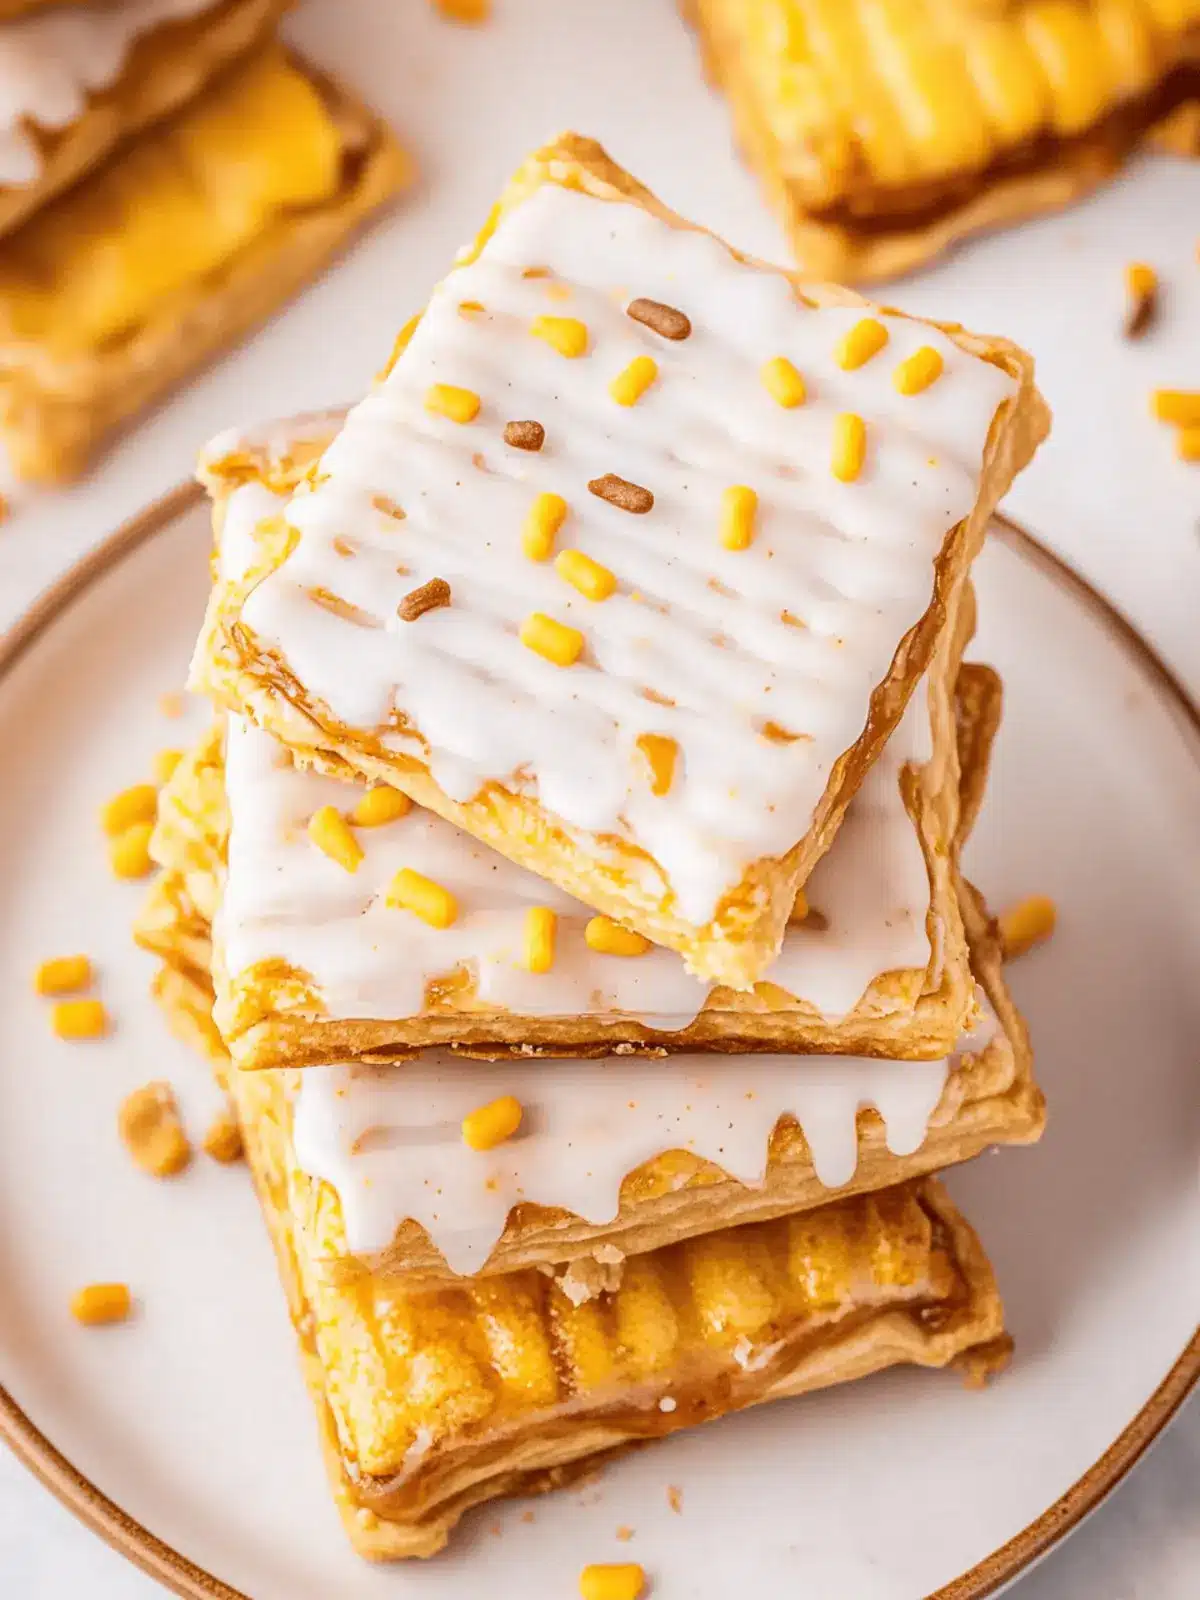
Delicious Pumpkin Pie Pop Tarts with Maple Glaze Awaits
Ingredients
Equipment
Method
- Preheat your oven to 450°F and line a baking sheet with parchment paper.
- Roll out one refrigerated pie crust on a clean surface and cut into 12 rectangles, each about 5" x 2".
- In a bowl, mix the pure pumpkin, brown sugar, and pumpkin pie spice until creamy.
- Spoon 2 tablespoons of pumpkin mixture onto the center of each rectangle, leaving a ½-inch border.
- Whisk together the egg and 1 tablespoon of milk to prepare the egg wash.
- Place a second rectangle over each filled piece and crimp the edges with a fork to seal.
- Brush the tops with egg wash and poke a few holes for ventilation. Bake for 8-12 minutes until golden brown.
- Allow pop tarts to cool on the baking sheet.
- Mix powdered sugar, pure maple syrup, and milk to make the glaze.
- Brush the cooled pop tarts with glaze and add sprinkles if desired.
