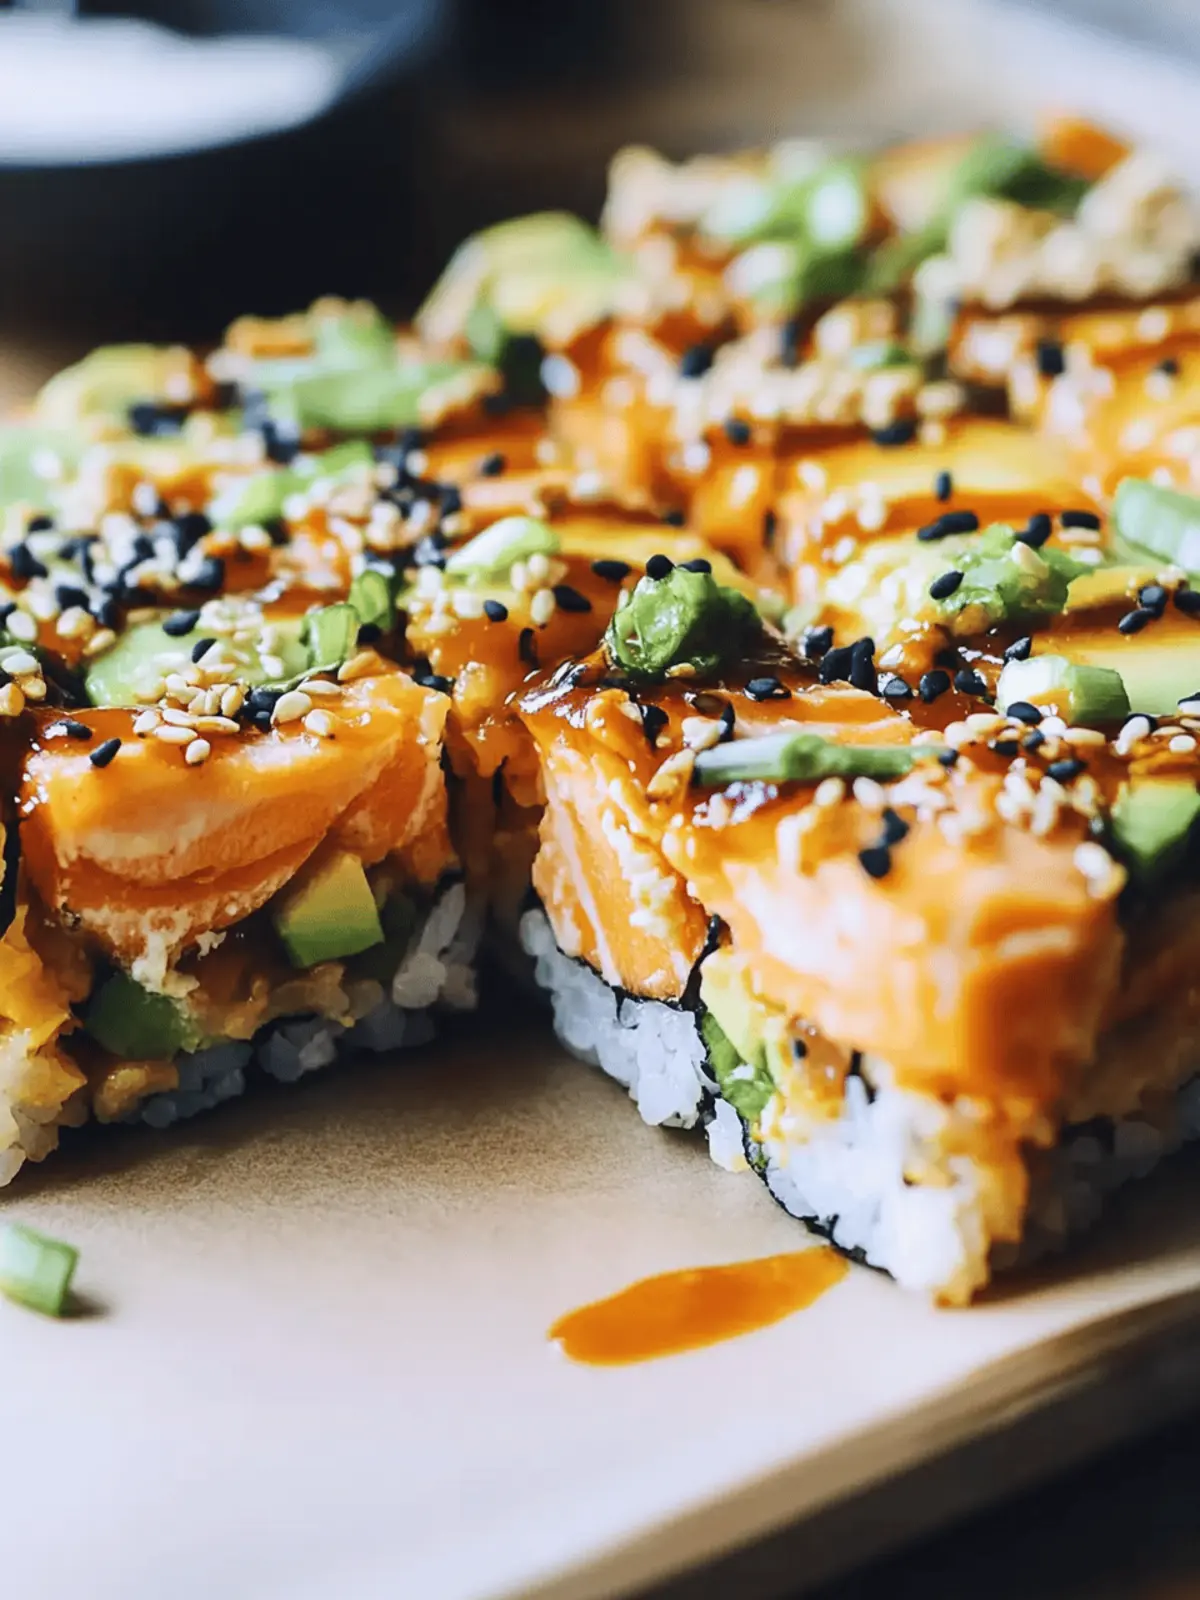
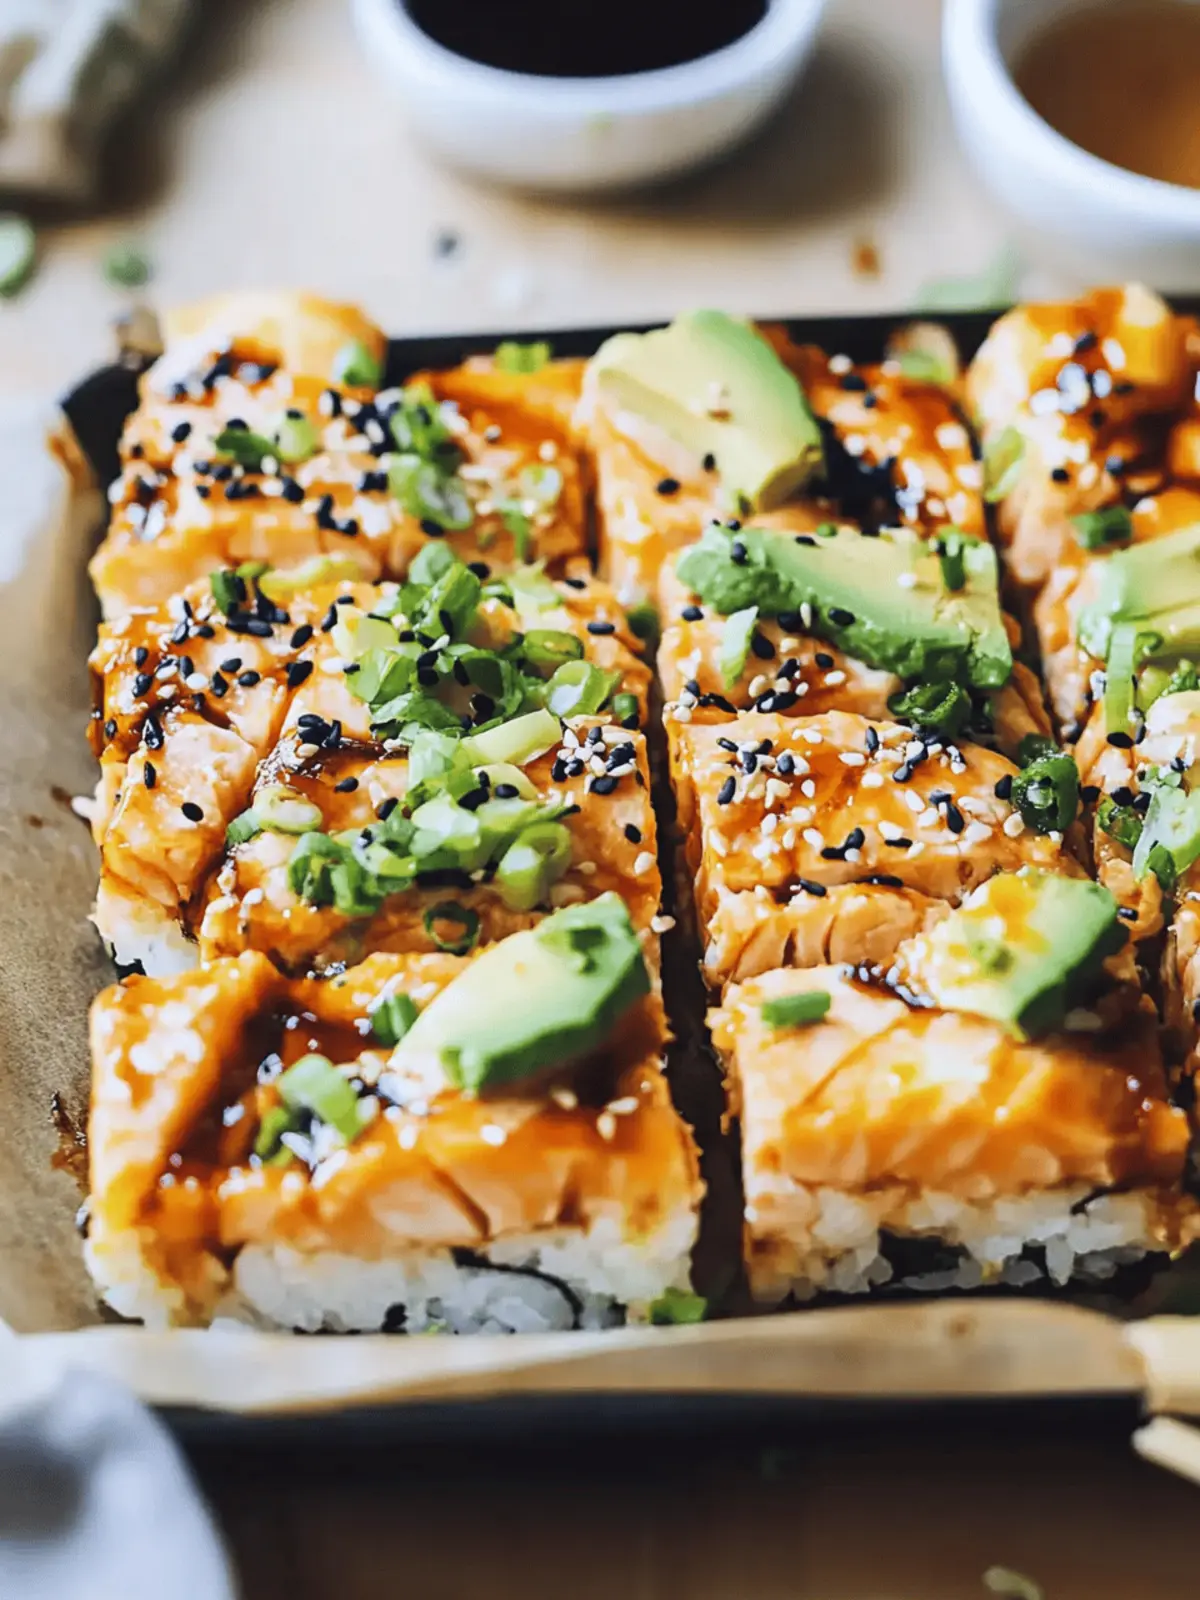
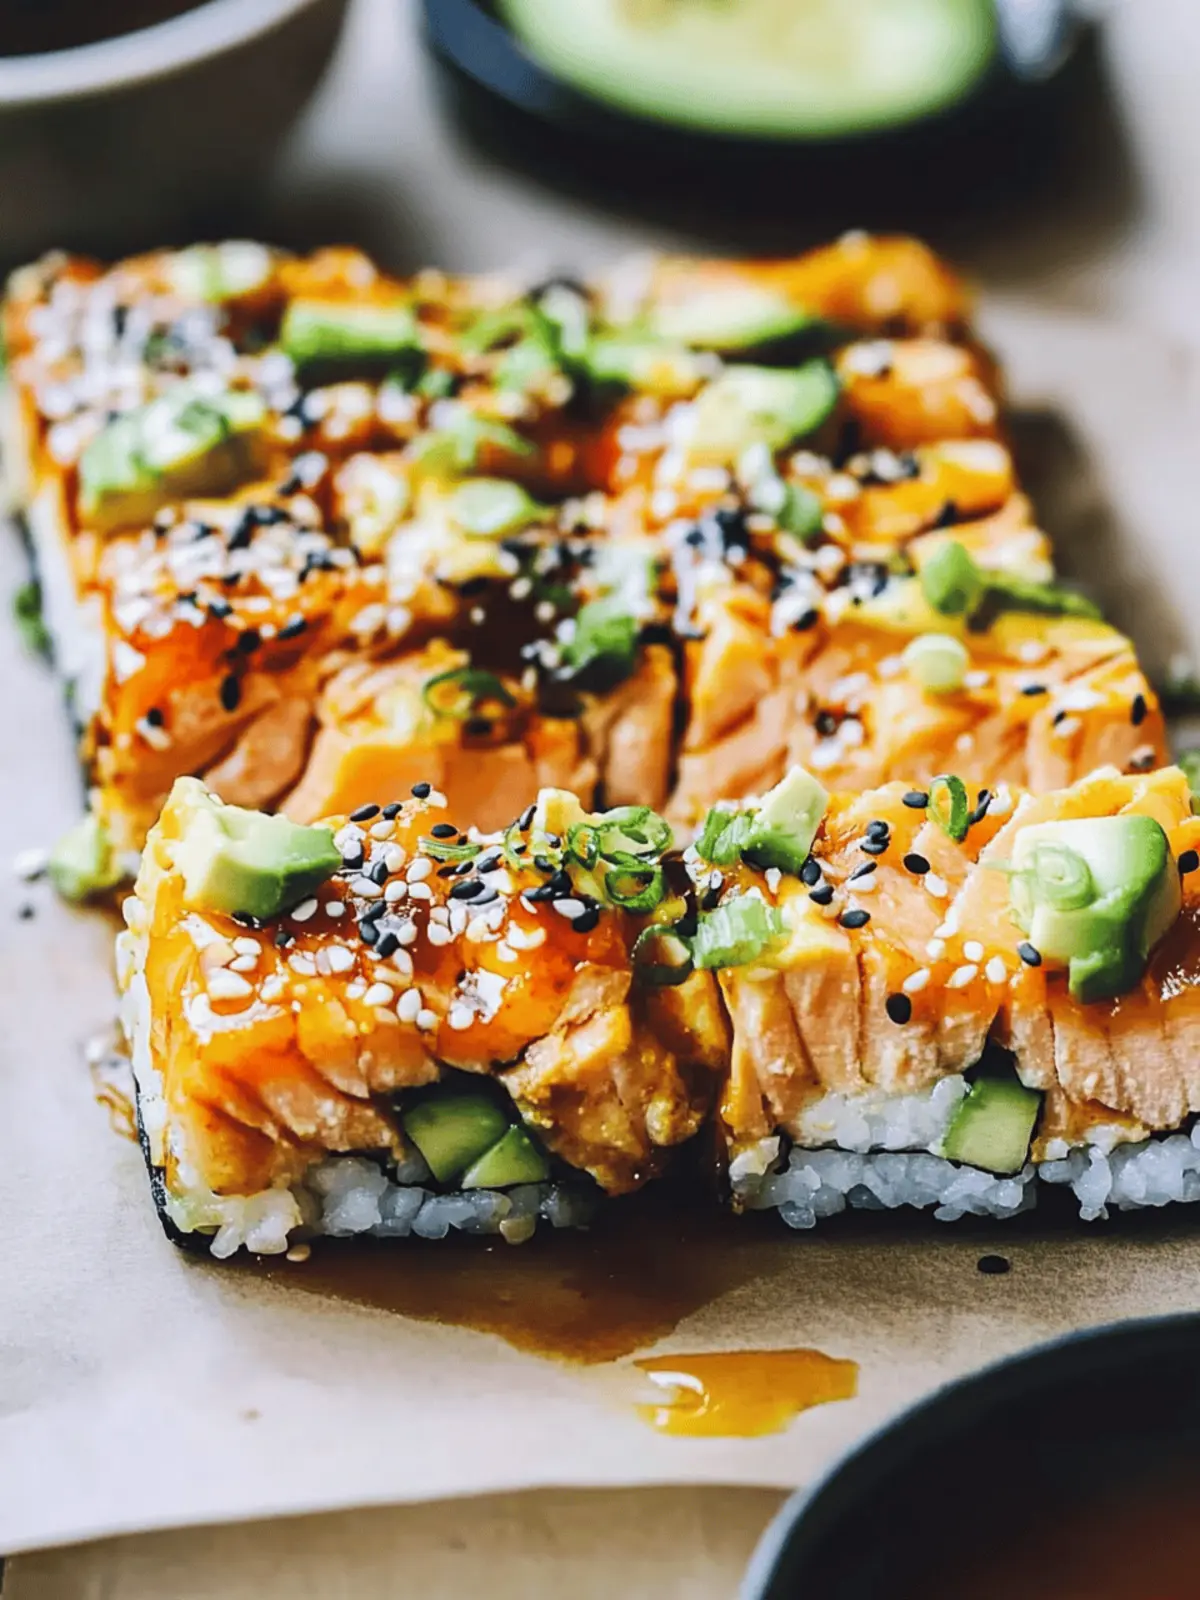
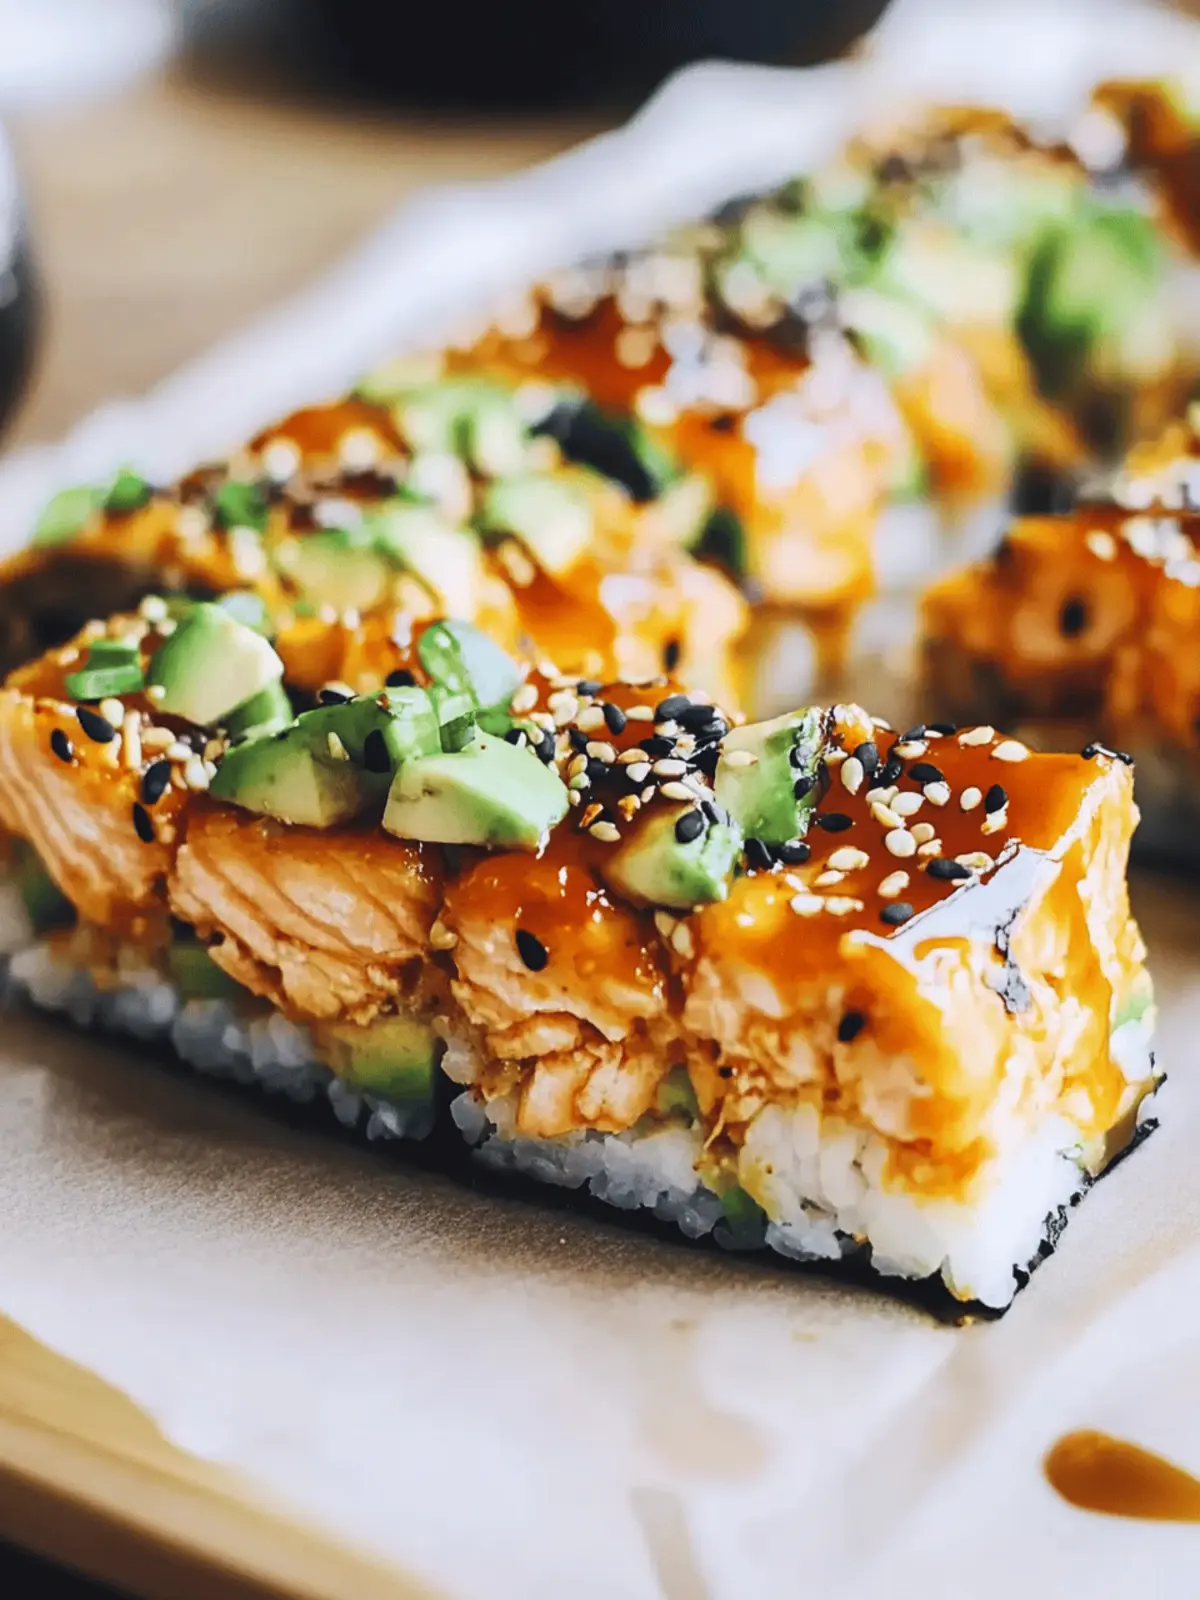
There’s something special about cozying up with a warm dish that combines comfort and flavor, especially after a long day. I discovered this Spicy Salmon Sushi Bake during a busy week when conventional takeout just wouldn’t cut it. With its creamy layers of spicy salmon, avocado, and irresistibly sticky sushi rice, this dish quickly became a family favorite! Not only is it a fun twist on traditional sushi, but it also comes together in a flash—perfect for those evenings when you want something homemade yet hassle-free.
Whether you’re a seasoned chef looking to shake things up or someone who simply loves the idea of quick, delicious meals, this spicy take on sushi will elevate your weeknight dinners. Plus, it’s kid-friendly and can easily cater to various tastes with simple tweaks. So, let’s dive into this delightful recipe that makes sushi accessible and fun for everyone!
Why will you love this Spicy Salmon Sushi Bake?
Comforting and satisfying: This bake transforms traditional sushi into a warm, cozy meal perfect for any family gathering.
Quick to prepare: With minimal prep time and straightforward steps, you can have a delicious dish on the table in no time.
Kid-friendly appeal: The flavors are just the right amount of spicy, making it approachable for children and picky eaters.
Versatile options: Easily swap salmon for shrimp, crab, or even vegetarian ingredients to suit your family’s preferences.
Crowd-pleaser: Everyone will appreciate the unique twist on sushi, making it a go-to for dinner parties or cozy nights in!
If you’re looking for additional tips on how to store leftovers, check out our storage tips.
Spicy Salmon Sushi Bake Ingredients
Get ready to embark on a flavor journey with these essential ingredients!
For the Rice Mixture
- Sushi Rice – The base of the dish, ensuring a sticky texture; rinse well to remove excess starch for the best results.
- Water – Necessary for cooking the sushi rice to the perfect consistency.
- Rice Vinegar – Essential for seasoning, adding a delightful tanginess to the rice.
- Sugar – Balances out the vinegar’s acidity, contributing to a well-rounded flavor.
- Salt – Enhances the overall taste of the dish, seasoning the rice beautifully.
For the Salmon Mixture
- Salmon Fillet (skinless) – The star of the dish, offering a rich, buttery flavor; feel free to substitute with cooked shrimp or crab for variety.
- Mayonnaise – Provides creaminess that binds the salmon mixture together.
- Sriracha Sauce – Adds the perfect kick of spice; adjust to taste for your desired heat level.
- Sesame Oil – Introduces a nutty aroma, complementing the salmon beautifully.
For Topping
- Avocado – A fresh, creamy element that contrasts wonderfully with the spicy flavors.
- Green Onions – Adds a fresh, crunchy garnish that brightens the dish.
For Serving
- Nori Strips – Enhance the sushi-like experience while serving, perfect for wrapping!
- Soy Sauce – An optional dip that can be made gluten-free based on your choice of brand.
Prepare these ingredients, and let the cooking magic begin with your Spicy Salmon Sushi Bake!
How to Make Spicy Salmon Sushi Bake
-
Cook Sushi Rice: Rinse the sushi rice under cold water until the water runs clear, then cook it with water in a rice cooker or pot. Let it simmer for about 20 minutes, until tender and sticky.
-
Season Rice: In a small bowl, combine rice vinegar, sugar, and salt; stir until dissolved. Gently fold this mixture into the cooked rice, ensuring it’s well incorporated. Allow the rice to cool slightly.
-
Bake Salmon: Preheat your oven to 375°F (190°C). Place the skinless salmon fillet on a baking sheet and bake for 15-20 minutes, until it’s cooked through and flakes easily. Let it cool and then flake the salmon into small pieces.
-
Mix Salmon: In a mixing bowl, combine the flaked salmon with mayonnaise, sriracha sauce, and sesame oil. Stir until the mixture is well blended and creamy, adjusting the sriracha to your preferred spice level.
-
Assemble Bake: Spread the seasoned sushi rice evenly in a greased baking dish. Layer the spicy salmon mixture over the rice, spreading it out for even coverage.
-
Final Bake: Place the dish in the oven and bake for about 10-15 minutes, or until the top is heated and slightly crispy.
-
Garnish and Serve: Remove from the oven and top with sliced avocado and chopped green onions. Serve warm with nori strips and soy sauce on the side for dipping!
Optional: Drizzle additional sriracha on top for an extra kick.
Exact quantities are listed in the recipe card below.
Expert Tips for Spicy Salmon Sushi Bake
-
Rinse Thoroughly: Rinse sushi rice until the water runs clear to remove excess starch, preventing a gummy texture in your Spicy Salmon Sushi Bake.
-
Adjust the Heat: Taste your sriracha sauce and modify the amount based on your family’s spice tolerance; add more for a stronger kick or drizzle it on top for individual servings.
-
Check Salmon Freshness: Use fresh, skinless salmon fillets for the richest flavor; frozen fillets can be used but ensure they are well-thawed before baking.
-
Layering Matters: When assembling, spread the salmon mixture evenly to ensure every bite has the right balance of flavors in your sushi bake.
-
Crispy Topping: Bake until the top is slightly crispy for the perfect texture contrast with the creamy salmon and rice below.
-
Store Wisely: If you have leftovers, store them in an airtight container and reheat in the oven to preserve the texture—microwaving can make the rice rubbery.
Storage Tips for Spicy Salmon Sushi Bake
Fridge: Store leftover Spicy Salmon Sushi Bake in an airtight container for up to 3 days to maintain freshness and flavor.
Freezer: For longer storage, freeze the prepared dish in an airtight container for up to 2 months. Thaw in the fridge overnight before reheating.
Reheating: Reheat leftovers in the oven at 350°F (175°C) for about 15-20 minutes to maintain the creamy texture; avoid the microwave as it can make the rice gummy.
Check for Freshness: Always check for any off odors before eating, especially if stored for a few days; when in doubt, throw it out!
Make Ahead Options
Preparing your Spicy Salmon Sushi Bake ahead of time is a fantastic way to save precious minutes on busy weeknights! You can cook the sushi rice and mix the salmon mixture up to 24 hours in advance. Simply rinse and cook the sushi rice, then season it and let it cool. Store the cooled rice in an airtight container in the refrigerator. For the salmon, flake it, combine with mayonnaise, sriracha, and sesame oil, then refrigerate in a separate airtight container. When you’re ready to eat, simply assemble the layers and bake for about 10-15 minutes until hot and slightly crispy—delivering that homemade, comforting flavor you love, just with minimal effort!
Spicy Salmon Sushi Bake Variations
Feel free to play around with this recipe to make it your own and discover exciting new flavors!
- Shrimp Swap: Replace salmon with cooked shrimp for a different seafood twist that’s just as delicious.
- Crab Delight: Use lump crab meat for a sweet and tender texture twist that elevates the dish magnificently.
- Veggie Delight: For a vegetarian option, substitute with roasted bell peppers, zucchini, and spinach for a delicious flavor profile.
- Tofu Bliss: Replace salmon with marinated firm tofu, baked until golden for a plant-based alternative packed with protein.
- Rice Mix-Up: Try using quinoa or cauliflower rice for a unique texture and to make the dish even lighter.
- Creamy Avocado Sauce: Blend avocado with lime juice and cilantro for a creamy, zesty topping that enhances the overall flavor.
- Extra Spicy: Add diced jalapeños into the salmon mix for an extra heat kick that spice lovers will adore.
- Herb Infusion: Include fresh herbs like cilantro or dill to the mix for a refreshing twist that brightens the dish beautifully.
What to Serve with Spicy Salmon Sushi Bake?
Enhance your dinner experience with delightful sides that beautifully complement this savory bake.
-
Crispy Seaweed Salad: A refreshing and crunchy salad that balances the creaminess of the sushi bake, adding an earthy flavor while showcasing the classic sushi theme.
-
Miso Soup: Warm and soothing, miso soup provides a comforting contrast to the spicy bake, enriching the meal with umami flavors and a hint of seaweed.
-
Pickled Ginger: Lightly pickled ginger brings a zesty and refreshing palate cleanser that perfectly offsets the richness of the salmon and the creaminess of the avocado.
-
Steamed Edamame: These tender, lightly salted pods are nutritious and fun to eat, offering a delightful contrast to the sushi bake while inviting communal sharing around the table.
-
Avocado Salad: Light and creamy, this simple salad made with fresh cucumbers and lime juice harmonizes beautifully with the flavors of the sushi bake, echoing the dish’s ingredient highlights.
-
Japanese Beer or Sake: Sipping on chilled sake or a light, crisp Japanese beer will uplift your meal, enhancing the flavors of the sushi bake and creating a lovely dining atmosphere.
Add these accompaniments to your meal for a well-rounded dining experience that your family will love!
Spicy Salmon Sushi Bake Recipe FAQs
What type of sushi rice is best for this recipe?
Absolutely! For the best results, use short-grain sushi rice, which has the right amount of stickiness to hold the dish together. Alternatively, if you can’t find sushi rice, you can use medium-grain rice, but ensure you rinse it thoroughly to remove excess starch.
How should I store leftover Spicy Salmon Sushi Bake?
Store any leftover Spicy Salmon Sushi Bake in an airtight container in your refrigerator for up to 3 days. To reheat, place it in the oven at 350°F (175°C) for about 15-20 minutes. This method will keep the top crispy and the rice from getting gummy.
Can I freeze the Spicy Salmon Sushi Bake?
Yes, indeed! To freeze, allow the dish to cool completely and then transfer it to an airtight freezer-friendly container. It can be frozen for up to 2 months. When you’re ready to enjoy it again, thaw it in the refrigerator overnight and reheat it in the oven to maintain the texture and flavor.
What if my salmon sticks to the baking dish?
If you experience sticking, try greasing the baking dish with a bit of cooking spray or a light coating of oil before adding the sushi rice. If your salmon does stick, gently run a spatula along the edges and underneath to loosen it. Be sure to wash the dish immediately after serving to prevent any dried-on residue!
Is this recipe safe for people with seafood allergies?
While this dish is rich and flavorful, it’s important to note that it contains seafood. If you’re catering to someone with a seafood allergy, you can replace the salmon with roasted vegetables like zucchini and bell peppers or even tofu for a delicious vegetarian alternative. Always double-check all ingredient labels for potential cross-contamination.
What should I do if my sushi rice turns out too sticky?
Very often, sushi rice can get a bit too sticky if not rinsed properly. If your rice feels gummy, next time ensure to rinse it under cold water until the water runs clear before cooking—this removes excess starch. If it still occurs, add a bit more rice vinegar to the cooked rice and gently fluff it with a fork to separate the grains!

Easy Spicy Salmon Sushi Bake for Cozy Family Nights
Ingredients
Equipment
Method
- Rinse the sushi rice under cold water until the water runs clear, then cook it with water in a rice cooker or pot. Let it simmer for about 20 minutes, until tender and sticky.
- In a small bowl, combine rice vinegar, sugar, and salt; stir until dissolved. Gently fold this mixture into the cooked rice, ensuring it's well incorporated. Allow the rice to cool slightly.
- Preheat your oven to 375°F (190°C). Place the skinless salmon fillet on a baking sheet and bake for 15-20 minutes, until it’s cooked through and flakes easily. Let it cool and then flake the salmon into small pieces.
- In a mixing bowl, combine the flaked salmon with mayonnaise, sriracha sauce, and sesame oil. Stir until the mixture is well blended and creamy, adjusting the sriracha to your preferred spice level.
- Spread the seasoned sushi rice evenly in a greased baking dish. Layer the spicy salmon mixture over the rice, spreading it out for even coverage.
- Place the dish in the oven and bake for about 10-15 minutes, or until the top is heated and slightly crispy.
- Remove from the oven and top with sliced avocado and chopped green onions. Serve warm with nori strips and soy sauce on the side for dipping!


