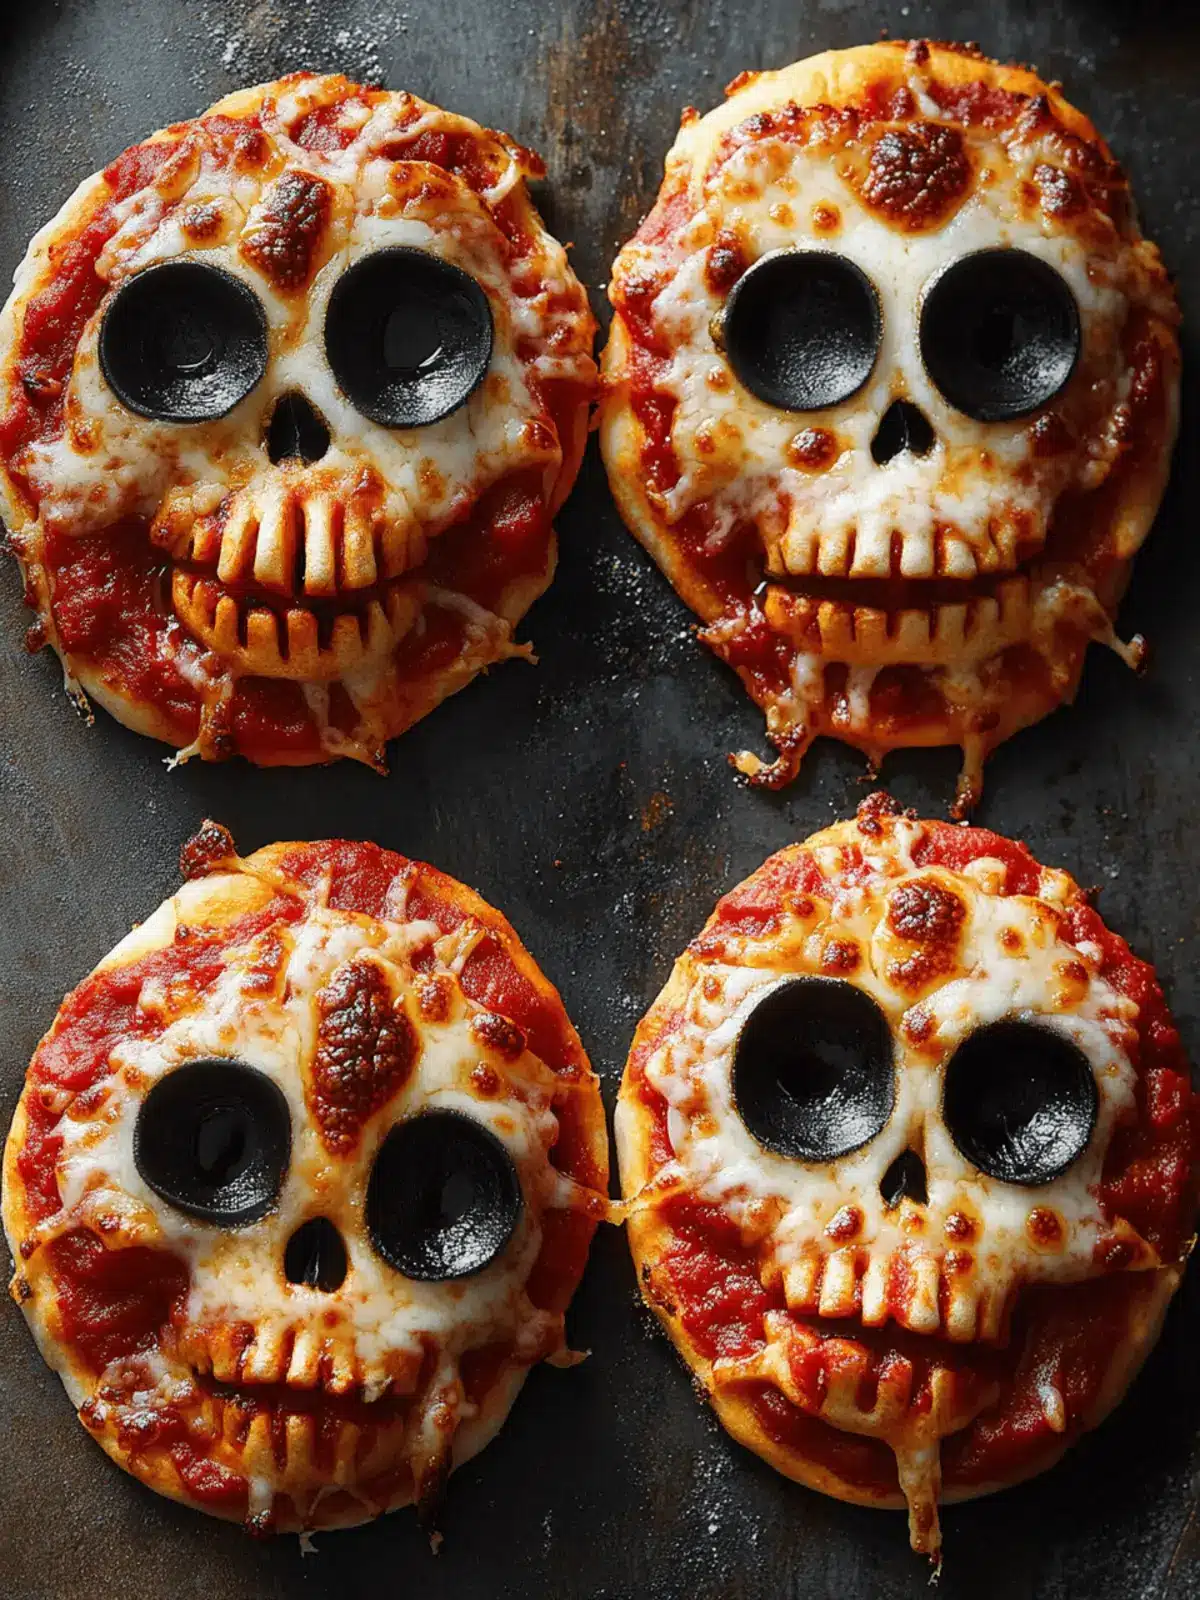
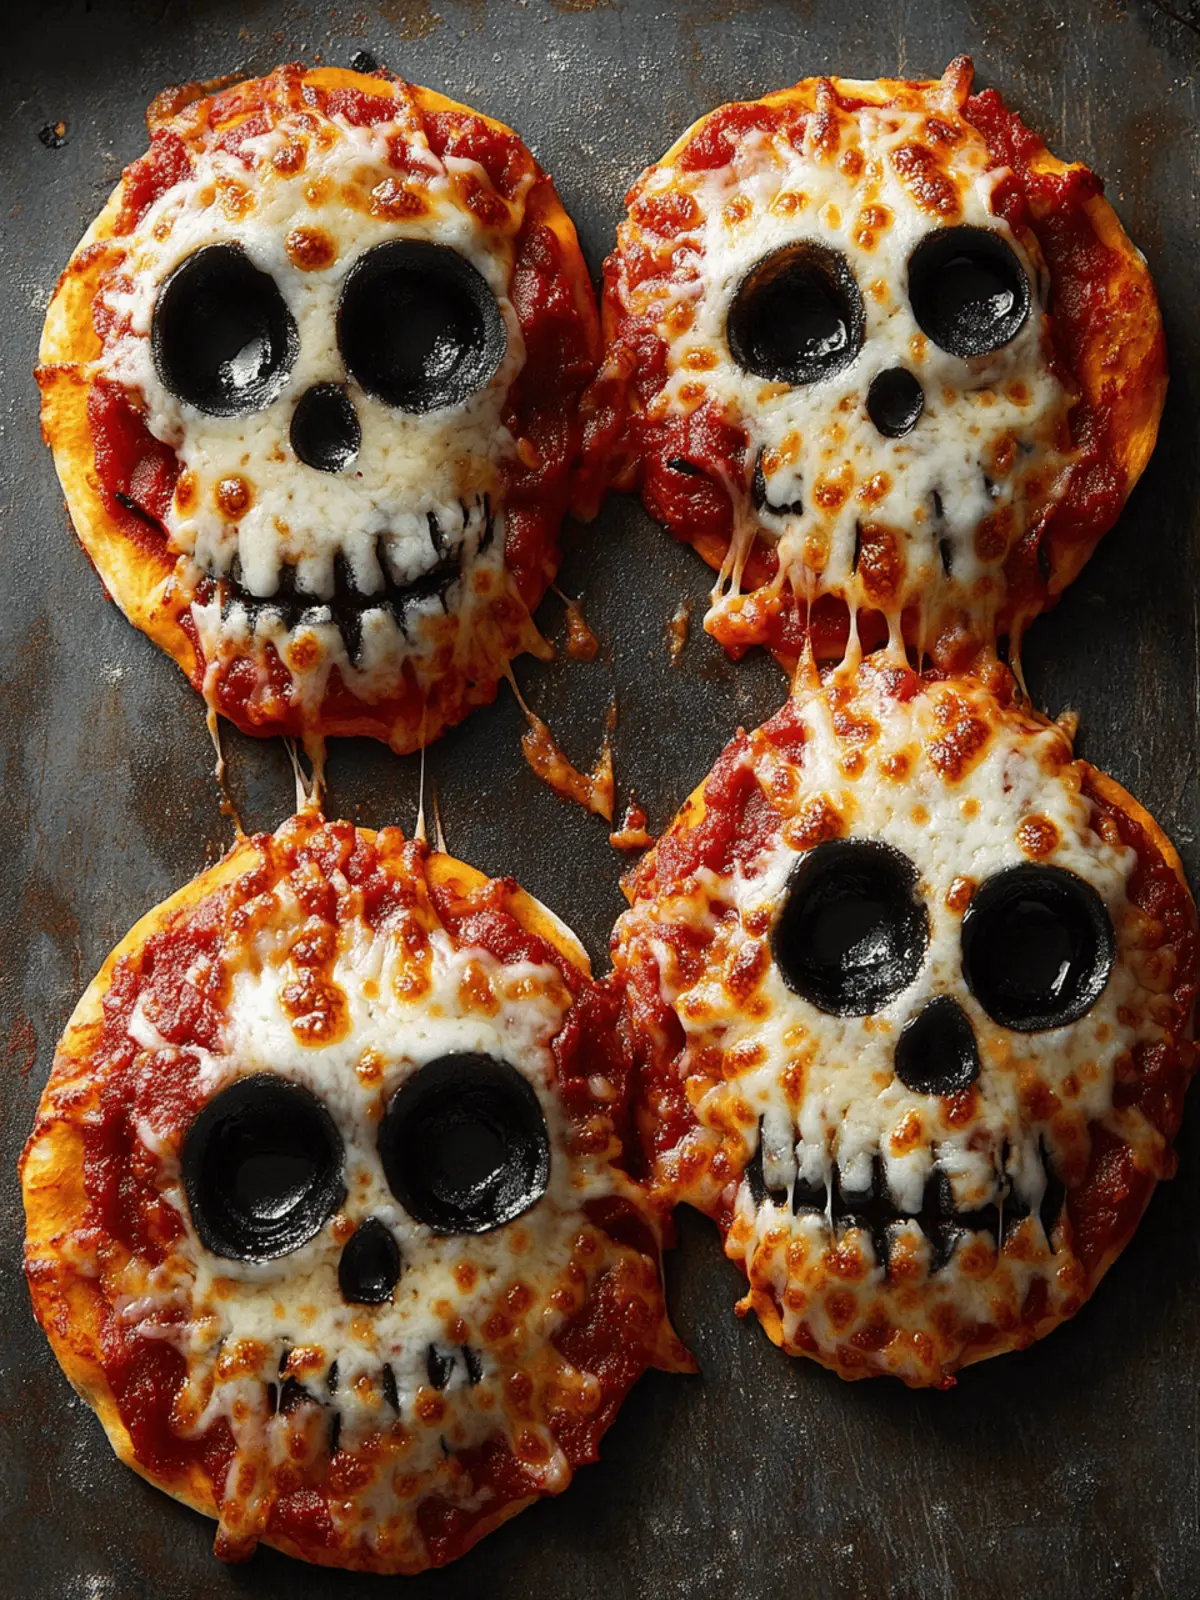
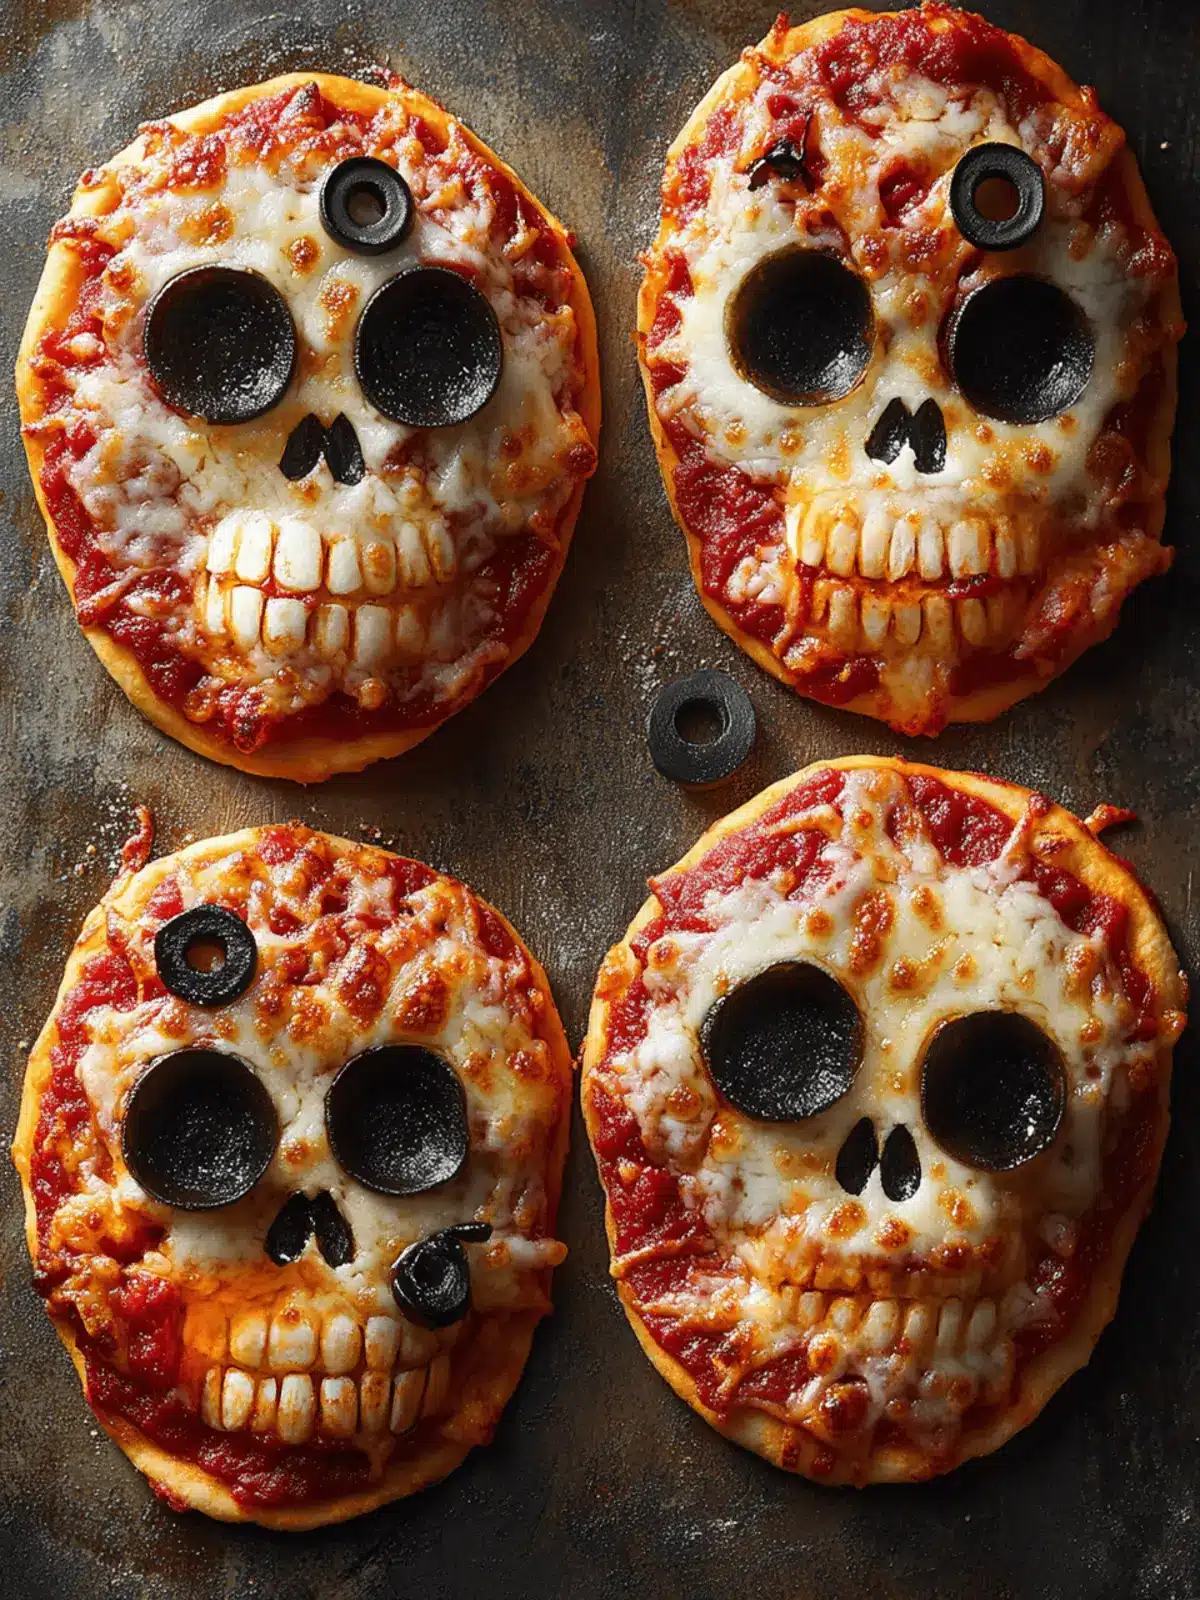
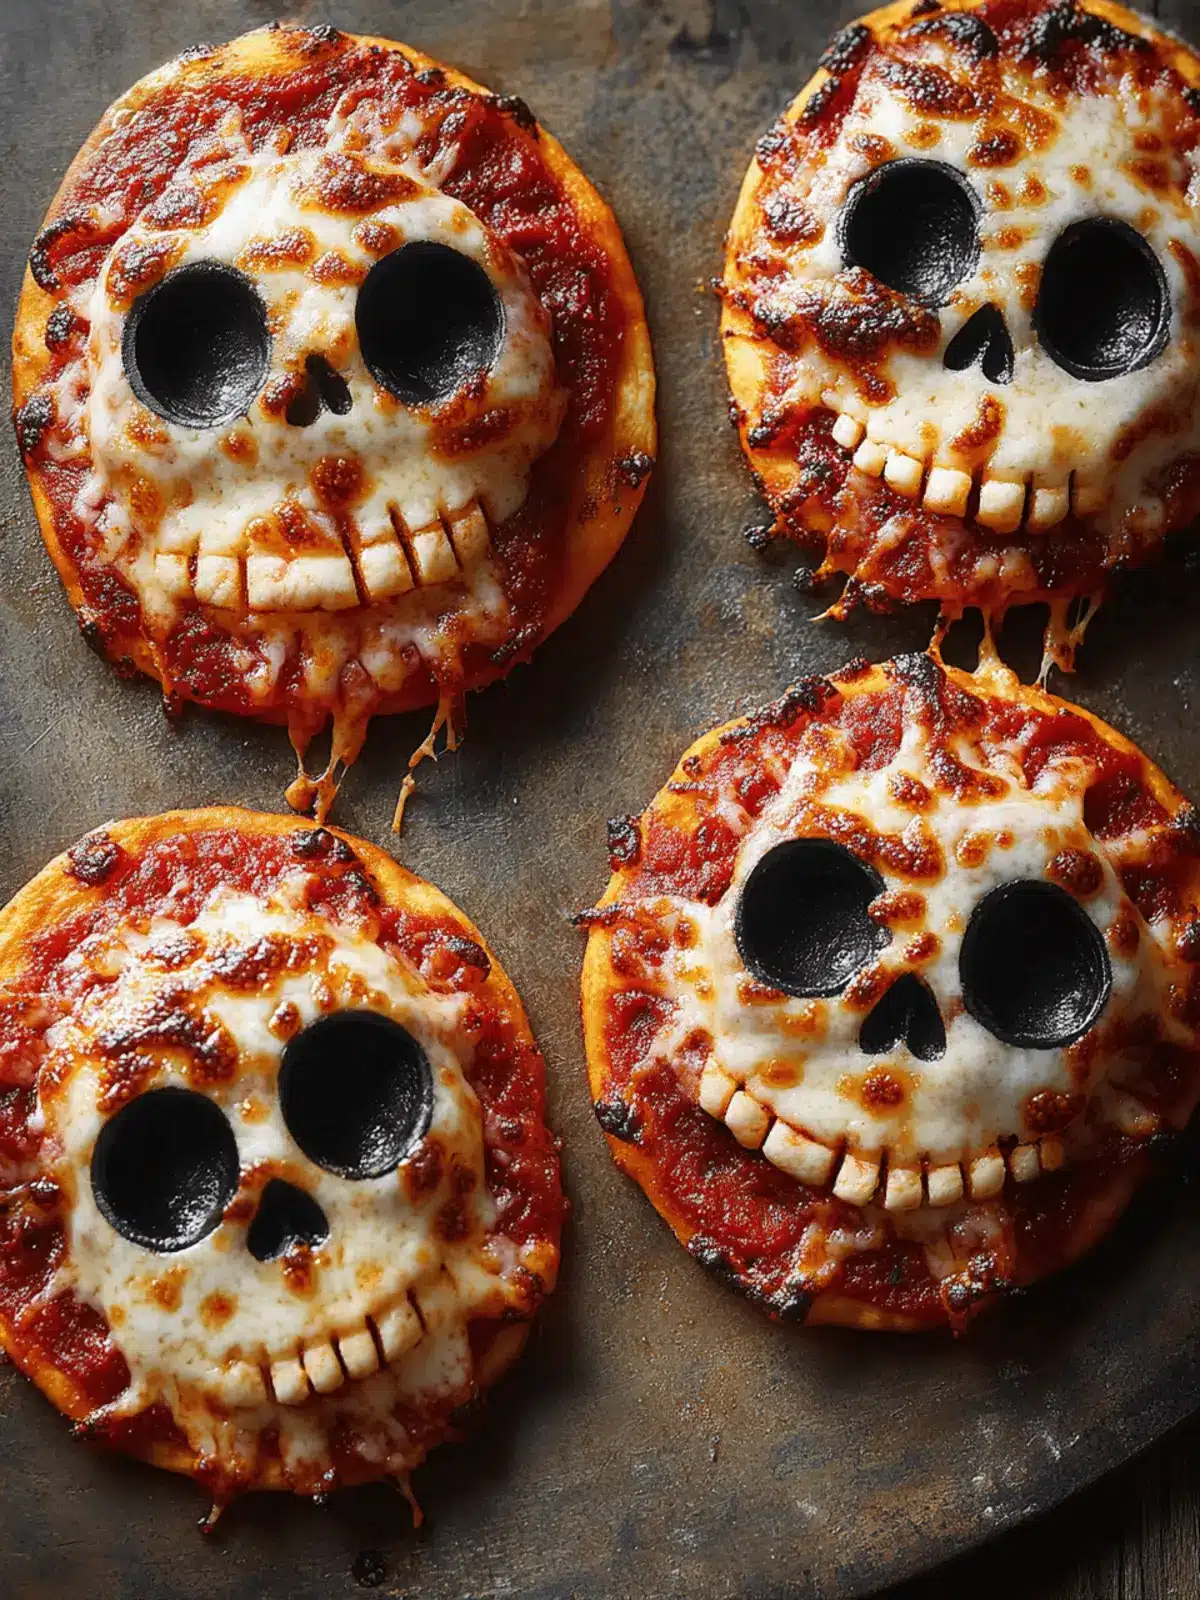
As the air turns crisp and the days grow shorter, it’s time to embrace the deliciously spooky vibes of Halloween! Picture this: a cozy kitchen, the scent of garlic wafting through the air, and an excited crowd eagerly awaiting a taste of this year’s most festive treat—Spooktacular Halloween Pizza Skulls. I stumbled upon this fun and whimsical idea during a late-night brainstorming session, and let me tell you, it was one of my best culinary discoveries yet.
These playful pizza skulls combine a crispy, golden-brown crust with gooey cheese and a variety of customizable fillings, making them not only a hit at Halloween parties but also a perfect solution for busy weeknight dinners. In just 20 minutes, you can whip up a batch that will leave everyone asking for more. Whether you’re looking for a creative way to involve the kids in cooking or just want to impress your friends with something delightfully unique, these edible skulls are sure to be a crowd-pleaser. Get ready to scare away the mundane fast food routine and dive into some homemade fun!
Why are Spooktacular Halloween Pizza Skulls a must-try?
Fun to Make: These pizza skulls provide a whimsical twist on traditional pizza, turning meal prep into a spooky adventure for the whole family.
Customizable Fillings: Whether you crave classic pepperoni or want to sneak in some veggies, the options are endless!
Kid-Friendly Cooking: Get the little ones involved—they’ll love shaping their own skulls and choose their favorite fillings.
Quick & Easy: With just 20 minutes of prep time, you can serve up these creative snacks without the hassle.
Perfect for Freezing: Make a batch in advance and simply bake from frozen when surprise guests arrive!
Crowd-Pleasing Appeal: These playful treats are bound to be the highlight of any Halloween gathering, leaving your guests with happy memories and full bellies.
Spooktacular Halloween Pizza Skulls Ingredients
-
For the Dough
-
All-Purpose Flour – Provides structure to the dough; can substitute with gluten-free flour for a gluten-free option.
-
Baking Powder – Aids in dough rising; no direct substitute; omit for a denser dough.
-
Salt – Enhances flavor; can reduce for low-sodium needs.
-
Garlic Powder – Adds flavor depth; fresh garlic can be used, but adjust moisture accordingly.
-
Italian Seasoning – Delivers classic Italian flavors; substitute with dried oregano and basil if necessary.
-
Olive Oil – Brushing adds flavor and promotes browning; can substitute with melted butter.
-
For the Filling
-
Shredded Mozzarella Cheese – Provides creaminess and stretch when melted; swap with provolone or cheddar for different textures.
-
Pizza Sauce – Acts as a flavor base; use store-bought or homemade; reduce moisture for a thicker consistency.
-
Sliced Pepperoni – Main protein and flavor; can replace with your choice of toppings like veggies or other meats.
-
For Assembly
-
Egg – Used for egg wash to achieve a golden crust; omit for vegan version or replace with a plant-based egg substitute.
These Spooktacular Halloween Pizza Skulls are not only fun to make but also adaptable to your tastes—just let your creativity shine!
How to Make Spooktacular Halloween Pizza Skulls
-
Preheat your oven to 425°F (220°C) and line a baking sheet with parchment paper. This ensures the pizza skulls will bake evenly and won’t stick.
-
Mix the dry ingredients in a mixing bowl: combine all-purpose flour, baking powder, salt, garlic powder, and Italian seasoning. Stir well until everything is evenly distributed.
-
Add about ½ cup of water gradually to the mixture, stirring until a smooth dough forms. Knead the dough on a floured surface for about 5 minutes until it’s elastic and not sticky.
-
Roll out the dough to a thickness of ¼ inch. Using a skull-shaped cookie cutter, cut out your shapes. Make sure to have equal numbers of tops and bottoms for each skull!
-
Spoon a little pizza sauce, shredded mozzarella, and your choice of toppings onto half the skull shapes. Make sure not to overload them—just enough to create a flavorful filling!
-
Top each filled shape with the remaining skull pieces and seal the edges. Use a fork to crimp the edges tightly to keep the fillings secure.
-
Brush the tops with a beaten egg for that beautiful golden finish. This gives your pizza skulls a delightful sheen when baked!
-
Bake in the preheated oven for 12 to 15 minutes, or until they are golden brown. Let them cool slightly before serving to avoid burns.
Optional: Serve with extra pizza sauce on the side for dipping!
Exact quantities are listed in the recipe card below.
Make Ahead Options
These Spooktacular Halloween Pizza Skulls are perfect for meal prep, allowing you to enjoy homemade fun without the last-minute rush! You can prepare the dough up to 24 hours in advance; simply wrap it tightly in plastic wrap and refrigerate. If you want to go even further, you can assemble the pizza skulls, freeze them for up to 2 weeks, then bake them directly from frozen—just add a few extra minutes to the baking time. To maintain quality, ensure that the edges are well-sealed before freezing to prevent any filling leaks. When you are ready to serve, bake from frozen and enjoy a delightful treat that feels freshly made!
Expert Tips for Spooktacular Halloween Pizza Skulls
-
Flour Control: Ensure the dough is not overly sticky by lightly dusting with flour as needed. Too much moisture can make shaping difficult.
-
Firm Sealing: For a perfect seal, crimp the edges firmly with a fork to prevent any tasty fillings from leaking out during baking.
-
Crispy Texture: For crisper pizza skulls, bake them directly from frozen while extending the cooking time by a few minutes for best results.
-
Fillings Fun: Experiment with various fillings to accommodate dietary preferences and enhance the flavor. Don’t hesitate to mix meats, cheeses, and veggies!
-
Egg Wash Substitute: If you prefer a vegan option, omit the egg wash and instead use a light brush of almond milk for a nice color while baking.
-
Cool Down: Allow the pizza skulls to cool slightly before serving; this helps avoid burns and lets the cheese set beautifully.
What to Serve with Spooktacular Halloween Pizza Skulls?
To create the perfect festive meal, consider these delightful pairings that will elevate your spooky pizza experience.
-
Crispy Garlic Bread: The buttery, garlic-infused slices offer a crunchy contrast to the soft pizza skulls, perfect for mopping up any leftover sauce.
-
Autumn Salad: A fresh mix of greens, apples, and walnuts adds a refreshing, sweet crunch, balancing the savory richness of the pizza skulls beautifully.
-
Roasted Veggies: Warm, caramelized vegetables like zucchini and bell peppers offer earthy flavors that enhance the overall meal while providing nutritious balance.
-
Creamy Tomato Soup: This classic pairing brings warmth and comfort, perfect for dipping your pizza skulls and savoring that cozy fall vibe.
-
Apple Cider: A glass of this crisp drink brings seasonal flavors, with its hint of sweetness perfectly complementing both the pizza and any veggie sides.
-
Pumpkin Spice Brownies: For dessert, these decadent treats offer a sweet end to the meal while keeping the festive theme alive, delighting the whole family.
With these pairings, your Halloween gathering will be a flavorful celebration that everyone will remember!
How to Store and Freeze Spooktacular Halloween Pizza Skulls
-
Fridge: Store leftovers in an airtight container for up to 2 days. Reheat in the oven at 350°F (175°C) for about 10 minutes to regain crispiness.
-
Freezer: Assemble the pizza skulls before baking and freeze them wrapped tightly in plastic wrap and foil for up to 2 weeks. Bake from frozen, adding a few extra minutes to the cooking time.
-
Reheating: For best results, reheat the skulls in the oven rather than the microwave to maintain their crispy texture. Enjoy your spooky treat again!
-
Serving: Serve warm with extra pizza sauce for dipping or alongside a fresh salad for a complete meal. Don’t forget to let the kids help in the kitchen—fun memories await!
Spooktacular Halloween Pizza Skulls Variations & Substitutions
Feel free to let your creativity shine and customize this recipe to excite your taste buds!
-
Gluten-Free: Use a gluten-free flour blend in place of all-purpose flour for a hearty dough that fits your dietary needs.
-
Dairy-Free: Swap out mozzarella for dairy-free cheese alternatives, ensuring everyone can enjoy these festive treats.
-
Vegetable Boost: Sneak in diced veggies like bell peppers, mushrooms, or spinach for a healthy twist that kids will love.
-
Heat It Up: Add a dash of red pepper flakes or jalapeños to the filling for those who crave a little extra heat in their Halloween fun.
-
Sauce Variations: Switch traditional pizza sauce with barbecue sauce or pesto for a unique and flavorful surprise inside each skull.
-
Sweet Surprise: For a fun dessert version, fill the skulls with chocolate chips or fruit preserves—a spooky treat that satisfies the sweet tooth!
-
Meat Lovers: Mix up your protein by trying crumbled sausage or diced chicken instead of pepperoni for a hearty alternative.
-
Herb Explosion: Enhance the filling by adding fresh herbs like basil or parsley, providing a garden-fresh flavor to every bite.
With these variations, you can make every batch of Spooktacular Halloween Pizza Skulls a delightful adventure that’s never the same!
Spooktacular Halloween Pizza Skulls Recipe FAQs
Can I use any type of flour for Spooktacular Halloween Pizza Skulls?
Absolutely! While all-purpose flour is the go-to for a perfect dough structure, you can substitute it with gluten-free flour if needed. Just ensure you’re using a blend that works well for baking, and keep an eye on the consistency of the dough, as gluten-free flour mixtures can vary in absorbency.
How should I store leftover pizza skulls?
To keep your leftover Spooktacular Halloween Pizza Skulls fresh, store them in an airtight container in the fridge for up to 2 days. When you’re ready to enjoy them again, reheat in the oven at 350°F (175°C) for about 10 minutes to bring back their crispy texture.
Can I freeze the assembled pizza skulls?
Yes! You can freeze your assembled pizza skulls before baking. Just wrap them tightly in plastic wrap and foil for up to 2 weeks. When you’re ready to bake, go straight from the freezer to the oven; just add a few extra minutes to the baking time for perfect results.
What should I do if my pizza skulls are leaking filling during baking?
To avoid leakage, ensure you are sealing the edges well by crimping them firmly with a fork. If you notice leaking during baking, it might be that there was too much sauce or filling inside. Next time, try not to overload them; a spoonful of filling is usually enough for great flavor without the mess!
Are Spooktacular Halloween Pizza Skulls suitable for kids?
Very! These pizza skulls are not only fun to make, but they also allow kids to get creative with their fillings. Just supervise them during the baking process. Plus, involving kids in the kitchen can make for memorable family moments and encourage their love for cooking!
Can I use alternative fillings in the pizza skulls?
Absolutely! The customization options are endless! You can use diced vegetables, different meats, or even make a sweet version with chocolate or fruit preserves. The more the merrier, as this recipe is all about enjoying the process and tailoring it to everyone’s tastes!
Delicious Spooktacular Halloween Pizza Skulls for Family Fun
Ingredients
Equipment
Method
- Preheat your oven to 425°F (220°C) and line a baking sheet with parchment paper.
- Mix the dry ingredients in a mixing bowl: combine all-purpose flour, baking powder, salt, garlic powder, and Italian seasoning. Stir well.
- Add about ½ cup of water gradually to the mixture, stirring until a smooth dough forms. Knead the dough on a floured surface for about 5 minutes.
- Roll out the dough to a thickness of ¼ inch and cut out your shapes using a skull-shaped cookie cutter.
- Spoon a little pizza sauce, shredded mozzarella, and your choice of toppings onto half the skull shapes.
- Top each filled shape with the remaining skull pieces and seal the edges by crimping with a fork.
- Brush the tops with a beaten egg for a golden finish.
- Bake in the preheated oven for 12 to 15 minutes, or until golden brown. Let them cool slightly before serving.

